|
|
Post by scrub-buster on Aug 22, 2015 7:52:49 GMT -5
I'm making an osage selfbow for Trapper Dave. I thought I could do a build-a-long so he could see the progress. Its been several years since the last build-a-long and I have learned a thing or two in that time. For this bow I wanted a stave with some character and history. I picked one out from a tree that I cut in April, 2014. The tree was one that my grandpa had a deer stand built in it. He passed away over 20 years ago. The tree had slowly fallen over like a lot of large osage trees do on our property. There wasn't much left of the stand. The 2x4 blocks he used for steps were still on the trunk. 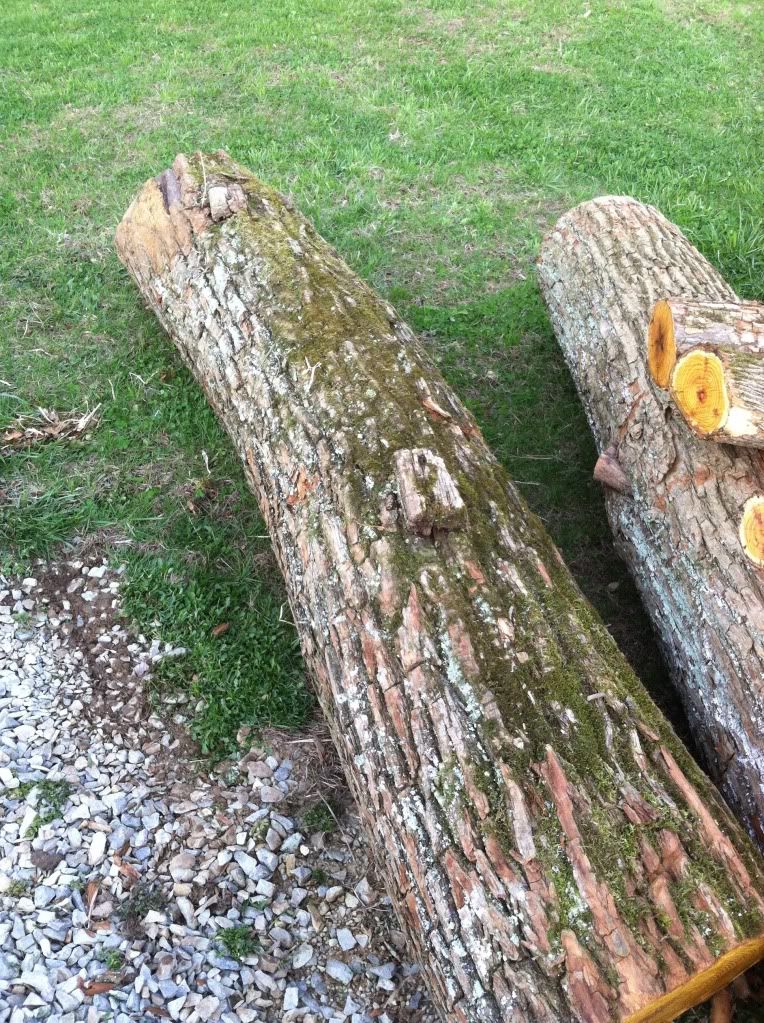 He used long nails to attach them to the tree. The iron leached out into the wood and stained it. You can see the holes from the nails in the bottom of the discolored area. 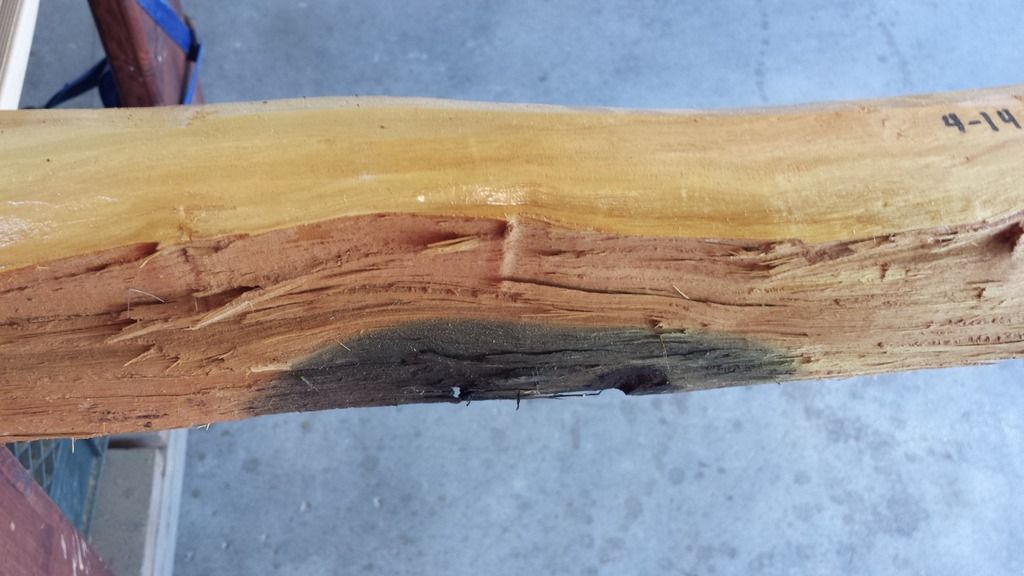 The stave has some gentle curves to it. The ends line up with the center so it shouldn't take much to get the string alignment set. 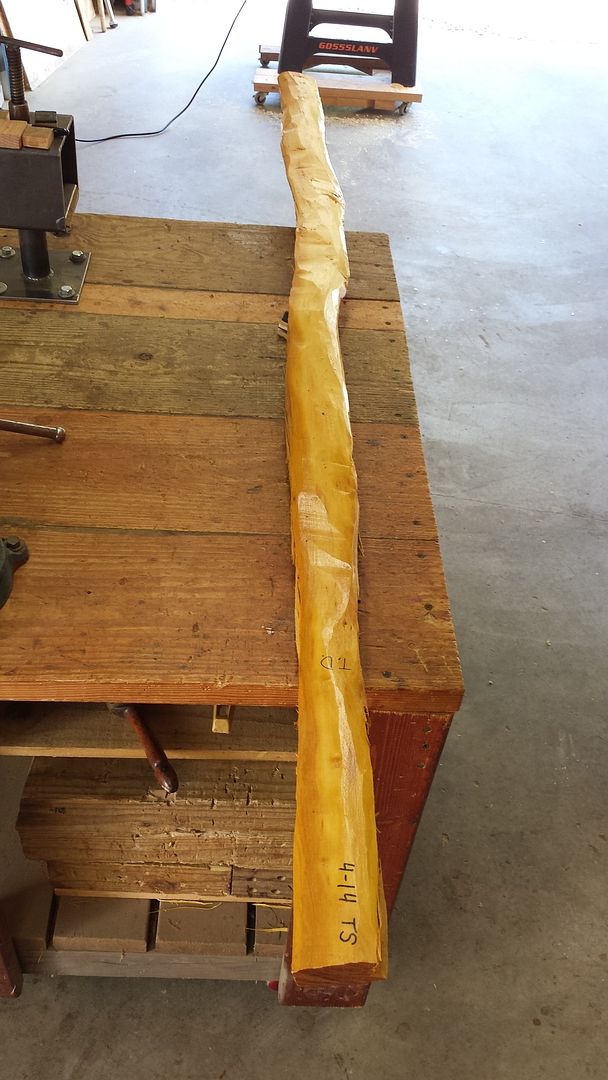 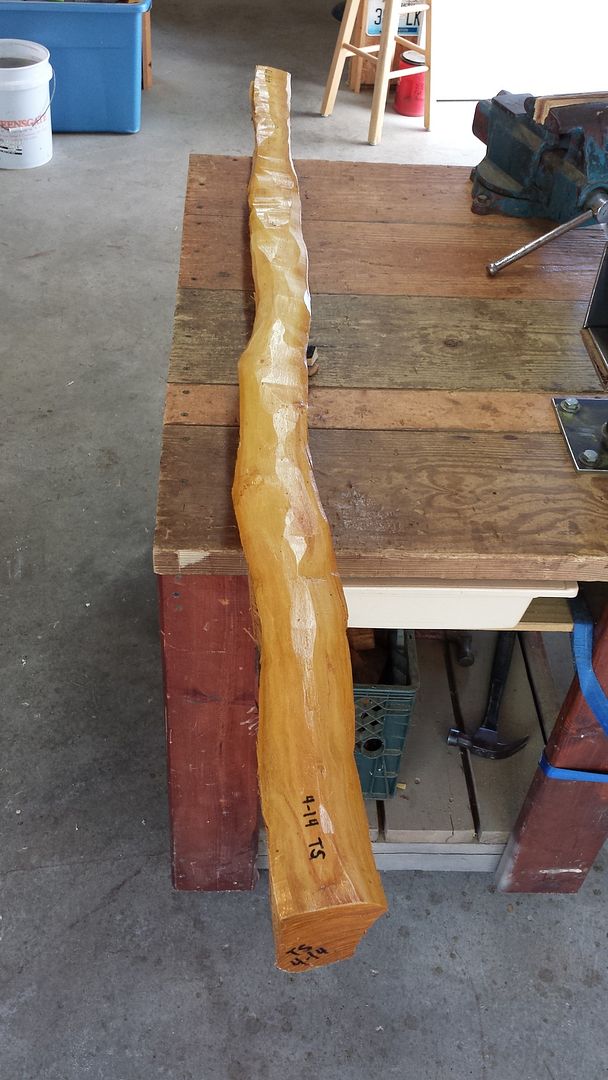 The top several growth rings were very thin. I decided to take it down to some thicker rings. I roughed it down with the draw knife until I got most of a single ring on the back. 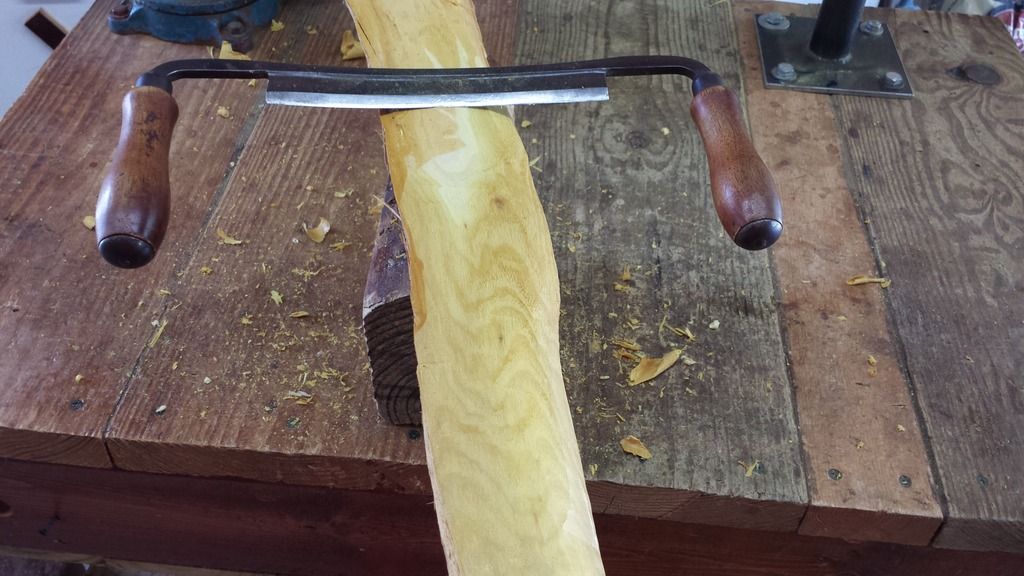 I laid the bow dimensions out on the back of the stave. I made it a little wide to allow for some wiggle room around a couple of spots with some grain tear out along the edge. 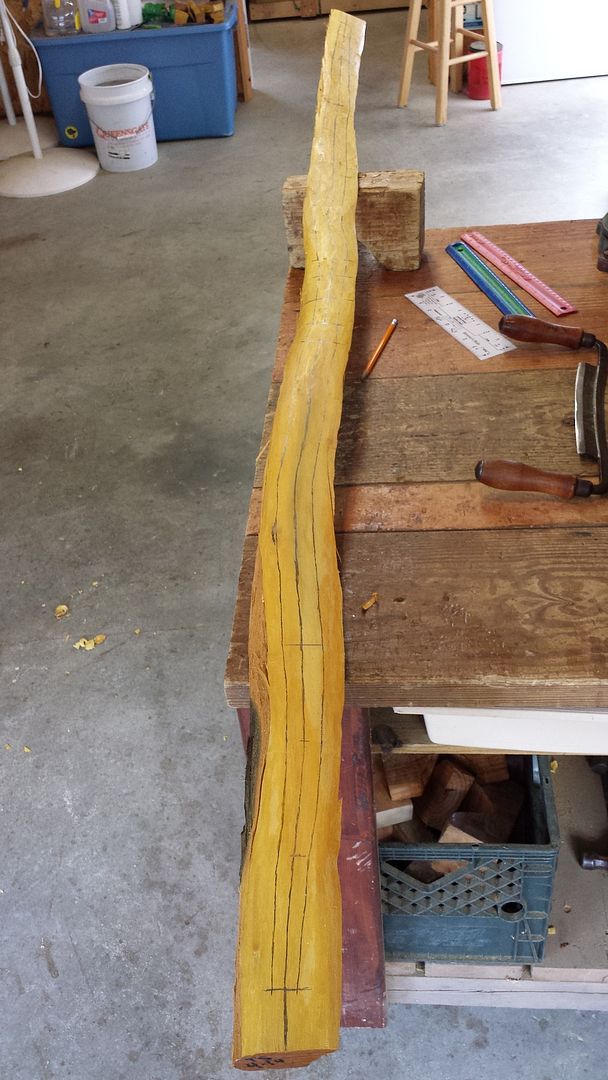 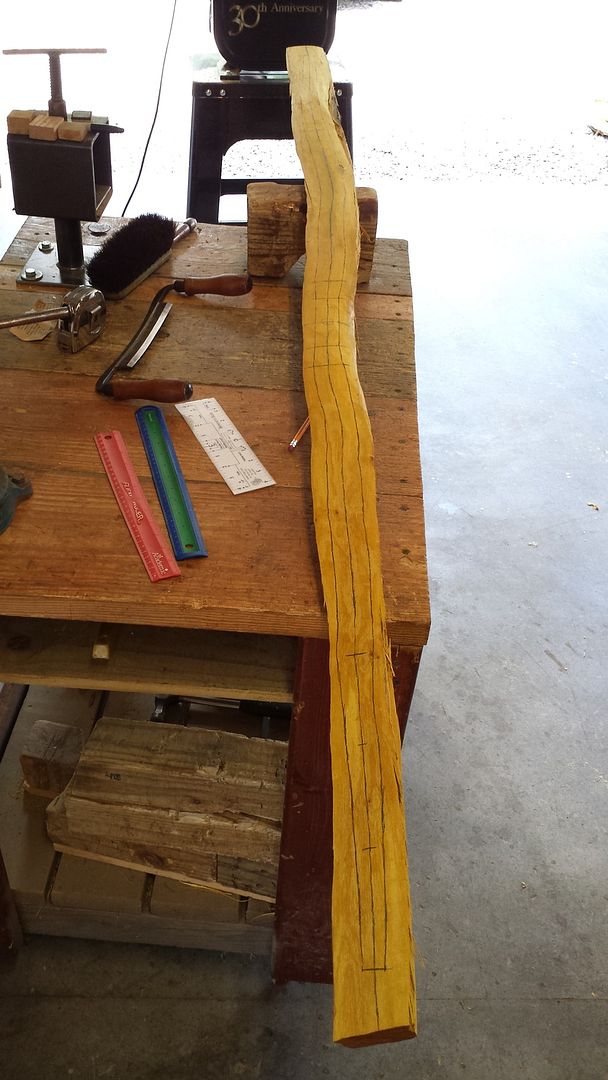 A few minutes on the band saw and its starting to look like a bow. 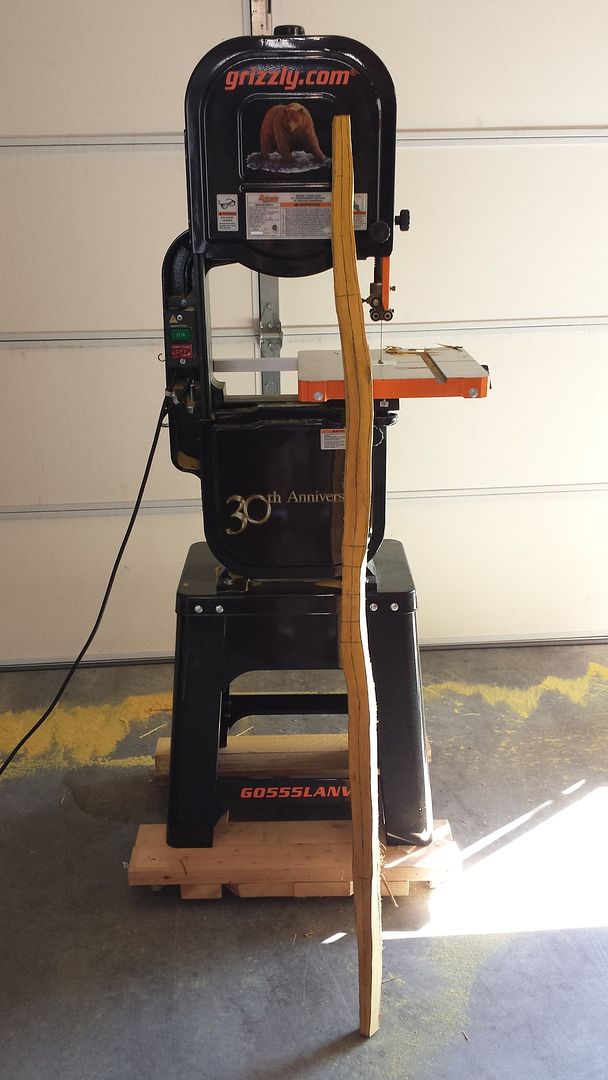 I still have a few more rings to remove to get to a thicker one. Its a lot easier to chase a ring on a bow width piece of wood than on a full width stave. That's why I cut the bow out before chasing the final ring. 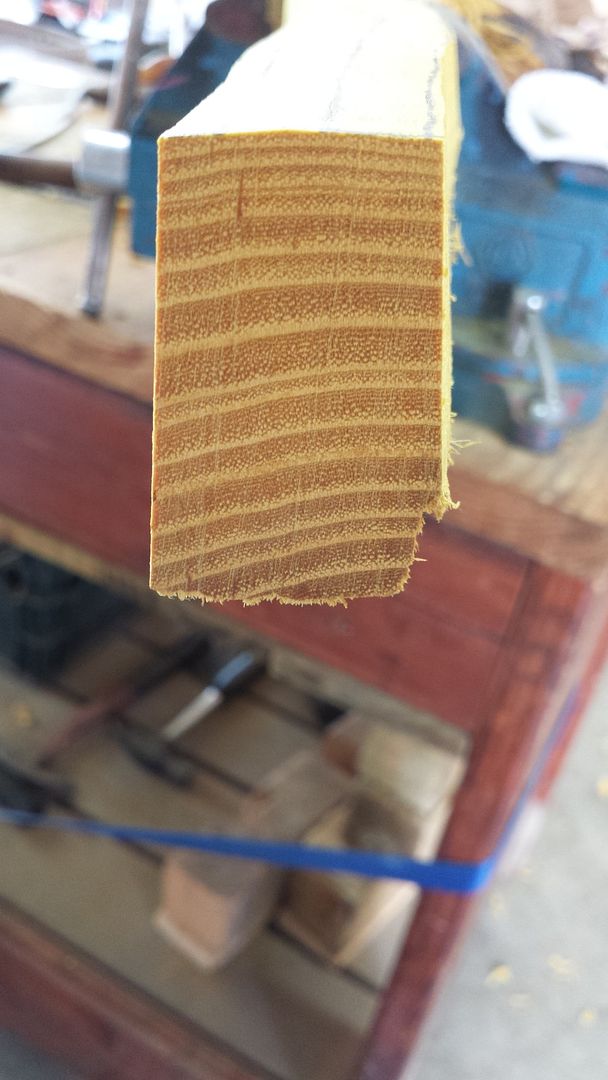 One of the limbs has a slight concave shape so I have to use a goose neck scraper to remove the rings. 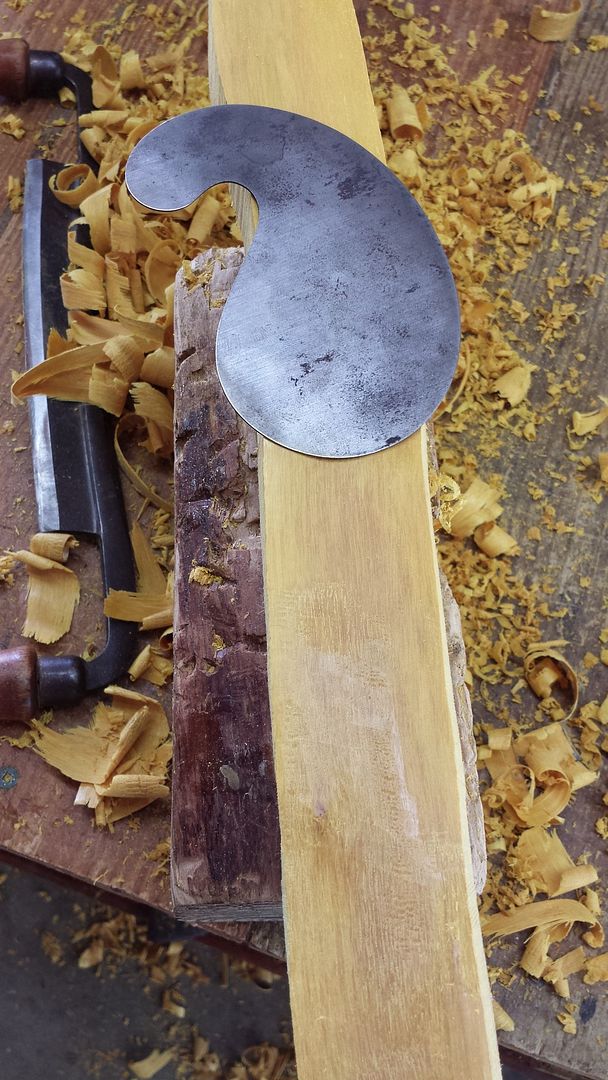 Slowly getting down to the ring that I want. 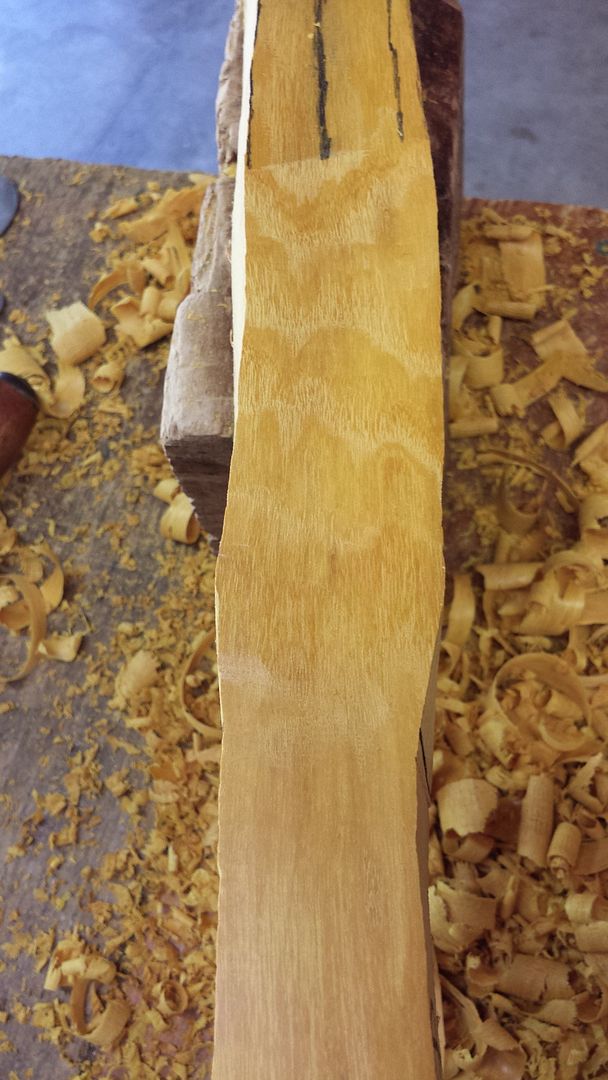 The entire stave is now down to a single growth ring. This will be the back of the bow. 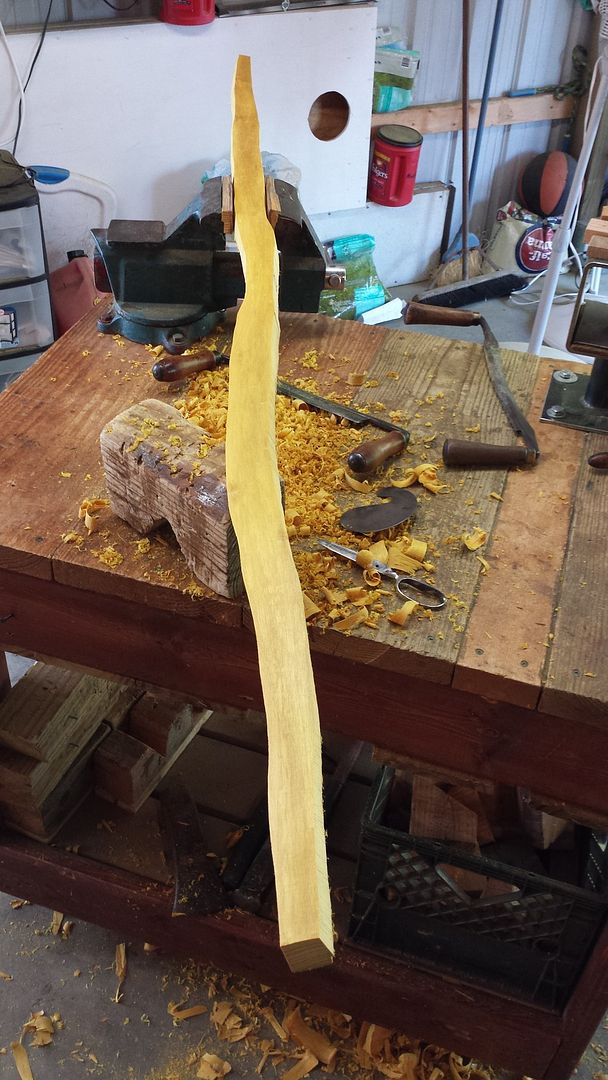 When chasing the final ring I go slow and make sure I don't tear into it at all. I use a half of a pair of scissors to carefully scrape around the pin knots or any other bumps. 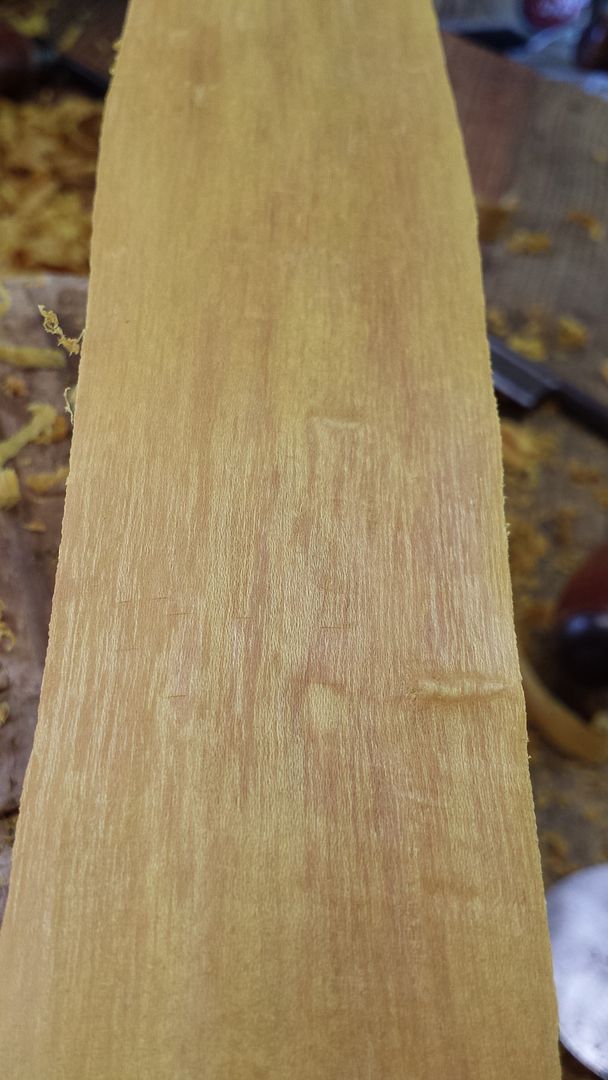 The end grain shows some nice sized rings with a good early to late wood ratio. 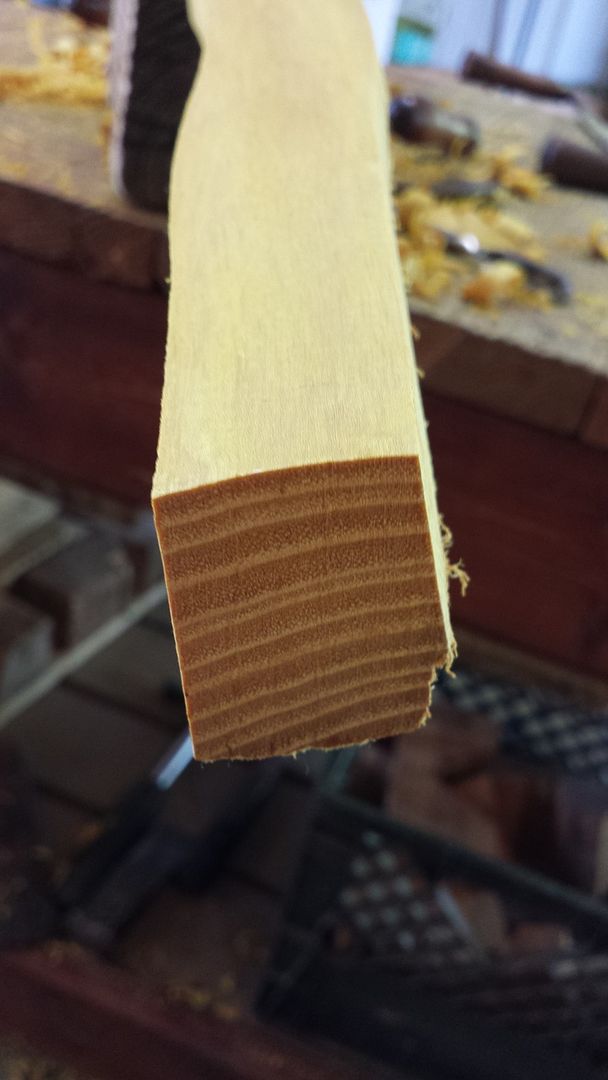 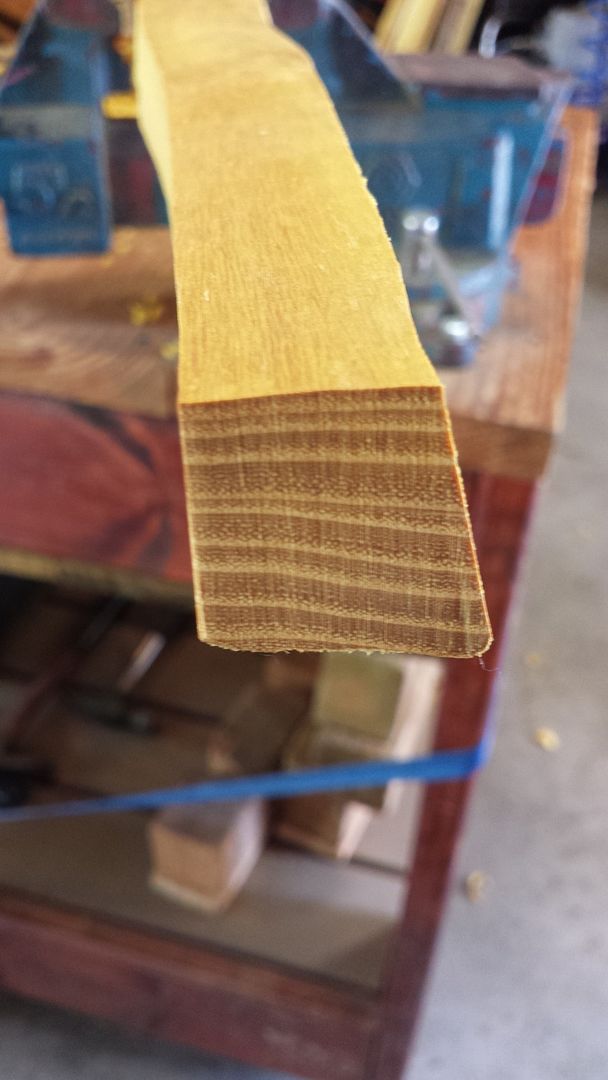 Now its time to lay out the side dimensions. 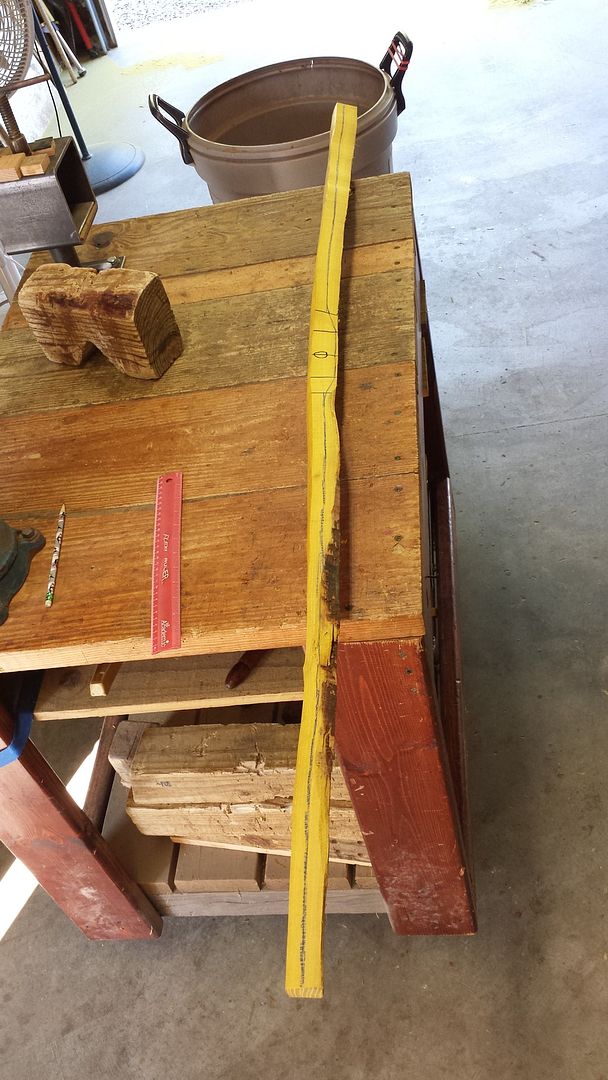 Here are the two edge spots that concern me. I think I will be able to remove them as I thin and shape the limbs. 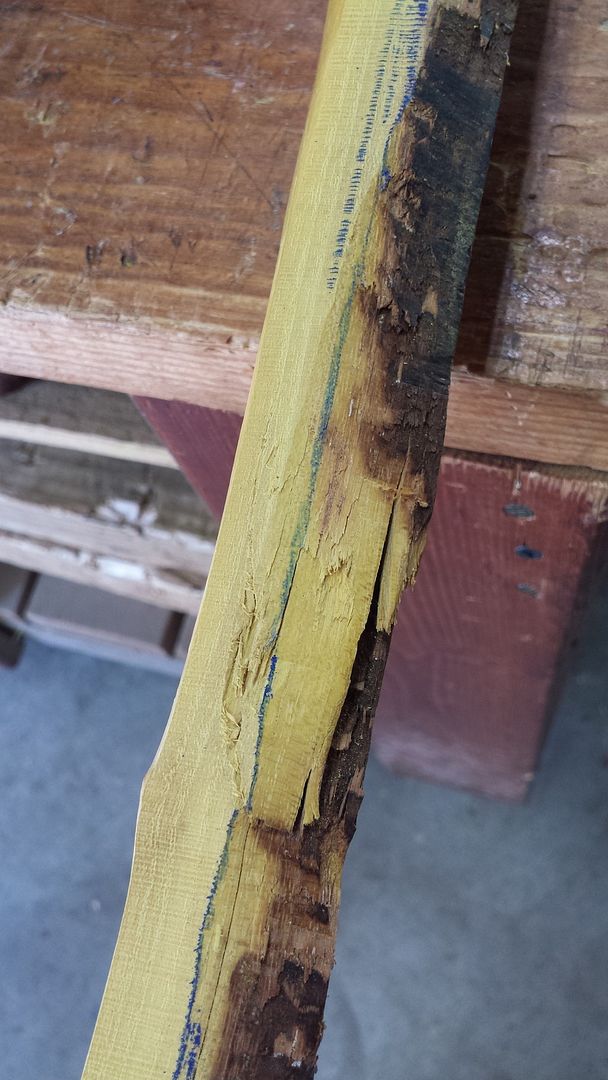 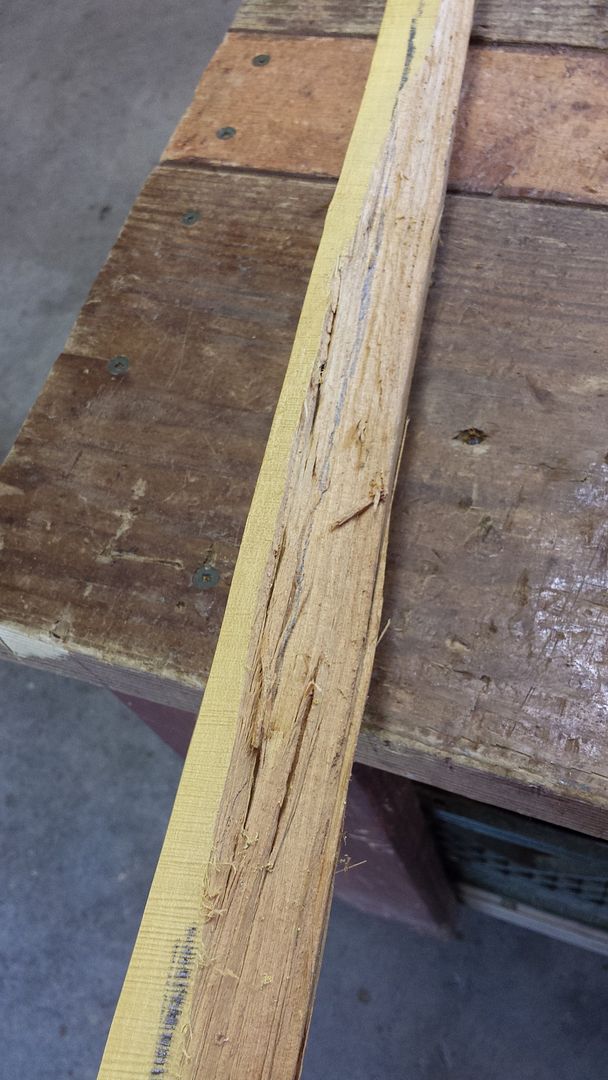 After sawing the side profile it is really starting to look like a bow. 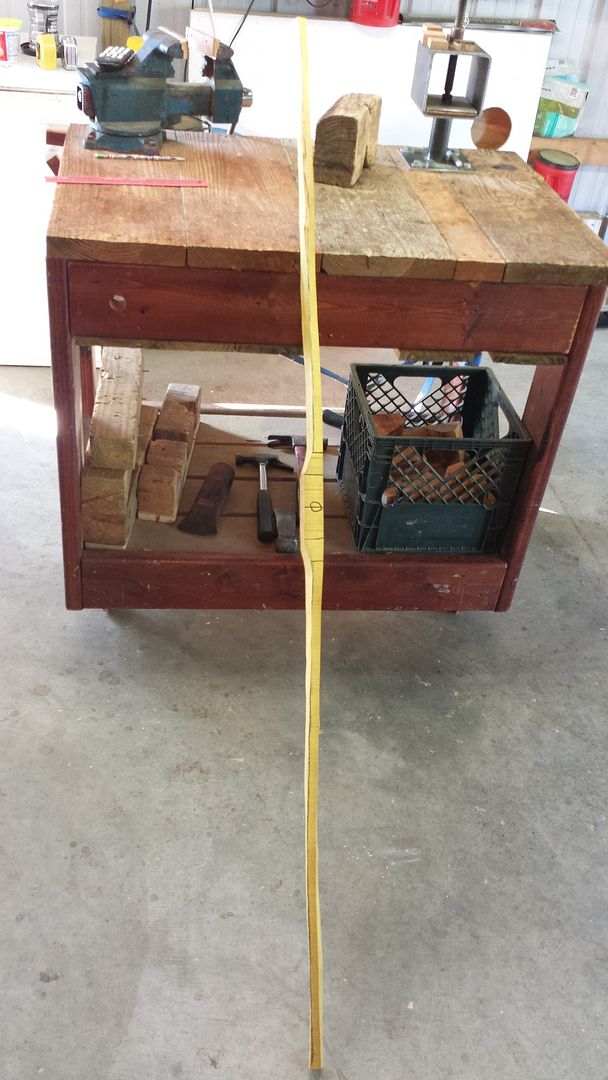 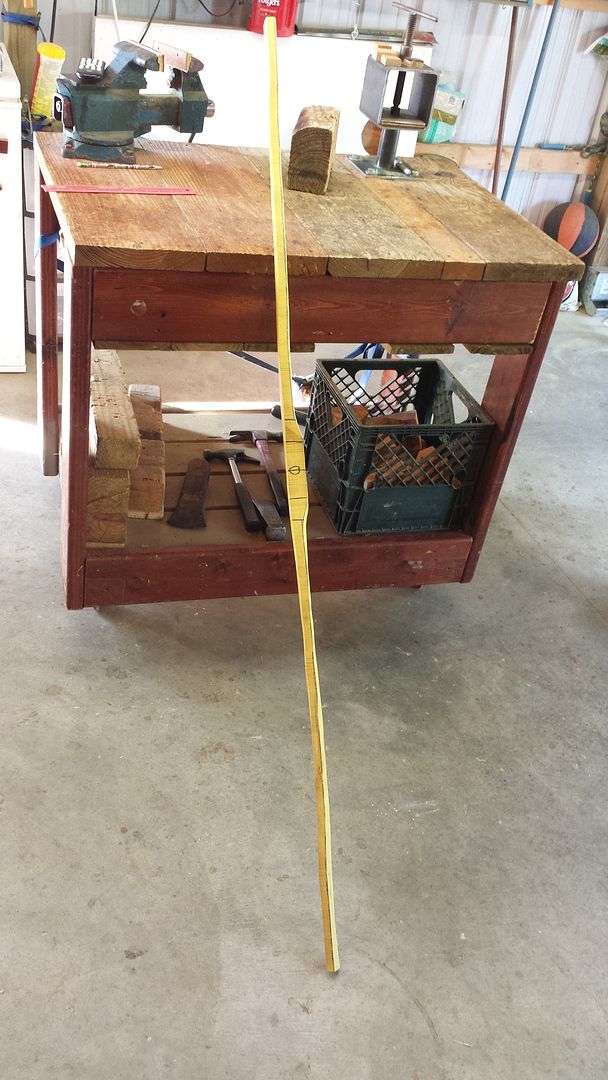 I sealed the ends and back with some polyurethane to prevent any checking. I'll put the bow inside the house several days to help remove any excess moisture. I'll post more updates as I go along. 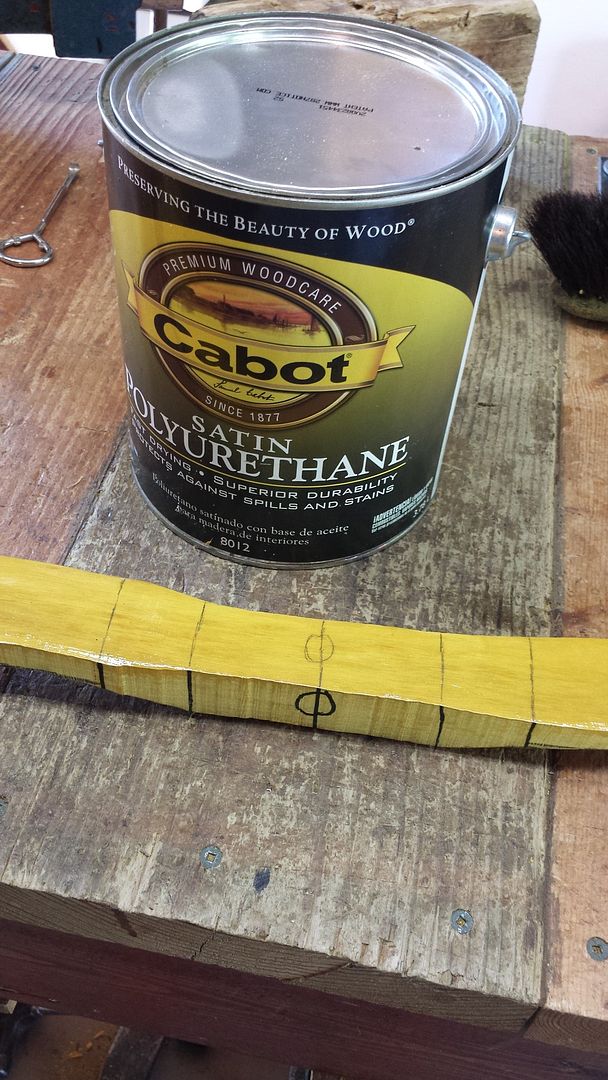 |
|
|
|
Post by trapperdave on Aug 22, 2015 15:44:27 GMT -5
Lovin it. Especially the history behind the stave!
|
|
|
|
Post by scrub-buster on Aug 22, 2015 19:54:30 GMT -5
Good deal Trapper. Glad you like it so far. That bow has already seen many deer hunts in its life.
|
|
|
|
Post by HighCotton on Aug 23, 2015 21:24:58 GMT -5
Wow! That's some kind of magic you work there! Very impressive!
|
|
|
|
Post by HuntMeister on Aug 24, 2015 6:20:34 GMT -5
Interesting process, I had no idea what went into making a bow like this, thanks for taking the time to share. Would be very special to receive a bow that was already experienced at deer hunting!!  |
|
|
|
Post by scrub-buster on Aug 25, 2015 22:23:37 GMT -5
I got to spend some quality hours working on the bow today. I used the belt sander to smooth out the sides of the limbs and reduce the thickness. I stopped as soon as I started to get a little flex in the limbs. Some guys tiller on a belt sander. Its quicker but easier to mess it up. Snakey bows are hard to keep even on a belt sander. 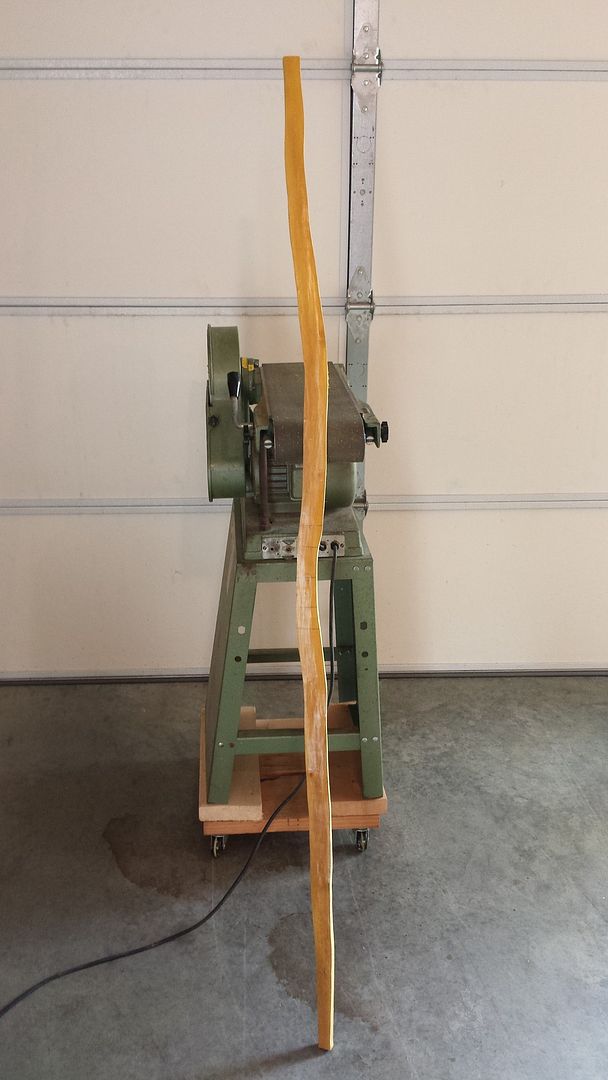 I reduced the limb width down to 1 1/2" 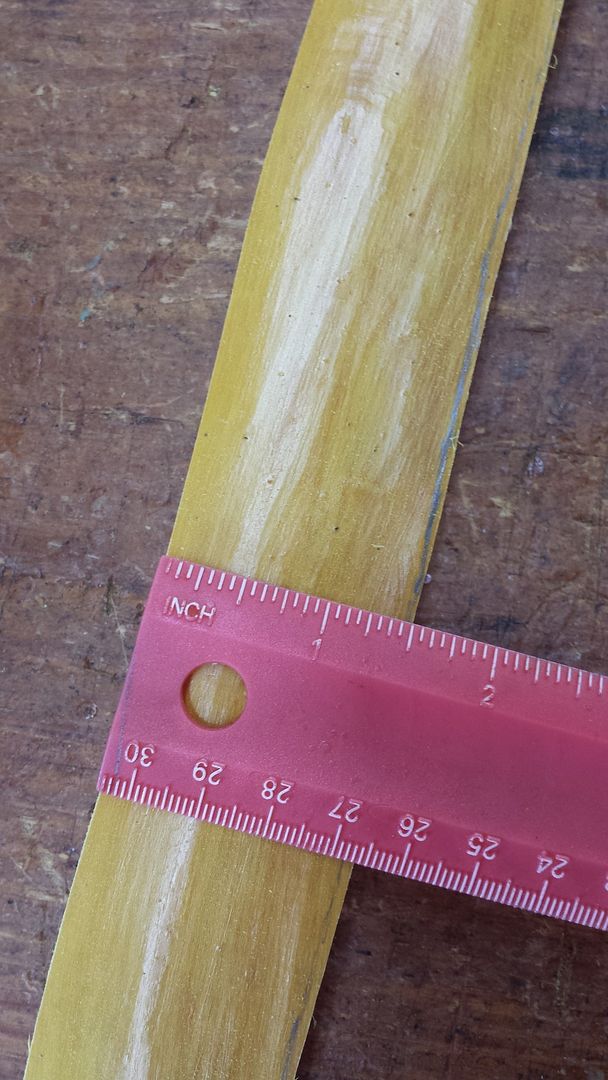 Taking the limb width down removed most of the tear out on one limb and all of it on the other. The rest of this spot will come out during tillering. 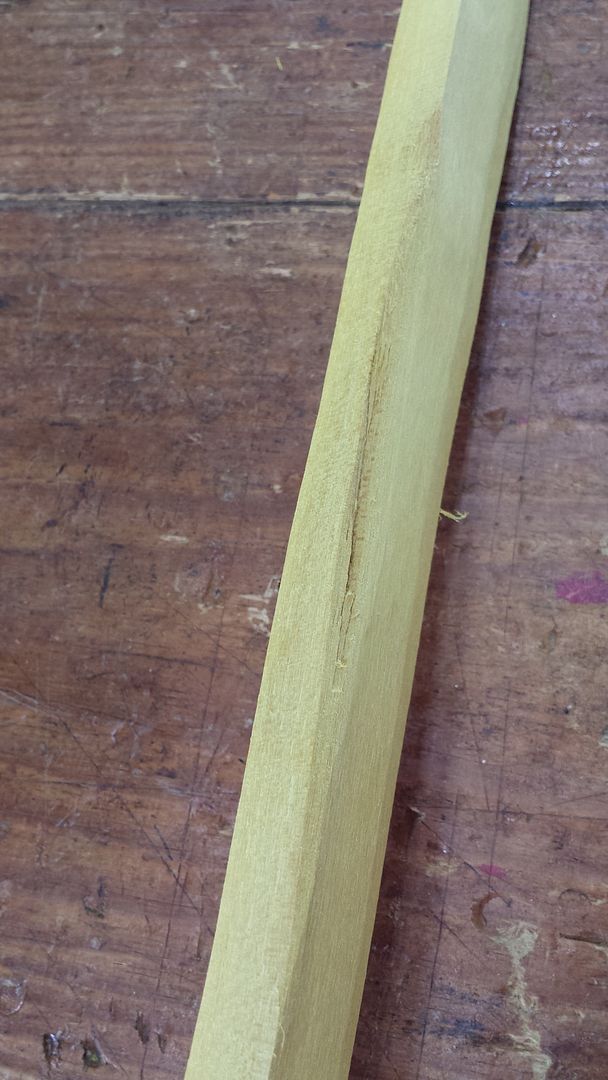 I rounded all the edges on the limbs just a little bit and started thinning the limbs with a scraper. I want to get a gradual thickness taper from the fades to the tips. I marked a thin area so I would know to leave that spot alone. 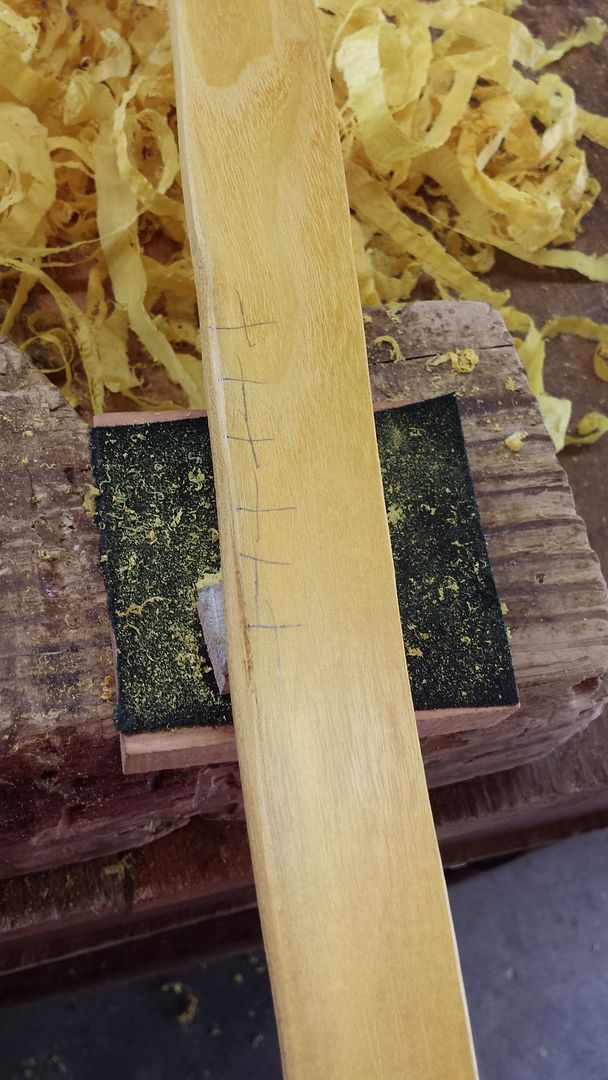 I kept scraping and scraping until the limbs were evened up and had a nice thickness taper. Getting that taper from the start makes tillering easier I think. Since I've been paying more attention to it I've noticed it doesn't take me as long to tiller a bow. My circular saw blade scraper makes some nice ribbons. 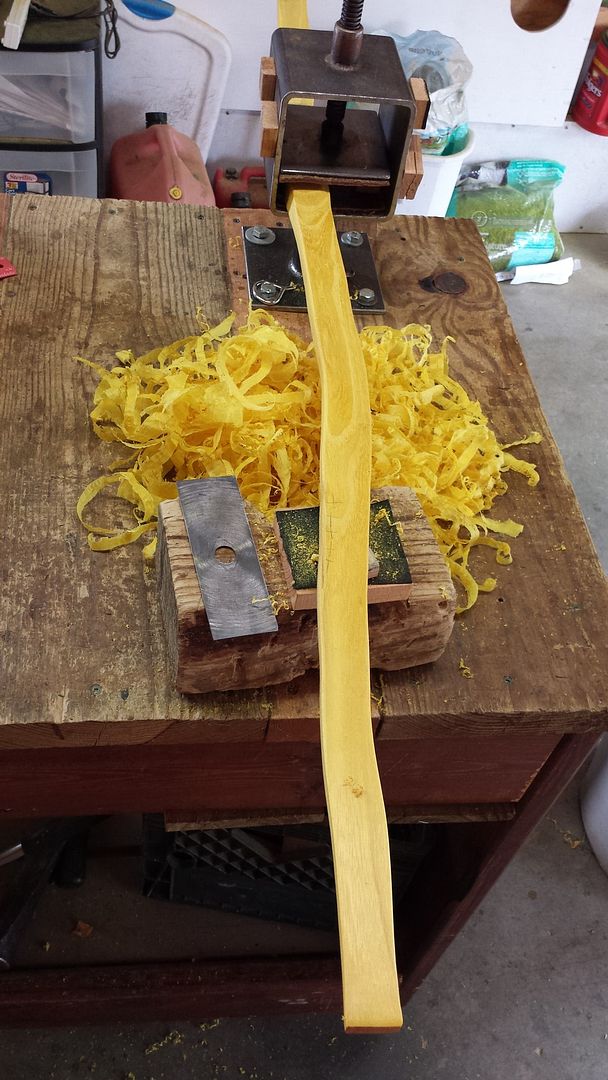 This limb looks good and is starting to flex when pushed against the floor. 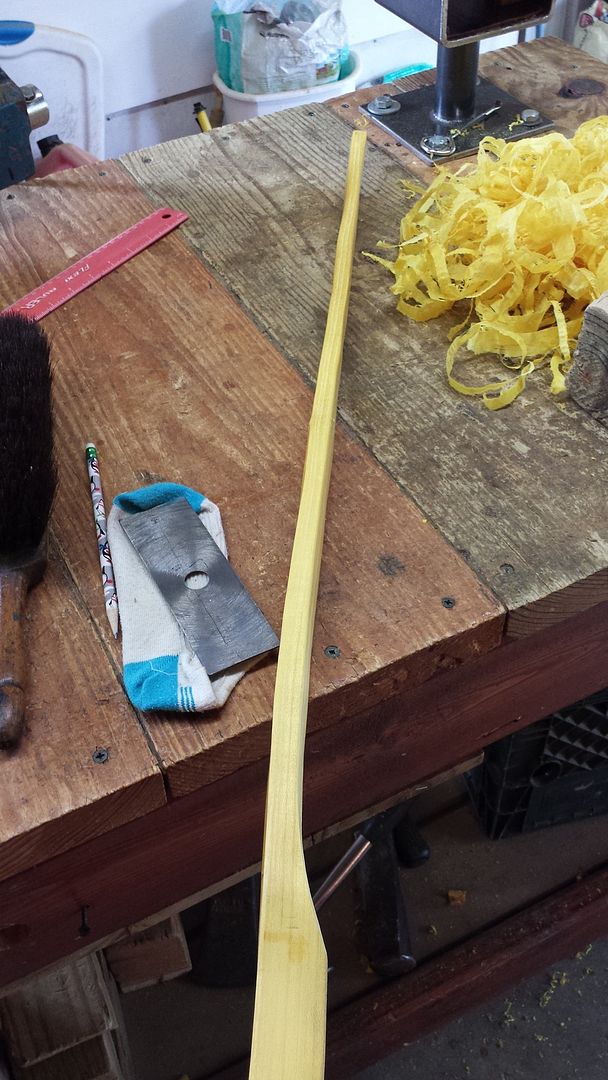 Now both limbs are done. Its ready for the long tillering string to see how it is bending. 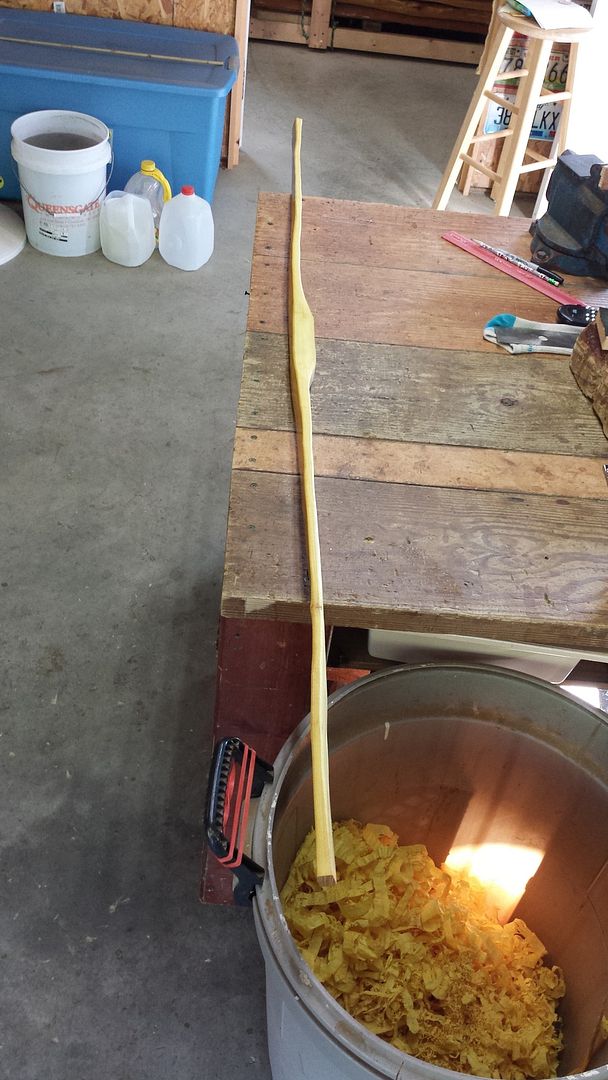 I left the tips very wide. That allows me to put in some temporary string grooves. 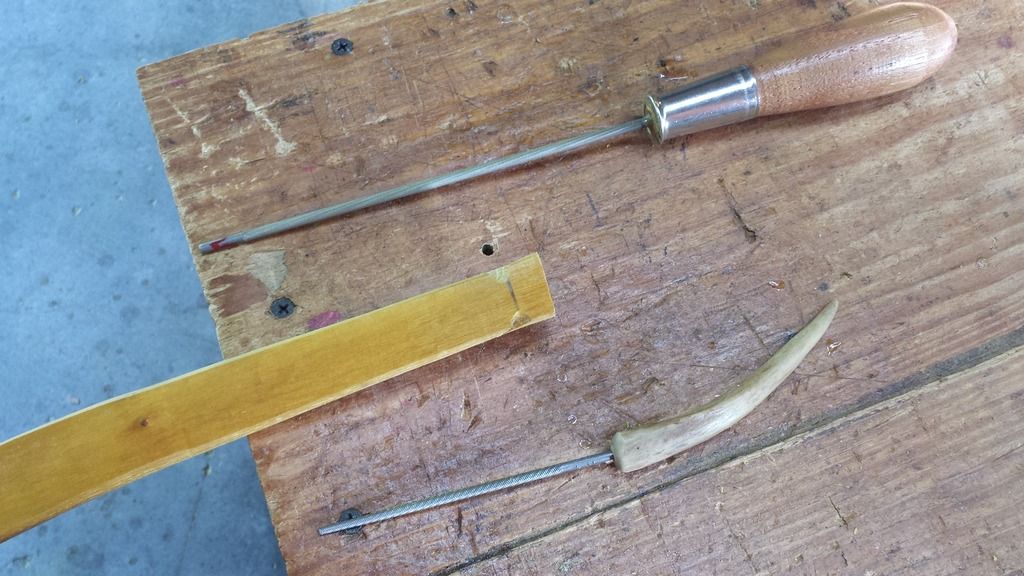 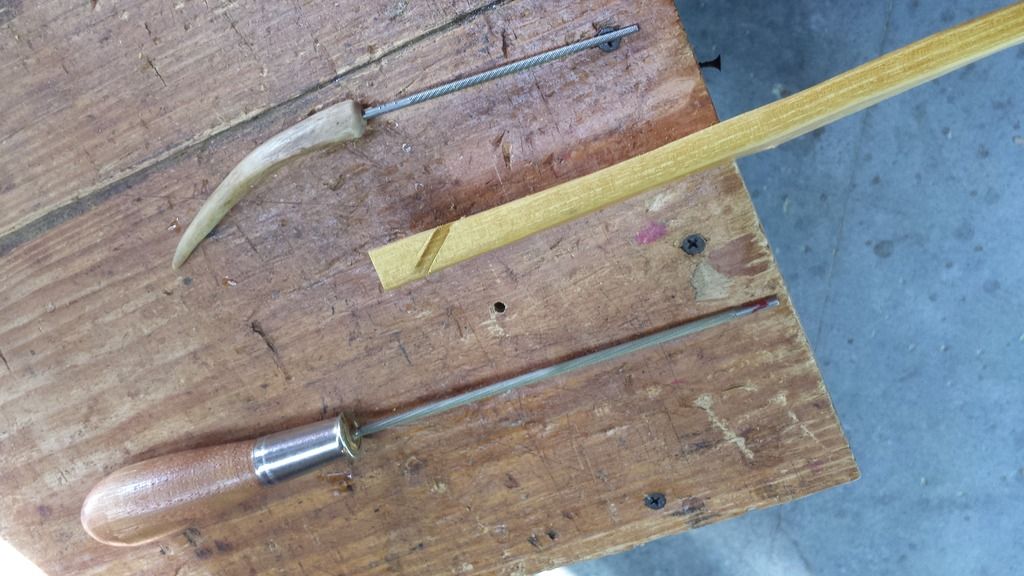 I checked the weight on my scale. I don't want to pull the bow back any farther than it takes to hit 50 lbs. At this point I'm not bending the limbs very much at all. I just want to see if they are bending evenly and to check for any weak or stiff spots. 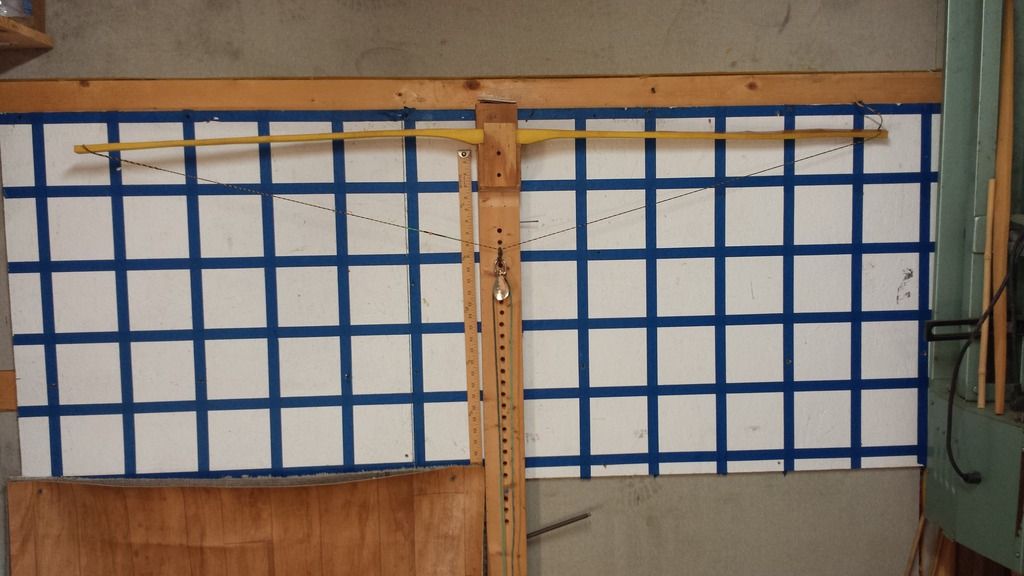 The limb on the right is stiff. I need to take a few scrapes off of it to get it bending even with the left limb. 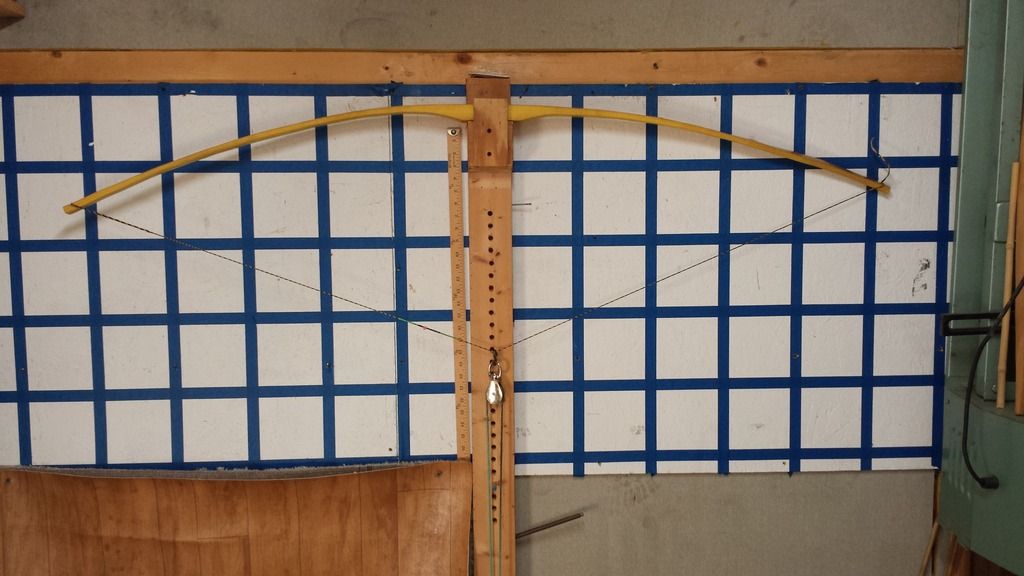 I put the bow in my hot box for about an hour today to help remove any excess moisture. I switched it end for end a couple of times. With the heater on low and the door cracked it was a little over 100 degrees in there. I had a good amount of air flow going out the other side. I plan on getting it on the caul tomorrow after another round in the hot box. 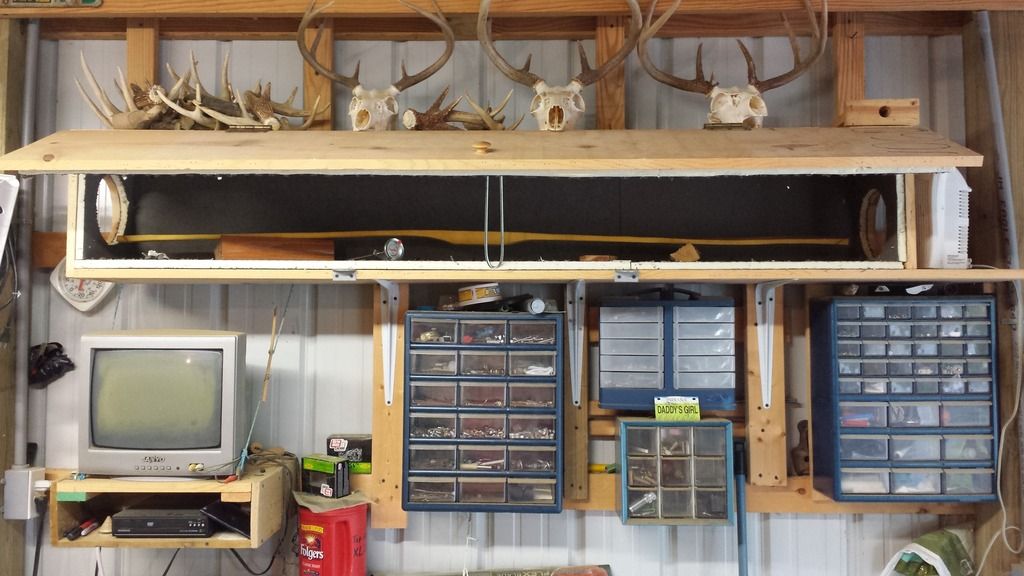 |
|
|
|
Post by dadfsr on Aug 26, 2015 5:38:06 GMT -5
Thank you for putting this out for us all to watch!!!! Trapper Dave-you're getting a bow with a lot of history and something will have that special feel every time you pick it up.
|
|
|
|
Post by scrub-buster on Aug 26, 2015 13:13:54 GMT -5
No problem. I hope it gets others interested in making a bow. I put the bow in the hot box for a couple of hours today. Some drying checks opened up on the handle. That's a sign it is still holding some moisture. I filled them with superglue. They don't go very deep. When I shape the handle and fades they will be removed. I'll take a few scrapes off the stiff limb and then give it a few more days to dry out. The checks were in the thickest part of the bow. The limbs probably don't have as much moisture in them. 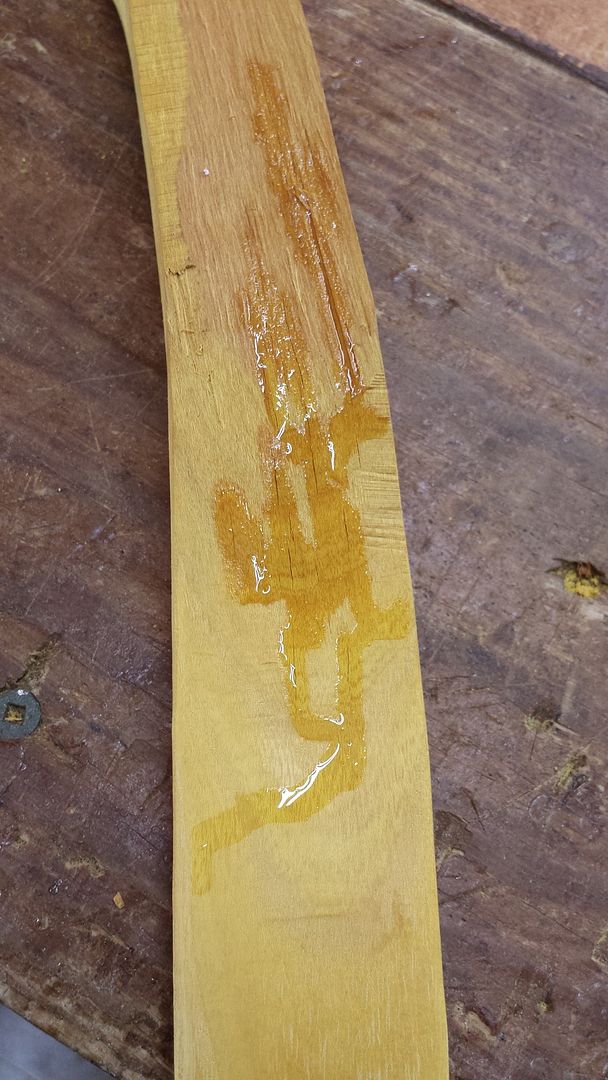 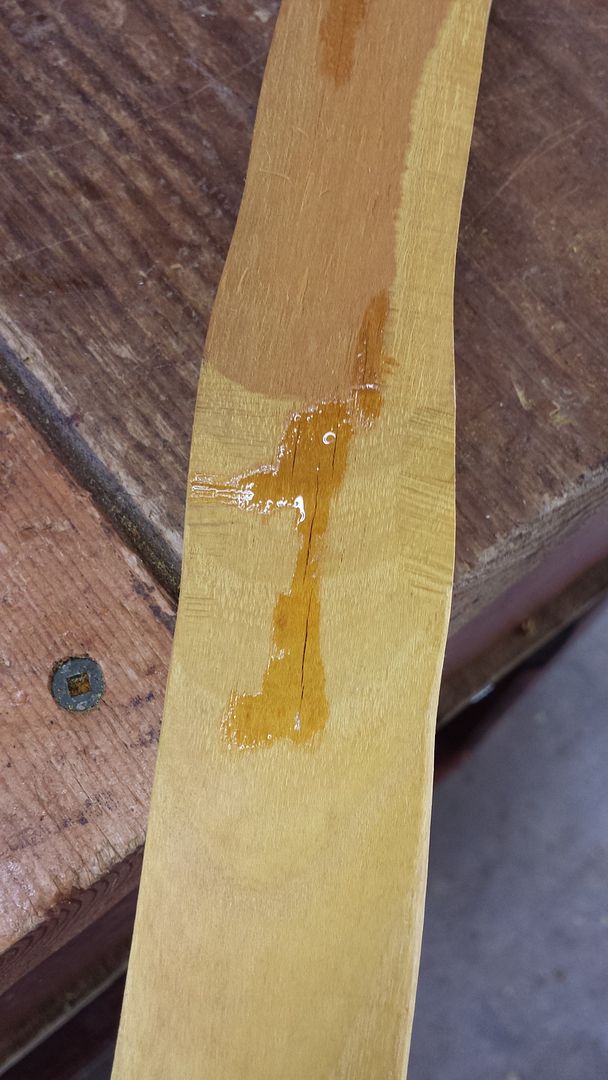 |
|
|
|
Post by HighCotton on Aug 26, 2015 16:10:53 GMT -5
I usually turn the TV on when I get home or check the net for the latest news. Now, I pop H-I up to see how the build is coming along, instead. Very cool scrub-buster!
Do you test the wood for % moisture at any point? Is that even possible? Just the ole farmboy in me thinking in terms of moisture content on grain.
|
|
|
|
Post by trapperdave on Aug 26, 2015 17:19:28 GMT -5
coming along nicely!
|
|
|
|
Post by scrub-buster on Aug 26, 2015 19:22:35 GMT -5
I don't have a moisture meter. I try to use staves that have seasoned for a few years. I wanted the character and story in this one so I rushed it a little. Even with seasoned staves they can hold moisture from the humidity. I like to rough out a bow and then leave it in the house for a month or two before bending it. I've got a few started for myself leaning up in the corner of the bedroom.
Trapper Dave, I'm trying to get it done before October first.
|
|
|
|
Post by trapperdave on Aug 27, 2015 18:45:14 GMT -5
no rush. Dont want it to turn into work for ya.  |
|
|
|
Post by greghopper on Aug 27, 2015 19:05:31 GMT -5
Scrub...Where and how did you learn all this info and how to apply it?
This is interesting stuff for sure and your detail is GREAT!
|
|
|
|
Post by scrub-buster on Aug 27, 2015 21:32:33 GMT -5
Trapper Dave, making bows is something I really enjoy. Its a break from work.
Greghopper, I read a lot of books and started making my own bows in 2009. After a couple years I started going to several primitive bow gatherings and became friends with some the best bow builders in the country. They have taught me so much over the last few years. I enjoy making my own weapons and tools. I have started studying forging and knife making and will be posting my first complete knife soon.
|
|
|
|
Post by dadfsr on Aug 28, 2015 5:45:26 GMT -5
Just a question that I've been wondering about-you said that you were looking for larger growth rings to work with but in a way that seems a little counter intuitive since I've always thought that smaller growth rings equaled stronger wood because of the tighter pattern?.....just seems that the slower growing, tighter growth ring trees also have the strongest (and most beautiful) wood. I'm still watching this build very closely-one of my Scouts from my old Venturing Crew made a bow from a hedge apple limb but I'm sure he didn't go to this height of professionalism when he worked it up  |
|
|
|
Post by HighCotton on Aug 28, 2015 6:00:28 GMT -5
Ok scrub, between this build and the video you posted in Campfire you've renewed my interest in trying to take a deer with my recurve. After 3 seasons, it was getting to be discouraging. Gonna give it a go again. Only with a different thought process. Thoughts of just enjoying the hunt and let the experience be what it will be!
So, first of all, would you be interested in building a bow for me (no time pressure here) and second, can you give a price range?
|
|
|
|
Post by scrub-buster on Aug 28, 2015 7:45:50 GMT -5
Just a question that I've been wondering about-you said that you were looking for larger growth rings to work with but in a way that seems a little counter intuitive since I've always thought that smaller growth rings equaled stronger wood because of the tighter pattern?.....just seems that the slower growing, tighter growth ring trees also have the strongest (and most beautiful) wood. I'm still watching this build very closely-one of my Scouts from my old Venturing Crew made a bow from a hedge apple limb but I'm sure he didn't go to this height of professionalism when he worked it up  Thinner ringed wood can make good bows. A lot of expert builders prefer tighter growth rings. But with thin growth rings it is easier to violate them and create a weak spot in the back of the bow. The ratio between early and late wood is more important than ring thickness. You want more of the dark late wood and less of the light colored early growth. In this stave the top rings were more early wood and less late wood. I could have carefully chased a ring but it would have been weaker than the wood a few rings down. The red arrow shows the poor ratio. The green arrow shows the better ratio.  Check out the rings in the piece of wood the knife is sitting on. That is about as good as it gets with osage ring ratio. 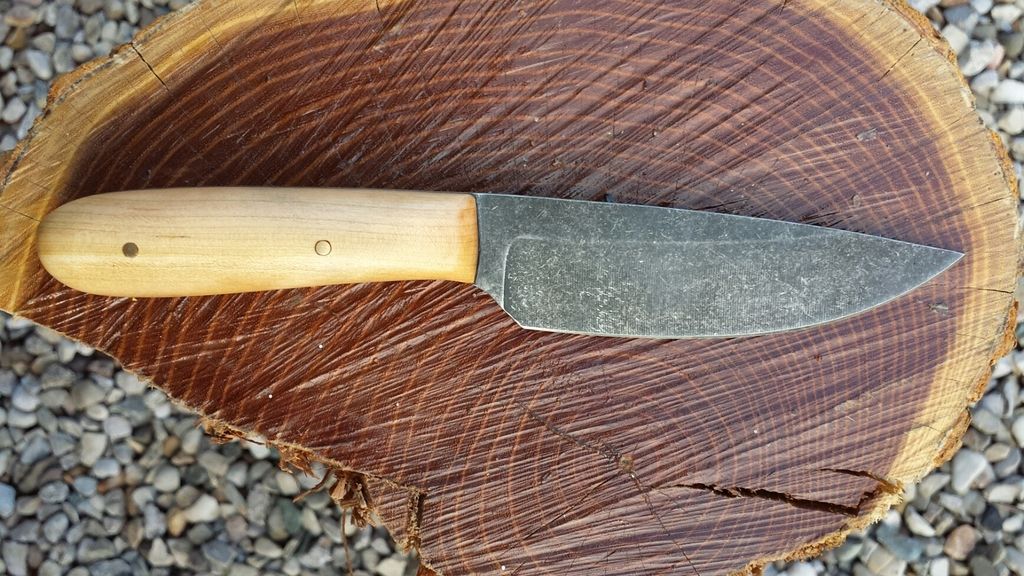 I've got some staves from very slow growing osage trees. They are very heavy and dense. I haven't made a bow from them yet. |
|
|
|
Post by scrub-buster on Aug 28, 2015 7:51:28 GMT -5
Ok scrub, between this build and the video you posted in Campfire you've renewed my interest in trying to take a deer with my recurve. After 3 seasons, it was getting to be discouraging. Gonna give it a go again. Only with a different thought process. Thoughts of just enjoying the hunt and let the experience be what it will be! So, first of all, would you be interested in building a bow for me (no time pressure here) and second, can you give a price range? Glad you are going to give it another try. Limit your shots to what you are comfortable shooting with your bow. For me its 15 yards or less. When I first started shooting primitive bows I was also using a compound. Switching back and forth messed me up on both. I sold my compound and got a crossbow. Focusing on shooting only my longbow made me a better shot and allowed me to take my first deer with one of my bows. I'll send you a PM about a bow. |
|
|
|
Post by dadfsr on Aug 28, 2015 9:13:44 GMT -5
Cool! I wasn't really doubting what you are doing because I knew there would be a good reason for how you were doing it-which you gave a very lesson on!!! Thank you!!! I know that nothing will ever grow in perfect circles so trying to chase just one growth ring just seems to be almost impossible (at least to me) to do....and something that probably would require much more patience than I also probably have  |
|
|
|
Post by scrub-buster on Aug 28, 2015 10:33:01 GMT -5
It's not to bad on a clean stave. When the back is concave it makes it a lot harder. Knots and thin rings make it tough sometimes. I spent 2 days chasing a ring around a knot hole on a bow I made several years ago. The rings were paper thin.
|
|


