|
|
Post by scrub-buster on Aug 29, 2015 18:38:04 GMT -5
I put the bow in the hot box for a couple of hours this morning and no new checks opened up. It was ready to put on the reflex caul. I got everything ready and within arms reach. 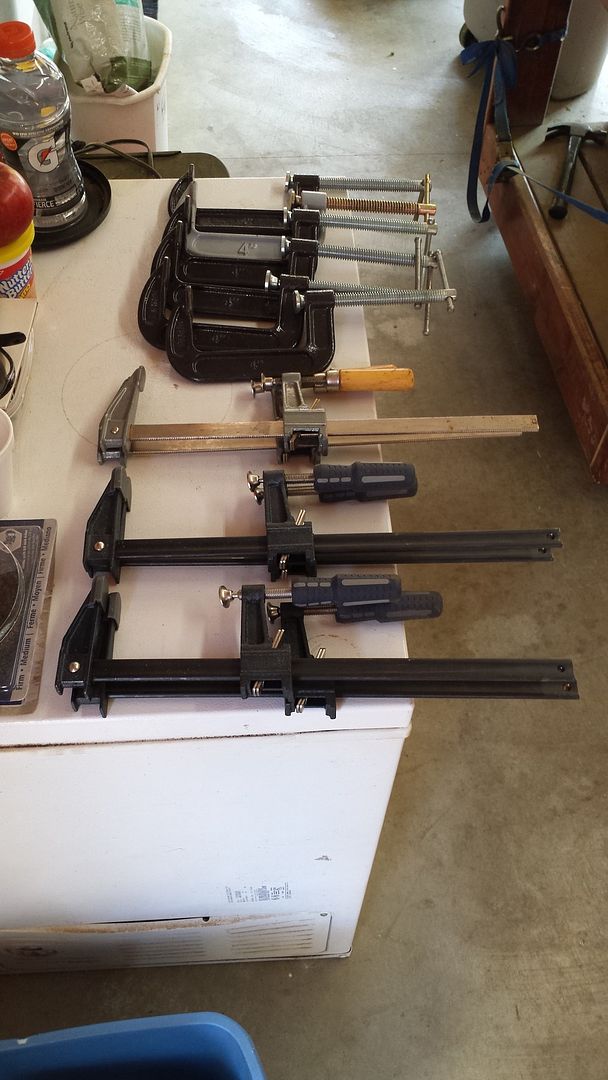 The bow has some natural deflex on one limb. I clamped it at the handle so it wouldn't move as I worked my way out the limb. I used the heat gun to slowly heat the limb and toast it to a light brown color. I would do a 6" section, clamp it, and move on down the limb. A friend showed me how to heat temper a bow at the Tenn. Classic this year and I was very impressed with the results. 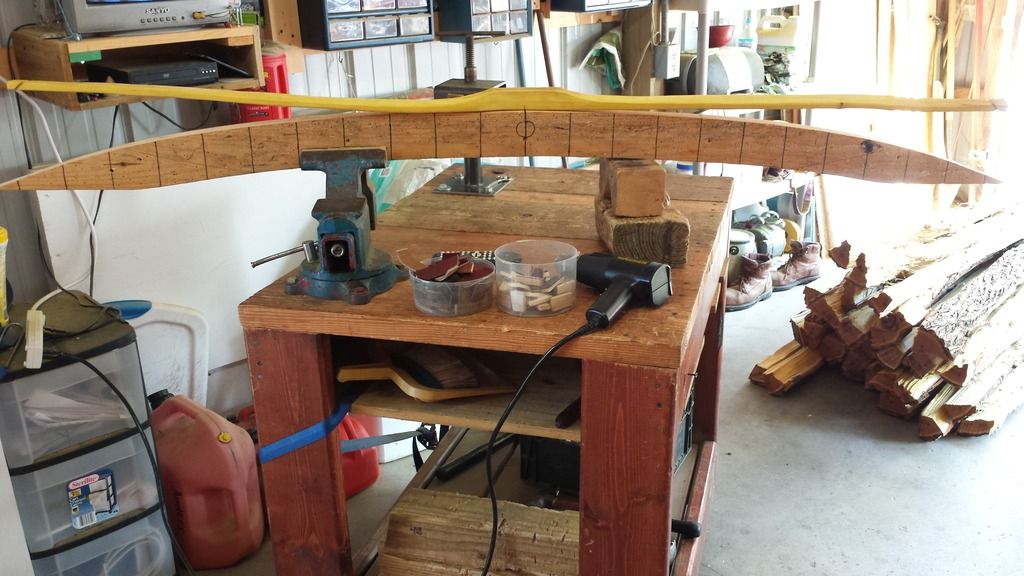 After holding a heat gun for an hour and 15 minutes its done. I'll leave it set until tomorrow. I want to flip the tips just a little so I stopped heat treating about 6" before the nocks. I also tweaked the tip alignment so the string will cross the center of the handle. 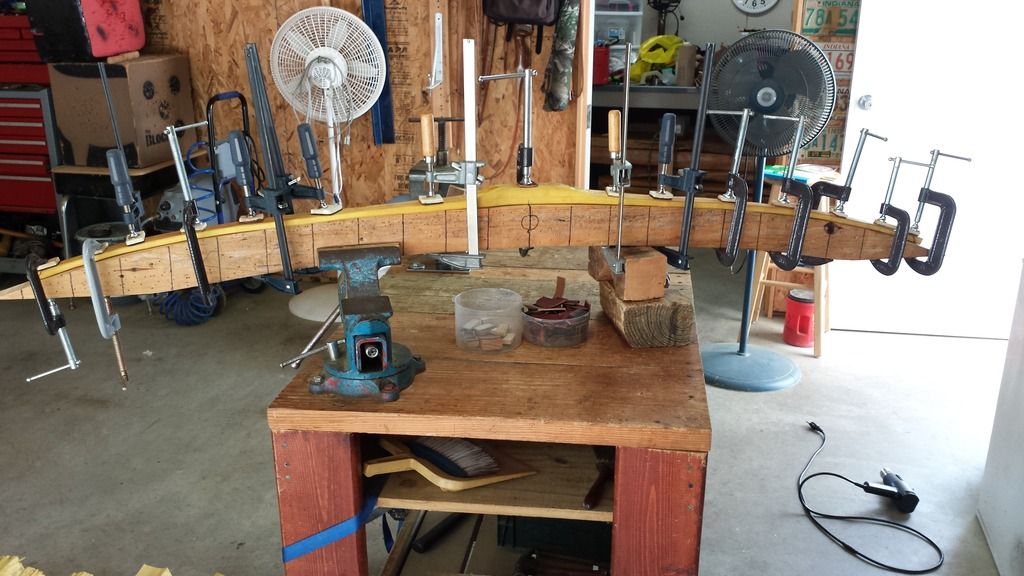 Some guys will heat it until it looks burnt. I stop when it gets a light brown color. I'm afraid I'll burn it up if I go to much darker. I put a leather covered wood pad under each clamp so it doesn't leave dents in the wood. 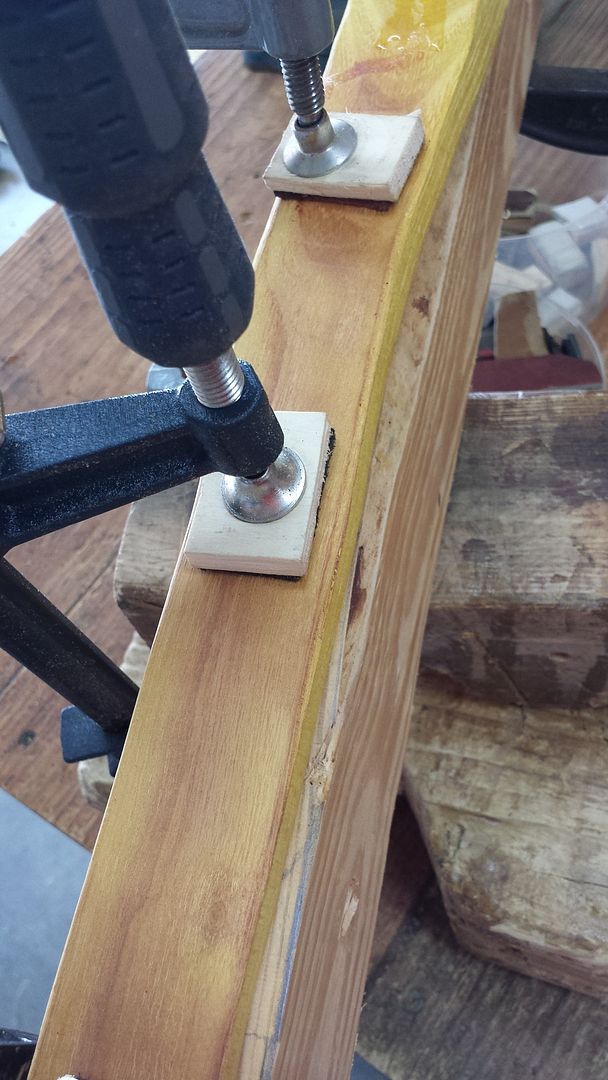 |
|
|
|
Post by scrub-buster on Sept 1, 2015 15:46:57 GMT -5
Here it is off the form. It help most of the reflex. 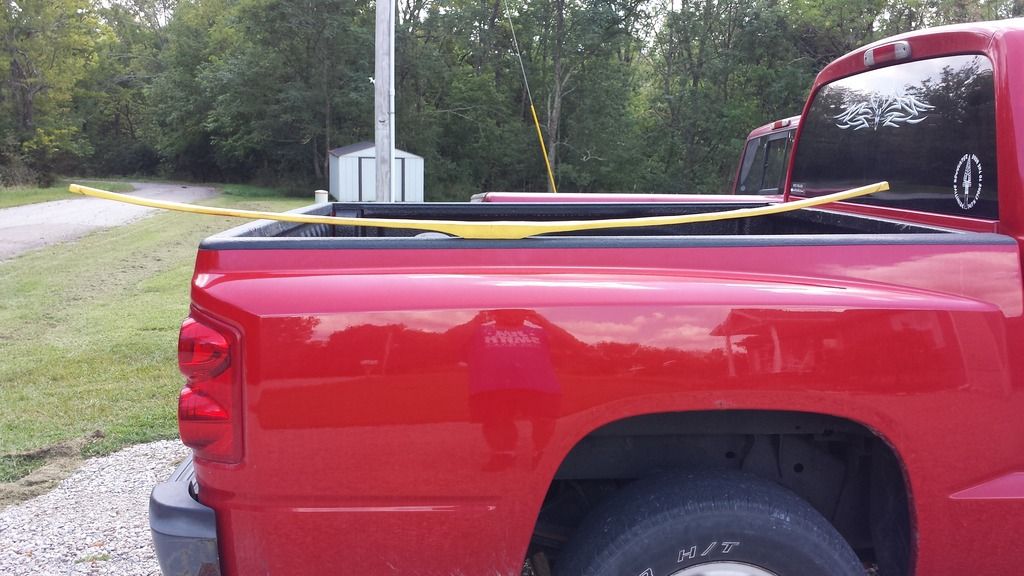 I decided to put a slight recurve shape to the tips. I did the first limb yesterday morning and the second limb last night after a football game. 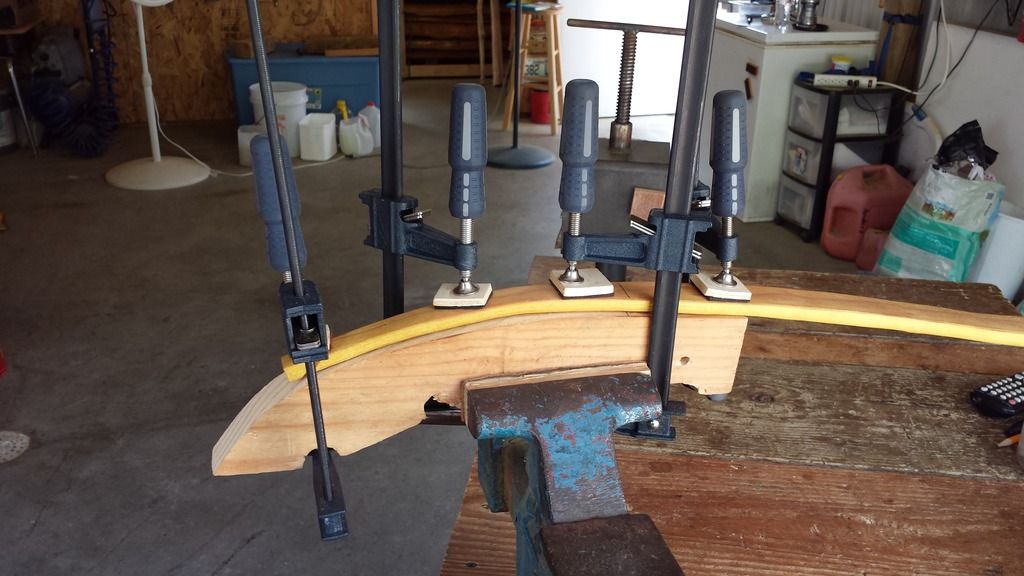 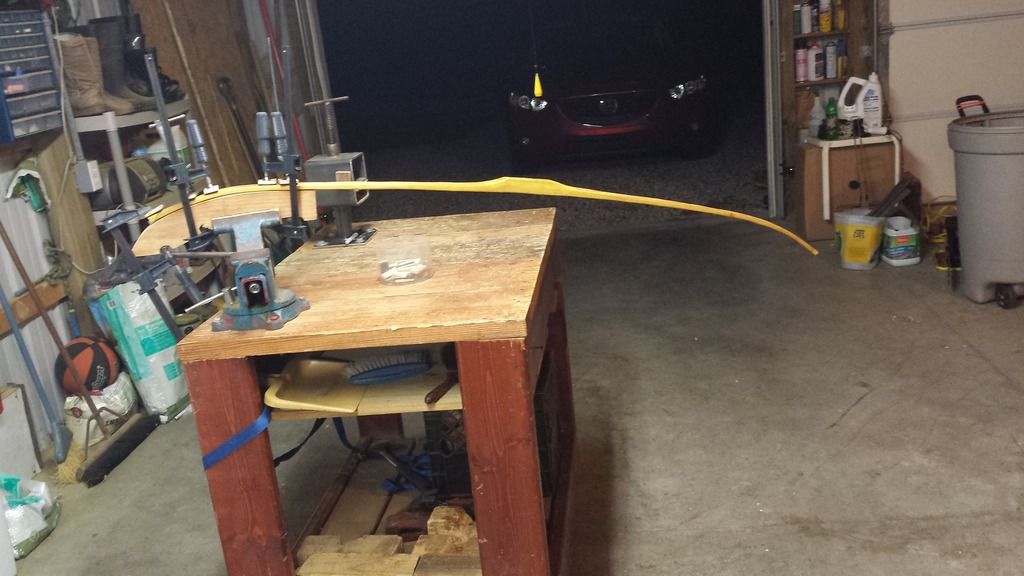 A small crack opened up on the second limb. I filled it with superglue. I'm not to worried about it. 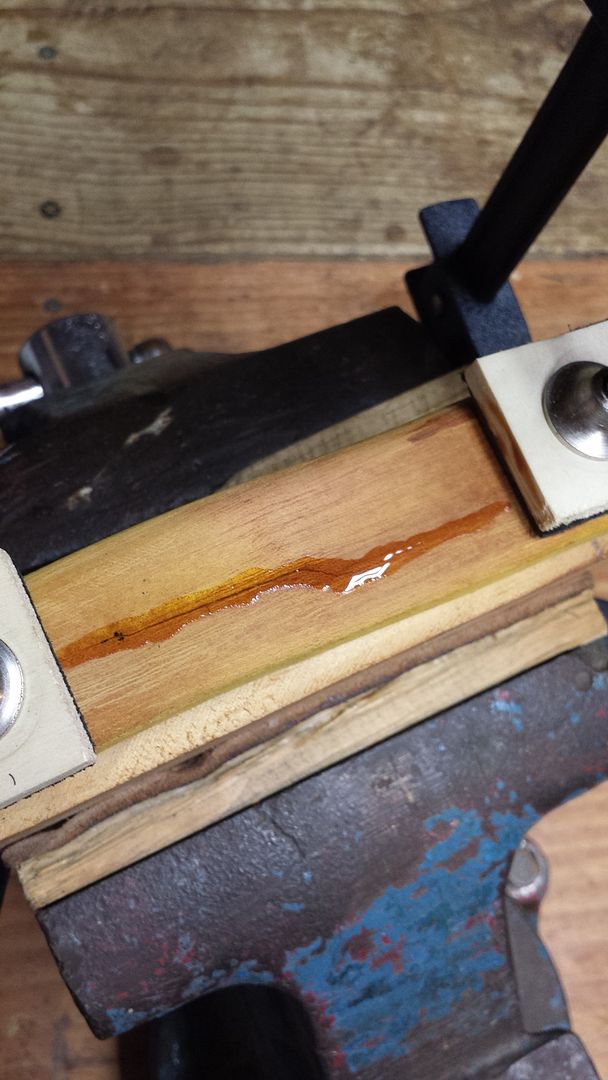 |
|
|
|
Post by trapperdave on Sept 1, 2015 17:02:50 GMT -5
its like being a kid waiting for Christmas.....and Ive peeked under the tree lol  |
|
|
|
Post by scrub-buster on Sept 1, 2015 22:12:35 GMT -5
I took it off the form tonight when I got home from work. Everything looks good. Its ready for some tip overlays and then on to tillering. 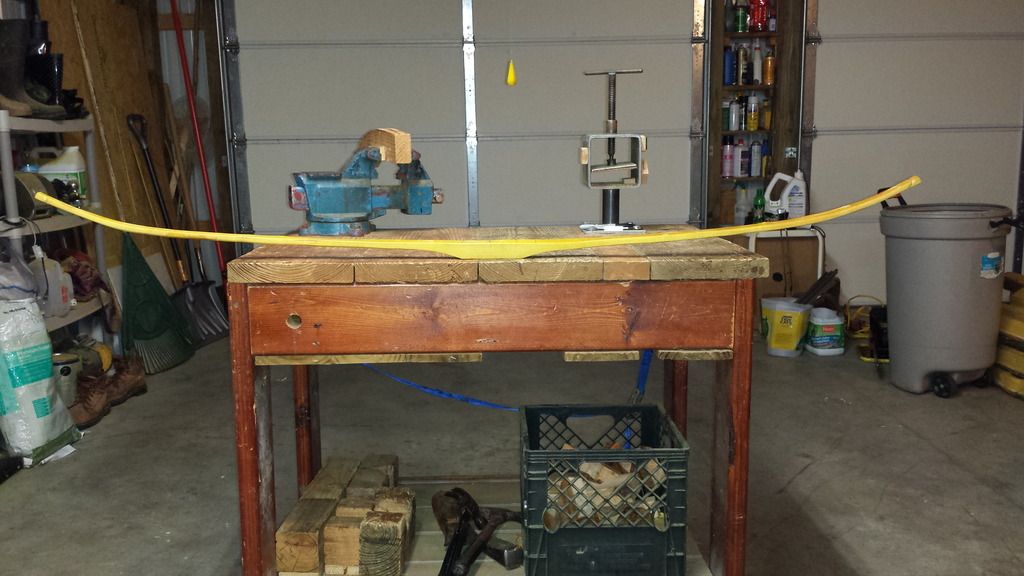 |
|
|
|
Post by scrub-buster on Sept 4, 2015 22:17:27 GMT -5
Today I got out my bighorn sheep horns and picked out some sections to cut out some overlays. I get them from a guy who cuts the outside strips off to use for composite horn bows. 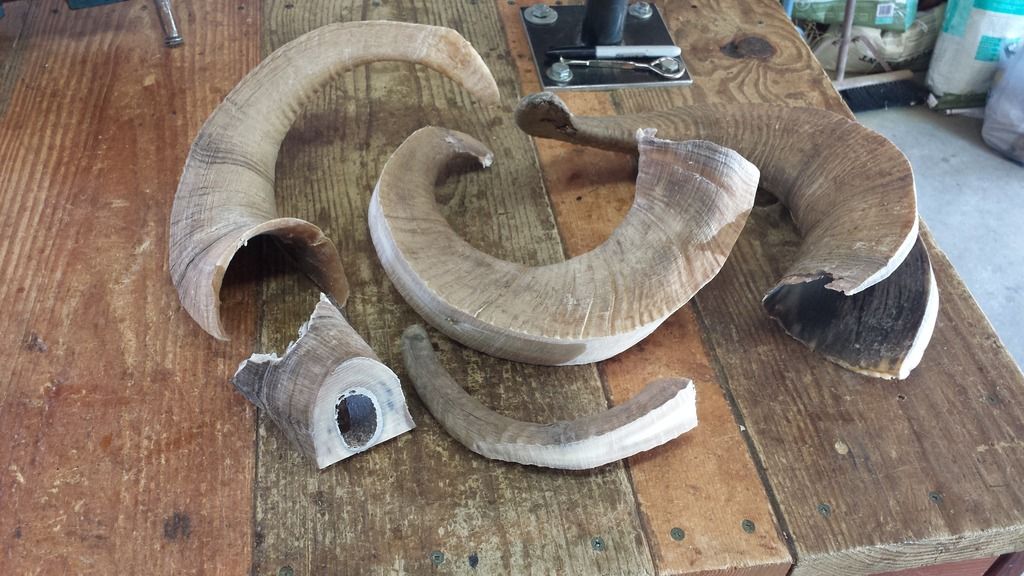 I cut out half a dozen overlays before I found 2 that I like. The one is higher in the back but that will be trimmed down. I want to keep some of the outside layer in the finished overlay. 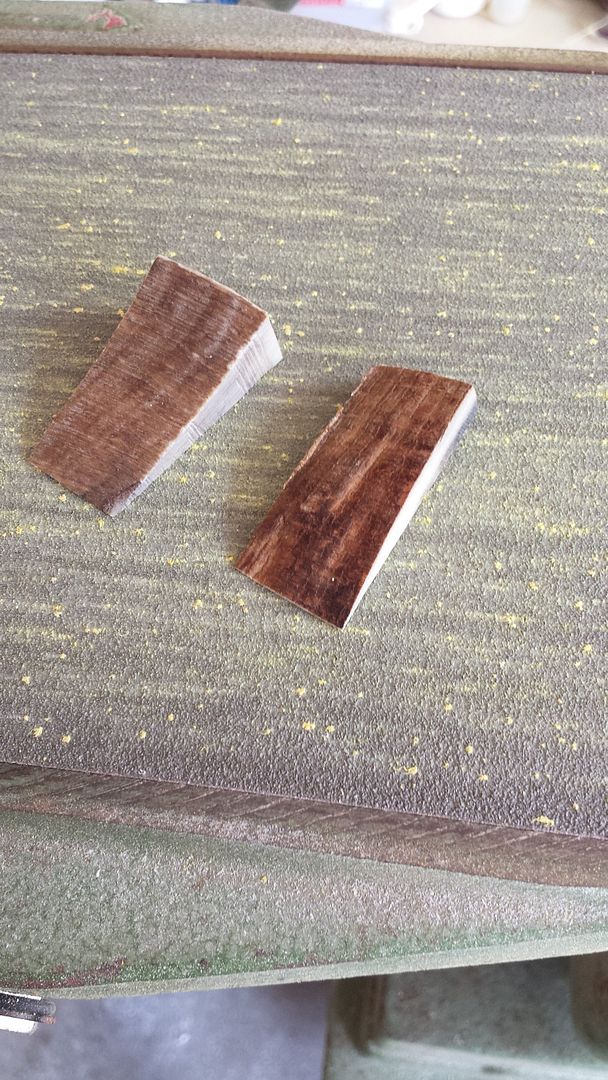 I put an angle on the tip with the belt sander. If you don't put the angle on them the overlays stick up like sore thumbs. 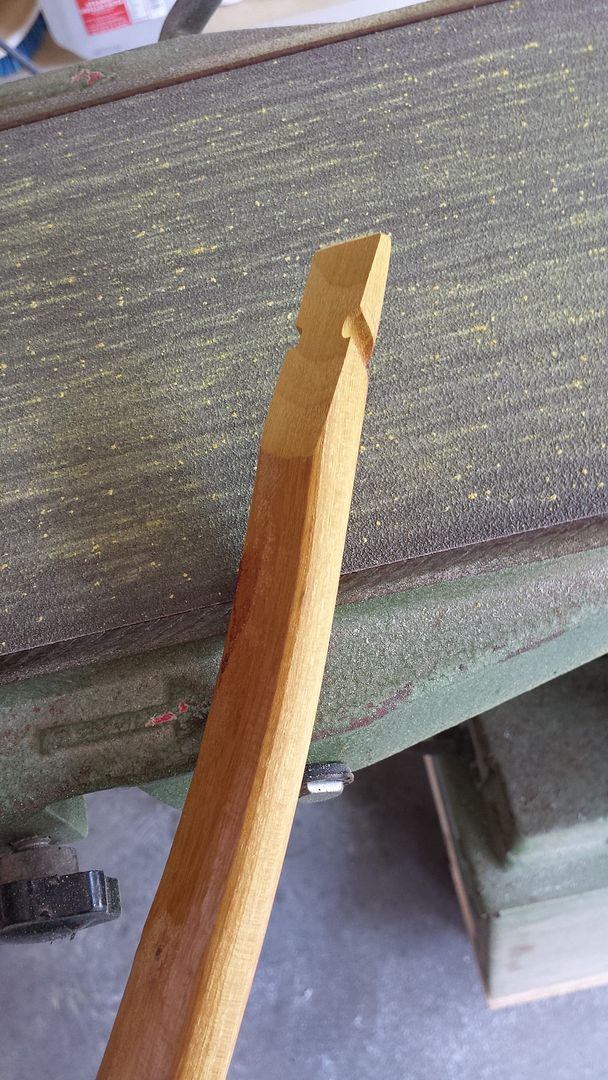 It is very important to get a perfectly matching glue joint. 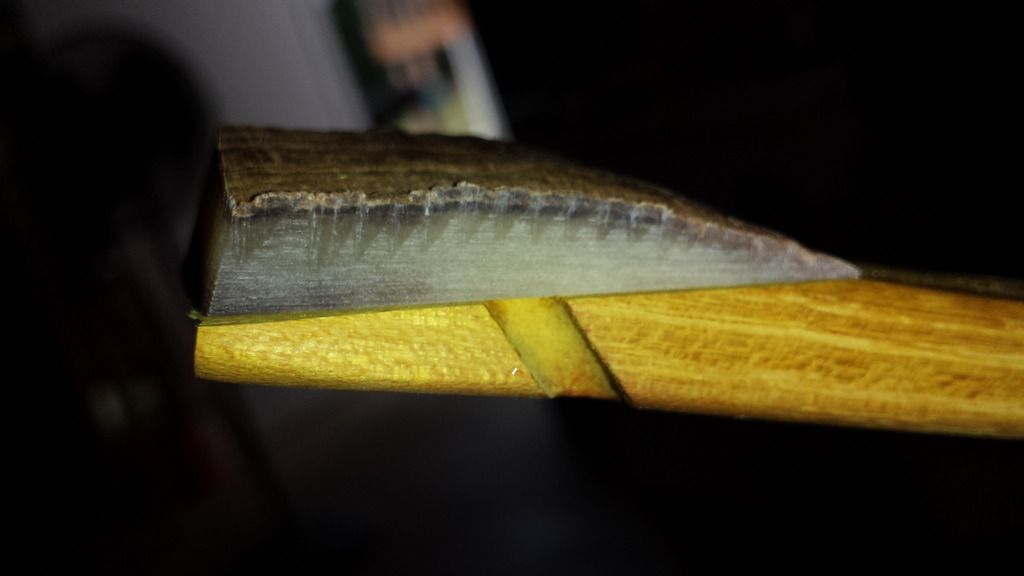 I used liquid superglue. I wrap them in rubber bands to hold constant pressure on it until it dries. 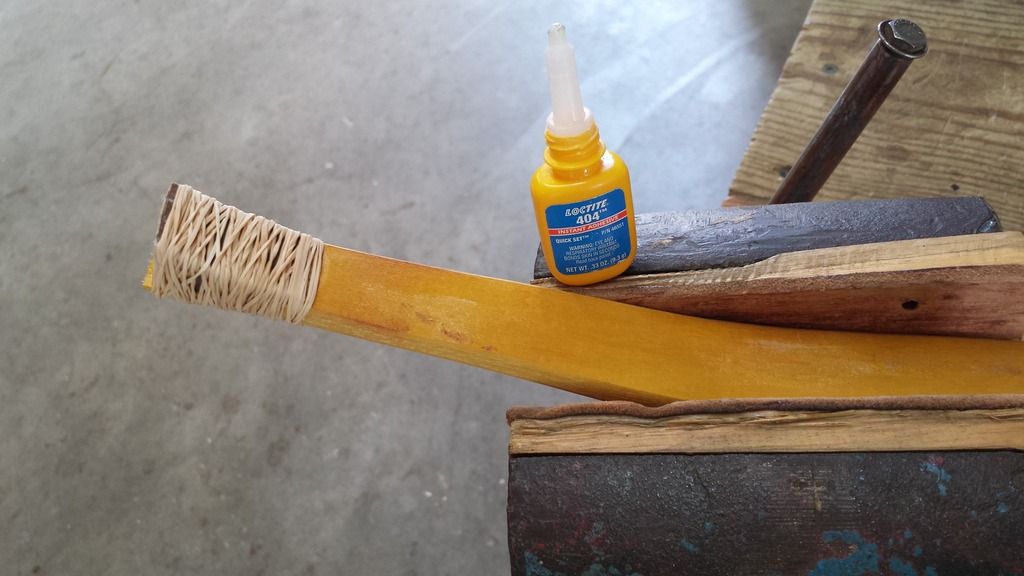 |
|
|
|
Post by scrub-buster on Sept 9, 2015 21:59:48 GMT -5
I was hoping to start tillering the bow today but with all the moisture in the air I held off. I did get the tips rough shaped. They are still pretty wide. They will get thinned down and shaped after its tillered. I think I'll be able to leave some of the natural look on the overlays. I'll start flexing the limbs this weekend. Here are the tips and the tools I used. 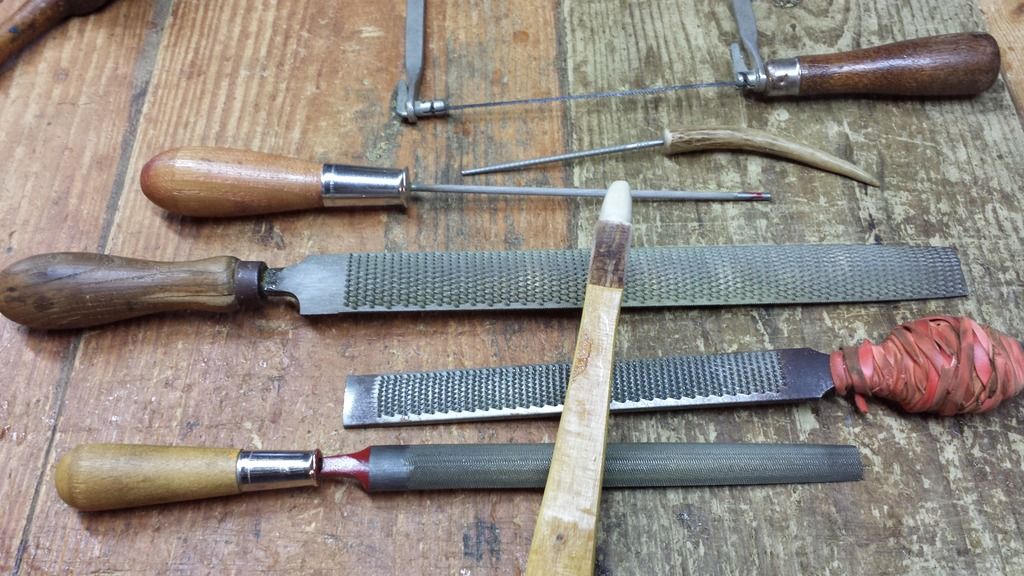 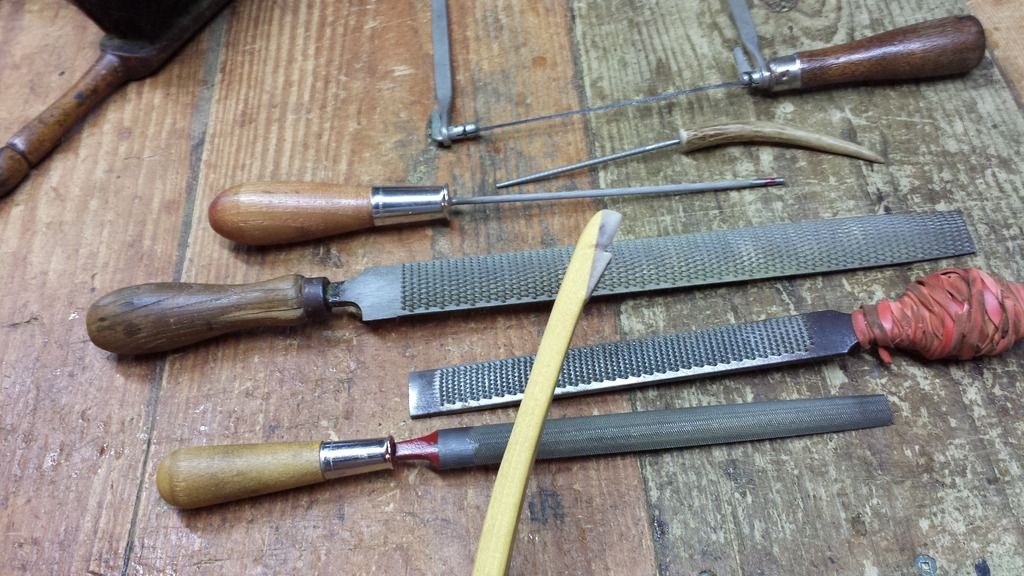 |
|
|
|
Post by scrub-buster on Sept 23, 2015 20:09:40 GMT -5
I haven't had much time to work on the bow lately. We have been putting up stands and getting other stuff ready for opening day. And with my daughters cross country meets several nights a week it doesn't leave much time for anything else. I did get some quality time on it today. I used a long string to see if both limbs are bending evenly. 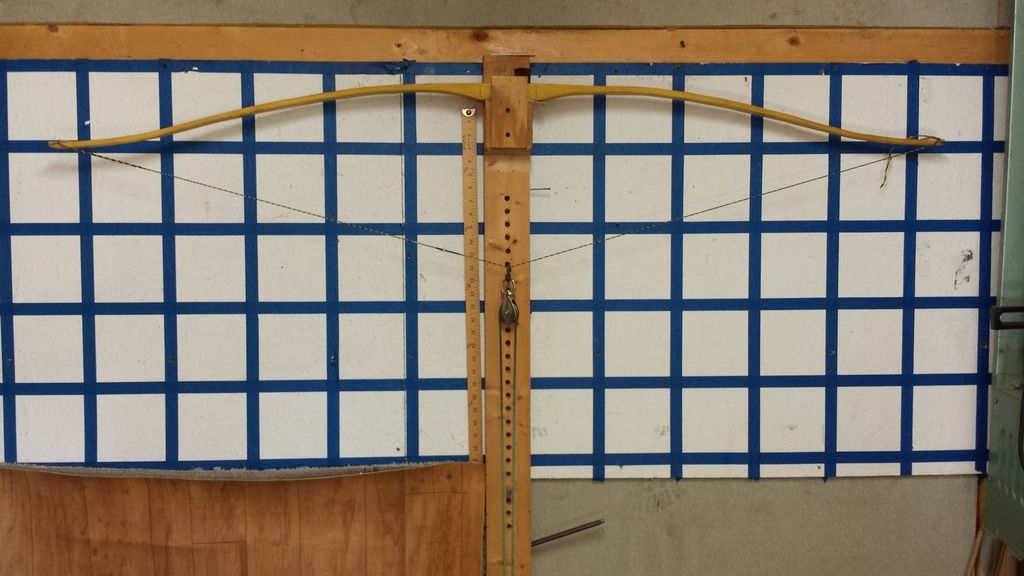 I make marks on the limbs as I'm bending them. When I start scraping it again I know where to remove wood and where to leave it alone. I'm paying attention to the limb thickness on each side. You don't want to have one side thinner than the other. 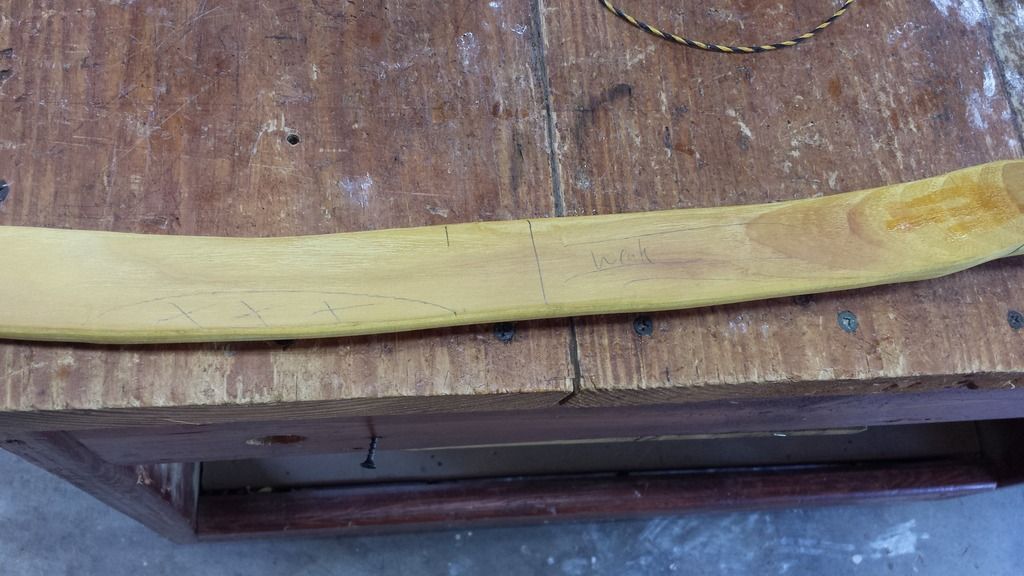 After I got everything bending evenly I took it to a low brace. 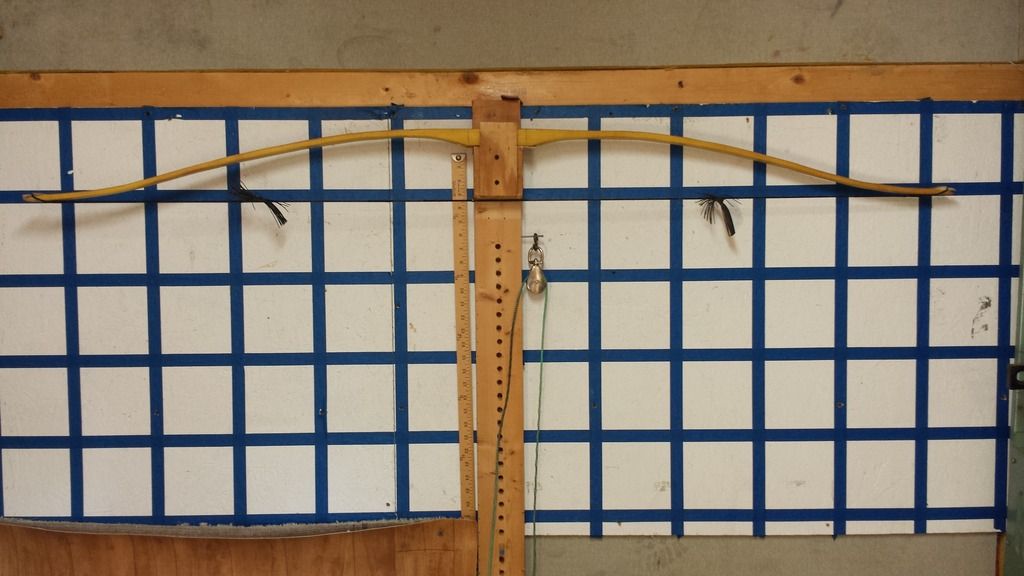 I pulled it back a few times to check it out before quitting for the day. The outer limbs are a bit stiff. I'll get them bending more before I go any farther with it. 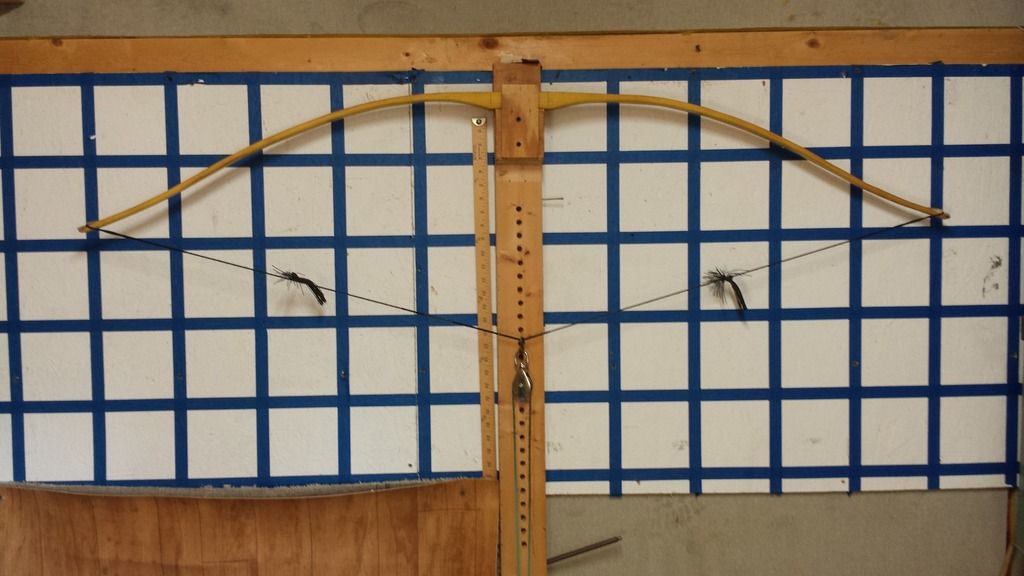 |
|
|
|
Post by nfalls116 on Sept 24, 2015 1:27:45 GMT -5
Looking good!
|
|
|
|
Post by trapperdave on Sept 24, 2015 5:58:02 GMT -5
coming along nicely!
|
|
|
|
Post by duff on Sept 25, 2015 8:17:22 GMT -5
Dang I have missed this thread for all summer. Looks great!
|
|
|
|
Post by HighCotton on Sept 25, 2015 16:12:56 GMT -5
Every update, you get my mind reelin' with new ideas! Awesome job scrub!
|
|
|
|
Post by scrub-buster on Oct 7, 2015 21:23:55 GMT -5
|
|
|
|
Post by trapperdave on Oct 8, 2015 19:41:31 GMT -5
suweeeeeeeeeeeeet
|
|
|
|
Post by trapperdave on Oct 8, 2015 19:42:56 GMT -5
that tiller looks awesome.
|
|
|
|
Post by scrub-buster on Oct 8, 2015 21:01:55 GMT -5
Thanks. Its starting to come together. The hard part is done. It's time for the finish work now. I will shoot it some more before I put the skin on it.
|
|
|
|
Post by HighCotton on Oct 8, 2015 22:39:40 GMT -5
That's looking real good scrub!!!
|
|
|
|
Post by scrub-buster on Oct 10, 2015 20:37:44 GMT -5
Thanks. I made a double loop flemish twist string for it. I wanted to use pink and purple but Trapper Dave didn't seem to fond of those colors. I went with black and a wine red color. 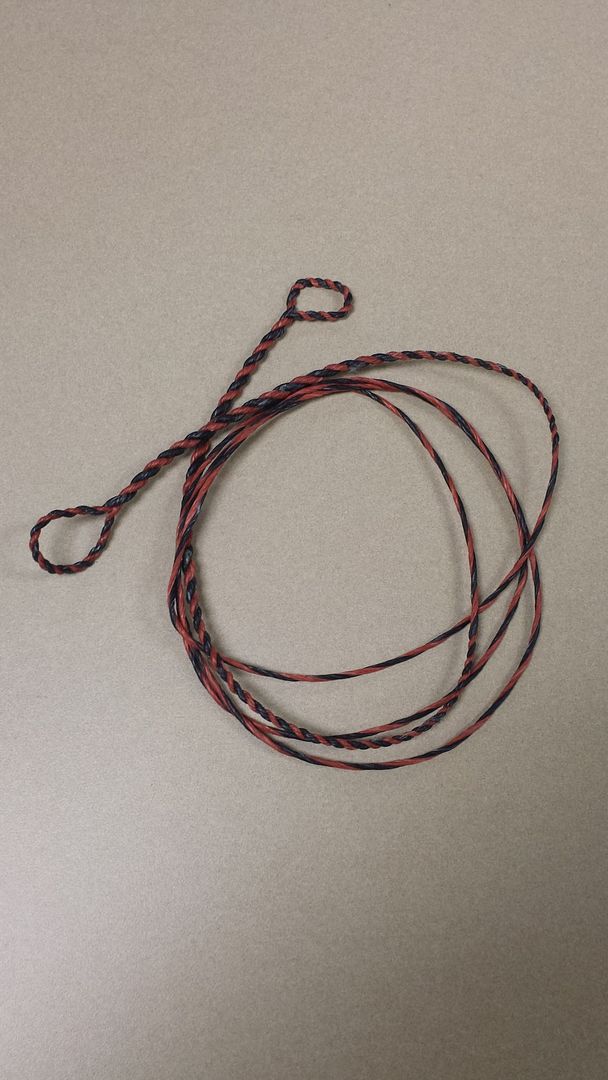 I make the string a little short and put it on this jig to stretch it out to the exact length. Once I started doing this with my strings they don't ever stretch on the bow. I torque down on them quite a bit. 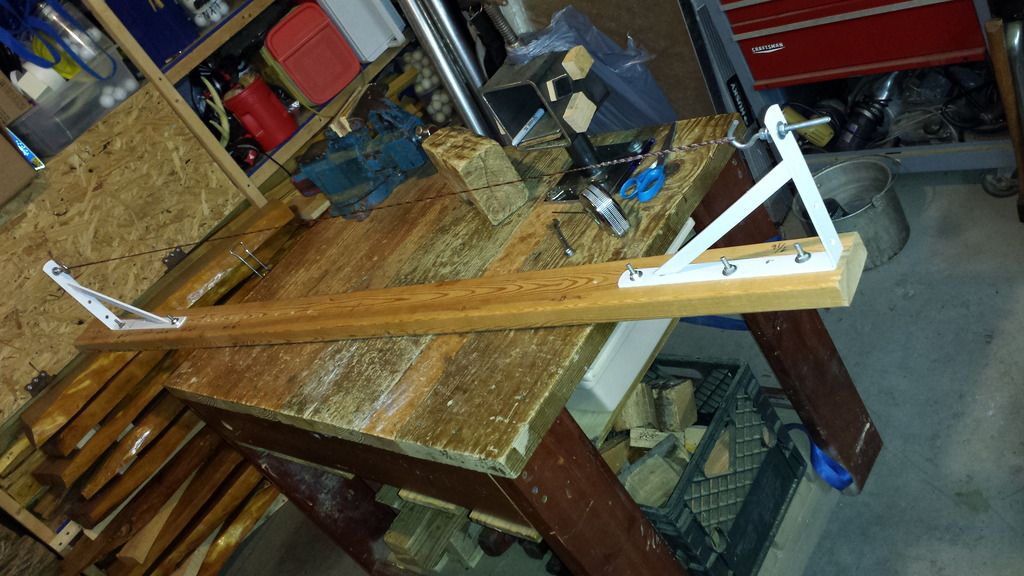 It squeezes the excess wax from the string. 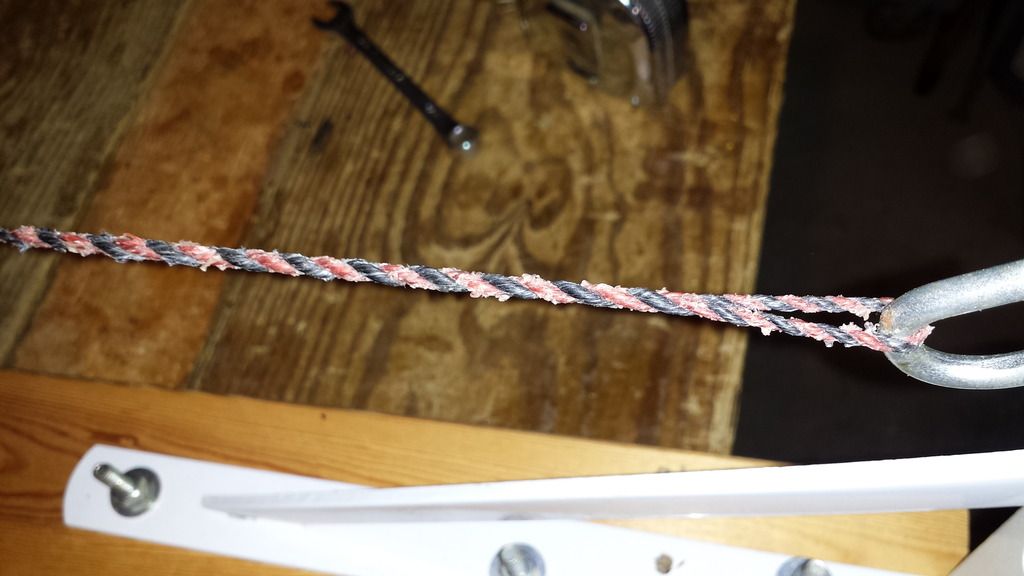 |
|
|
|
Post by scrub-buster on Oct 12, 2015 14:55:28 GMT -5
I took some thickness off of the limb tips and shot the bow some more. Everything looks and feels good so its on to finish work. I sanded the bow and coated the back with a thin layer of glue. It helps keep the moisture from the snake skin from soaking into the wood. After that was dry I started on the snake skin. I let it soak in water for about 15 minutes to soften it up. I decided to use a black rat snake skin. They actually have a nice pattern and look great on osage. They fade from light to dark down the skin towards the tail. It will get a little lighter when I remove all the scales. It was long enough to cover the entire bow and still have several inches left over. 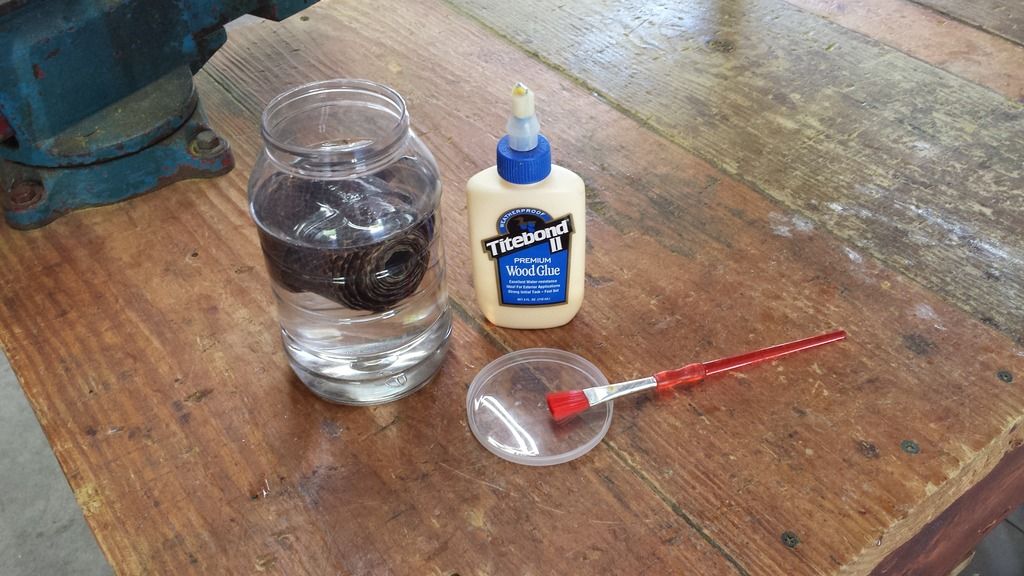 I hung it up and let the extra water drip off. You want the skin damp and pliable but not soaking wet. 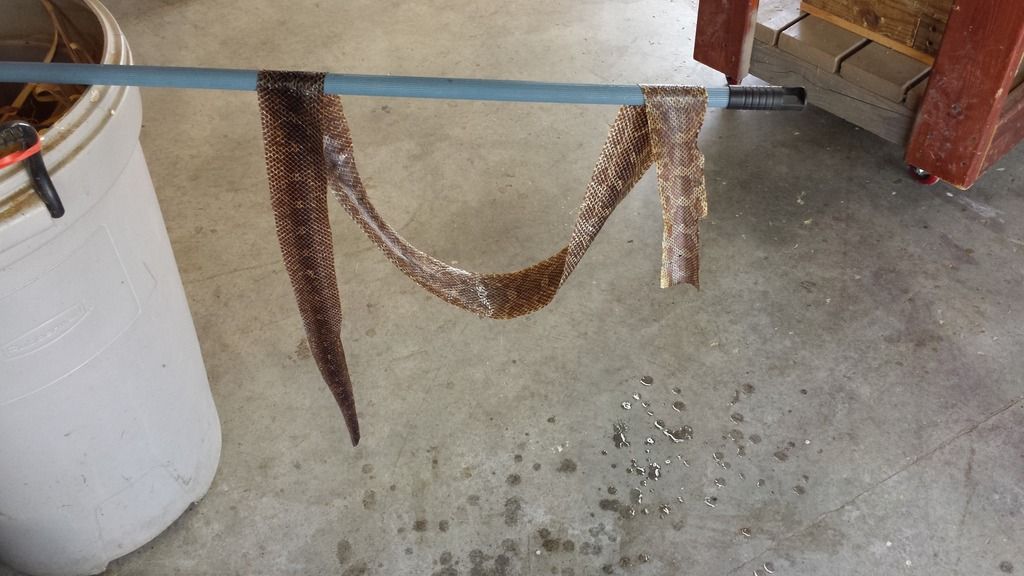 I mixed a few drops of water in with the glue and coated the back of one limb. I have to hurry and put the skin on it before the glue starts to dry. After adjusting the skin and getting the pattern centered on the limb I started smoothing it out and working all the air bubbles out. Then I did the same thing on the second limb. 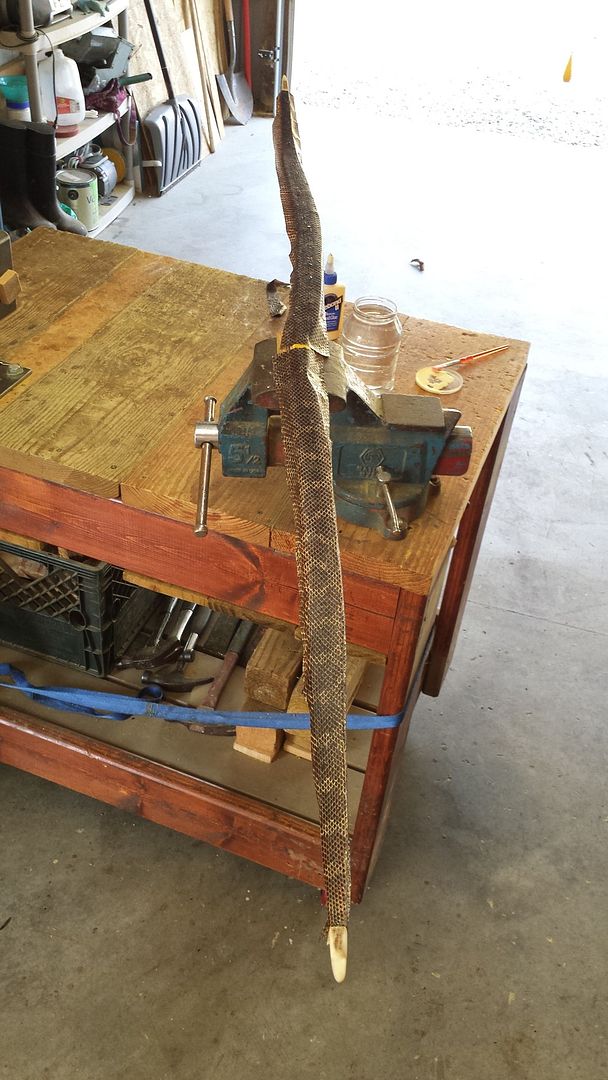 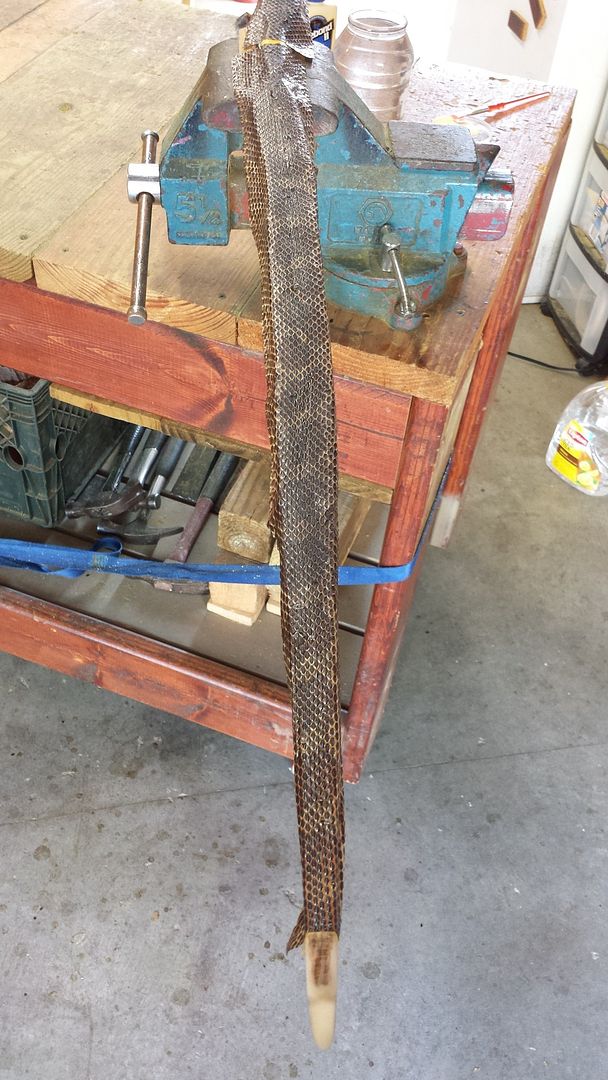 Once I had all the air bubbles worked out of the second limb I wrapped it with ace bandages to hold the skin down on the edges of the limb. As it dries it wants to curl up. I set it outside in the shade to dry. Its windy today so it should set up fast. 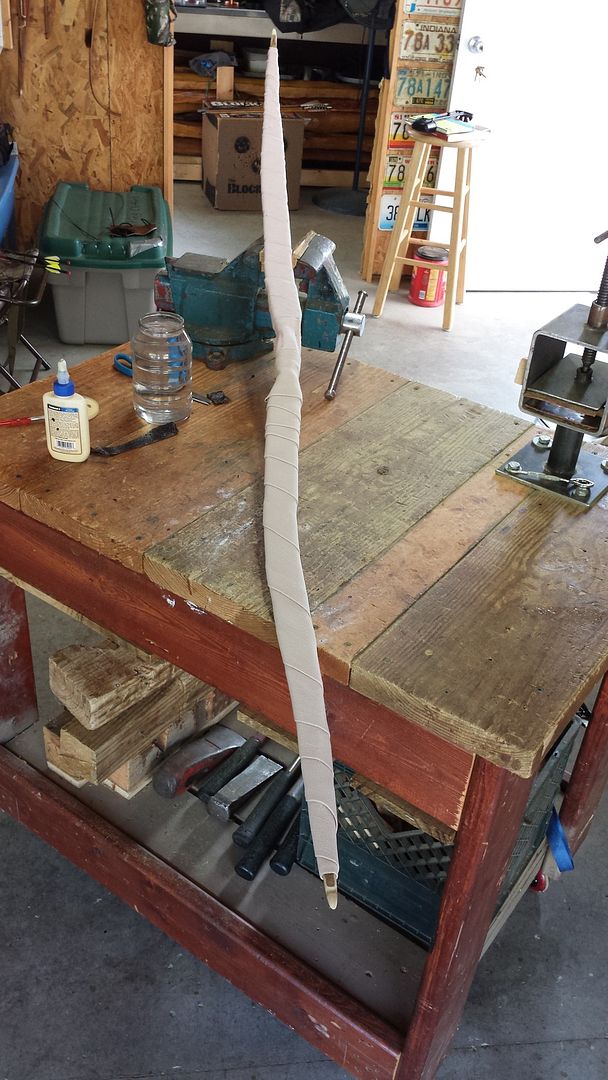 |
|
|
|
Post by HighCotton on Oct 12, 2015 20:50:50 GMT -5
Just some amazing work! Thanks for taking the time to show the process!
|
|
|
|
Post by scrub-buster on Oct 15, 2015 21:33:35 GMT -5
|
|