|
|
Post by Decatur on Feb 1, 2010 10:07:42 GMT -5
I'll try to get some posted sometime this week. Thanks! It seems like it is backed with Hickory?
|
|
|
|
Post by huxbux on Feb 1, 2010 22:39:53 GMT -5
Excellent thread going here. Will be following this closely  I have a friend that I gave a hedge apple tree to after I had to cut it down. He split it into staves but never got any further than that. I think he discovered it was more work than he was willing to do.  |
|
|
|
Post by Decatur on Feb 2, 2010 0:20:02 GMT -5
I think what has me the most leary of starting is the tillering seems kind of difficult, and I'm worried it will come out all lopsided and silly looking. lol
|
|
|
|
Post by scrub-buster on Feb 2, 2010 1:17:36 GMT -5
The tillering can be difficult. There are a few tricks that can help out. My first bow was a big learning experience. I was aiming for 50 lbs, but ended up with 30 lbs. The second was really close to 50 lbs. A cheap and easy way to learn to tiller is by making a red oak board bow. You can get a 1x3 at Lowes for around $5. You have to find one with the right grain though. A 50 lb bow can be made from one of these. I started to make a red oak bow, but lost interest and went back to the staves. It is almost complete, I really should just finish it up. I put antler tip overlays on it.
I plan on getting the osage bow to floor tiller stage tomorrow. I have been exchanging emails with an expert who makes sinew backed native american bows. I have hit him with about 10 questions and have got some great tips. My goal is to have this bow finished by the end of this month.
|
|
|
|
Post by ski on Feb 2, 2010 11:09:04 GMT -5
hello, enjoying the build along very much.
Hope you don't mind me chiming in about tillering. It took awhile for me to learn how to avoid (in my words) a "flip-flopped tiller", where the bottom limb will take on more tiller than the top. The tiller will look perfect when bow is first built (at rest), but some shooting will make the shorter bottom limb take more of a set, thus increasing the tiller. The longer top limb should usually have more tiller measurement than the bottom when the bow is at rest, depending on the style of bow. I may have encountered this due to wood not fully seasoned. I found it best to leave the bottom limb stiffer than needed (extra tiller on top) and shoot the bow in while monitoring the tiller, then after no change is seen, bring it to final tiller before finishing.
looking forward to more...
Cary
|
|
|
|
Post by grey squirrel on Feb 3, 2010 0:36:14 GMT -5
Scrub-buster, you'd better hurry up, we got a 3D shoot in about 3 weeks.....LOL!!!
Great work with this build-a-long, I am really enjoying it.
|
|
|
|
Post by scrub-buster on Feb 5, 2010 18:11:57 GMT -5
Tue. and Wed. I did a little more heat straightening and sanding. I got it down to where it would bend a little while pushing it against the floor. 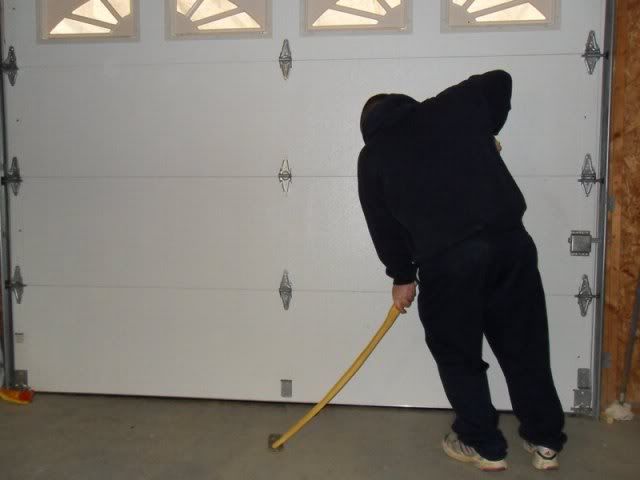 Next, I used the farriors rasp and rounded off the sides of the belly of the bow. That rasp is my new favorite hand tool. 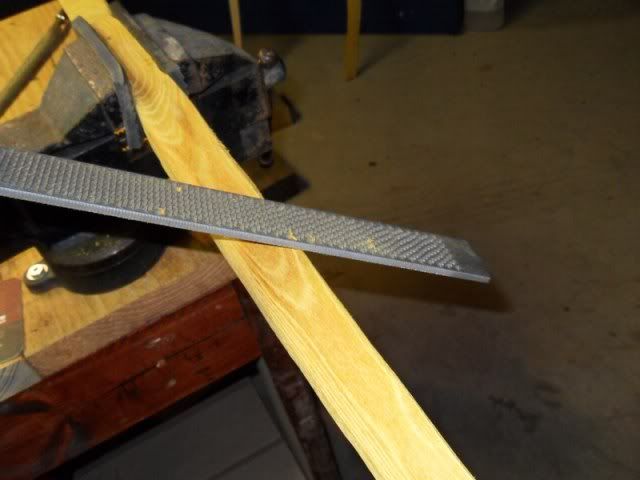 I had to heat and remove a little twist from the bow. I set this and then took my son out to look for some sheds. 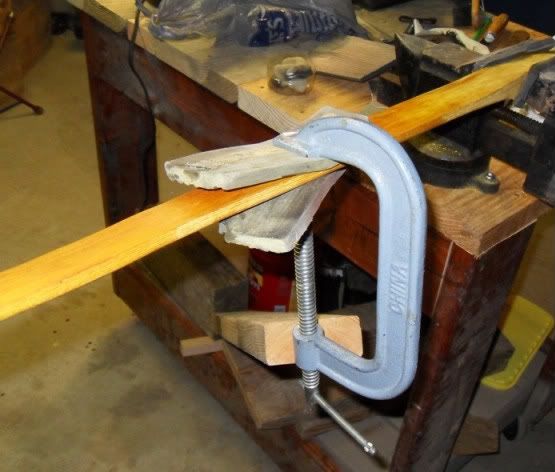 Two hours later I came back to check it. We found one chewed up antler. It is the match from one that he had found last year. 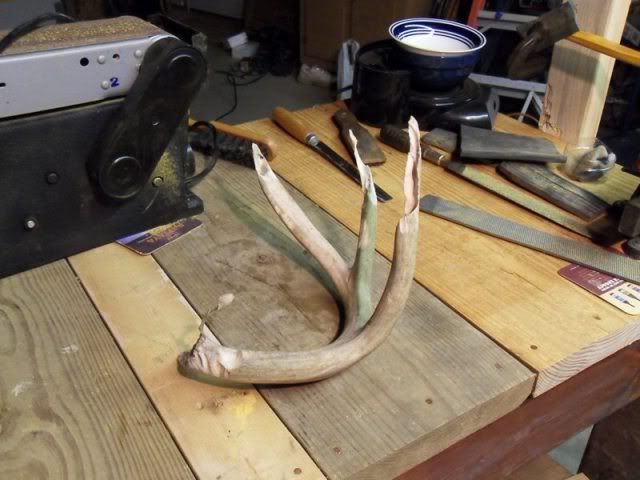 The bow is nice and straight all the way around now. I took a hacksaw blade and scored the back. I didn't go to deep, just enough to get a good scratch on it. 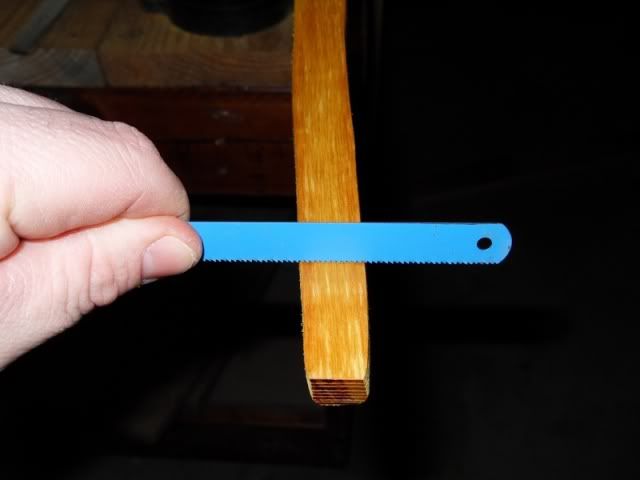 I took some acetone and wiped it down. The acetone really sucked the oil right out of it. Osage is an oily wood. The yellow color must be from the oil, because the rag was yellow when I was done. 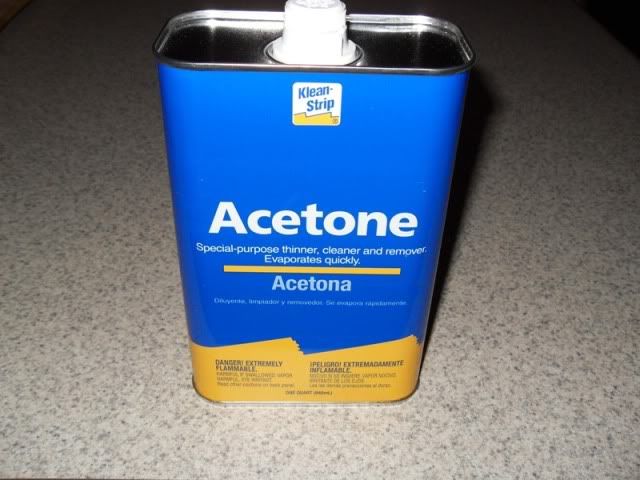 Now it is ready for the sinew backing. Grey Squirrel, I am hoping for March's shoot. |
|
|
|
Post by scrub-buster on Feb 5, 2010 18:27:34 GMT -5
I had hoped to put the backing on yesterday, but my grandmother had a heart attack and I spent the day visiting her in the hospital. I was able to do it today though. Here are my supplies. I put a layer of rags down and then some pieces of plexi glass. I put bundles of about 7 pieces of sinew in between the pages of a couple of magazines. I made the glue out of knox gellatin. It is basically animal skin and bone ground up. I just added a little water to make a thin syrup and then heated it up. 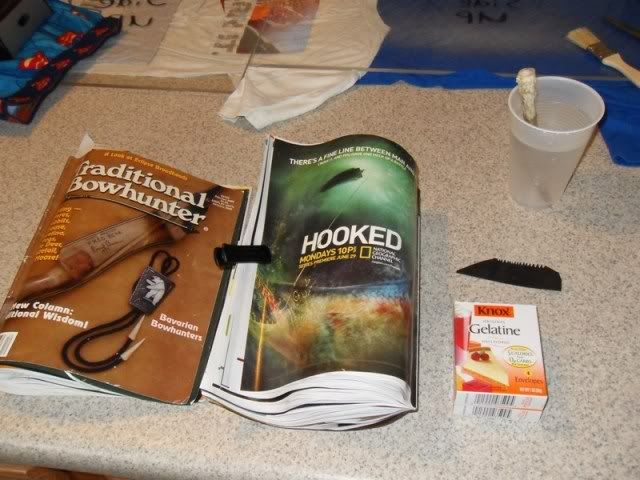 Here is my glue heater, a broken coffee maker. All you need is the hot plate. 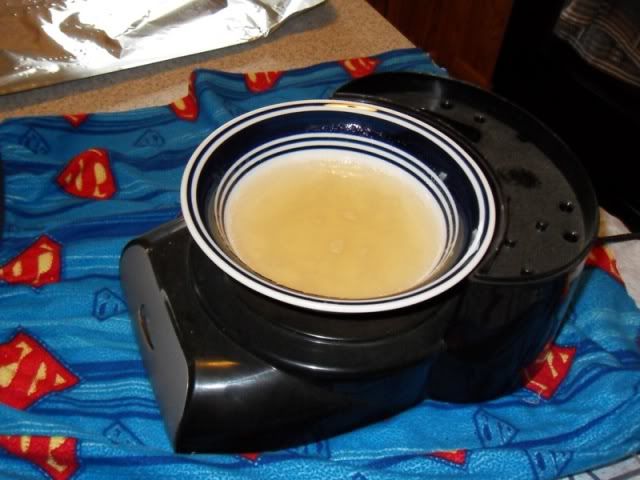 I brushed a thin coat of glue on the back to start out. 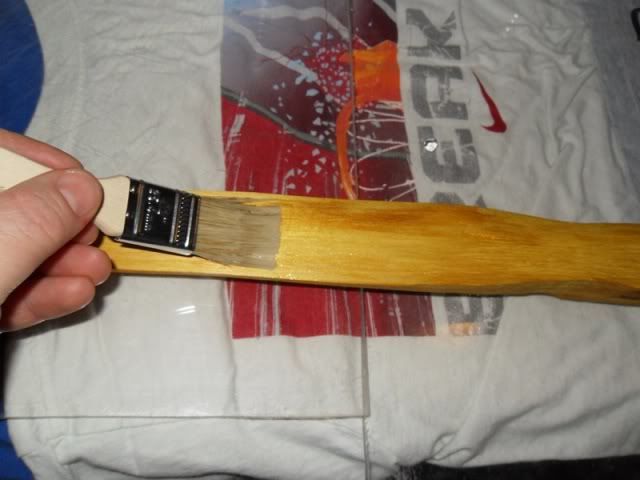 I put a bundle of sinew in a bowl of hot water to soften them up. 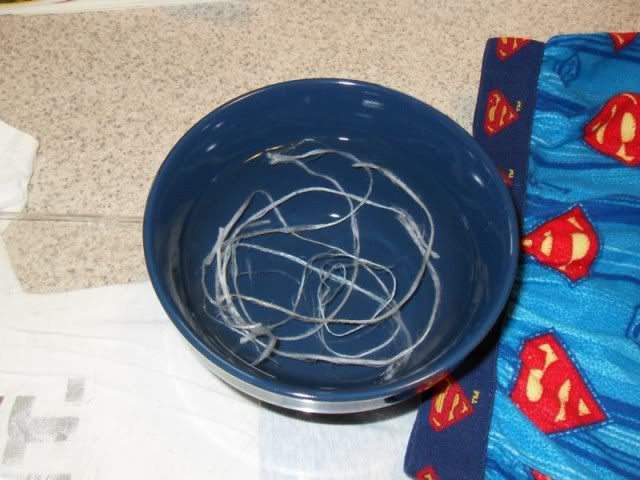 I then squeezed the water out and put the bundle in the glue for about a minute. 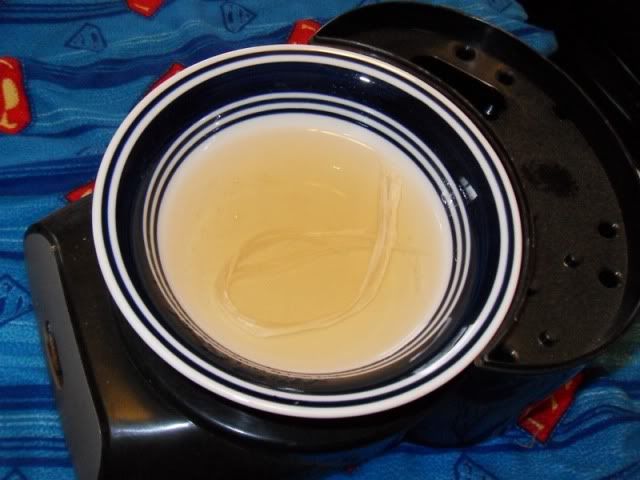 Then, I pull the bundle out of the glue and squeeze out some of the glue and put it down on the back of the bow. I took a spike antler and smoothed it down. I started in the center of the handle and worked my way out to the tips. 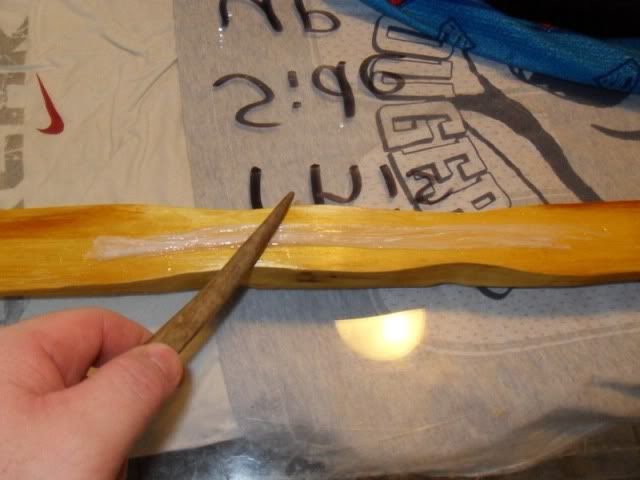 Two hours later and I am done. I was amazed at how sticky the gello glue was. I made quite a mess, but it cleans up with water. As it dries, it starts to clear up. Here is how it turned out. 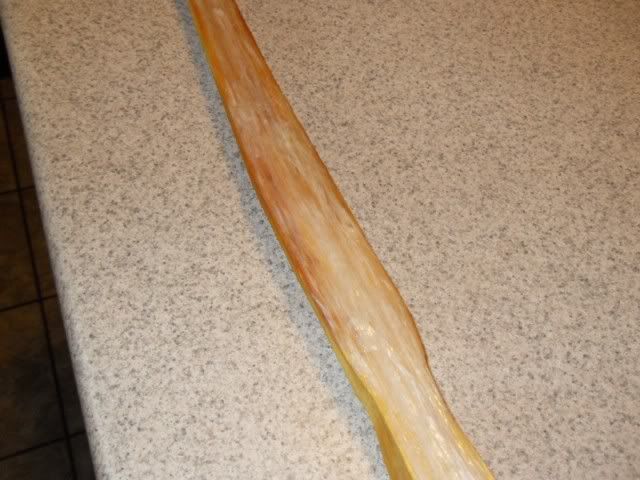 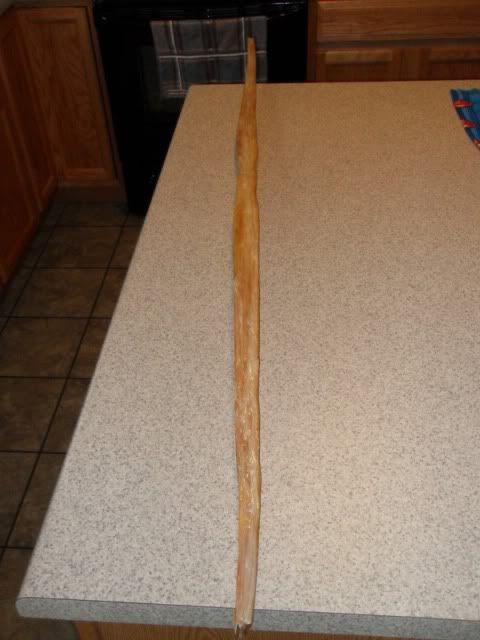 Now I just have to let it dry. It might take a week or so. Hopefully it will start to pull it into a reflex. I plan on putting on a second layer. Now I have a few days to work on the back up bow. |
|
|
|
Post by scrub-buster on Feb 9, 2010 19:06:05 GMT -5
The sinew is pretty much dry. I plan on putting the second layer on Thursday or Friday. I need to trim some off of the tips. I had hoped to work on the other bow while this was drying, but with all of the snow, I haven't made it out to work on it. I have spent several hours sorting out the sinew into bundles. 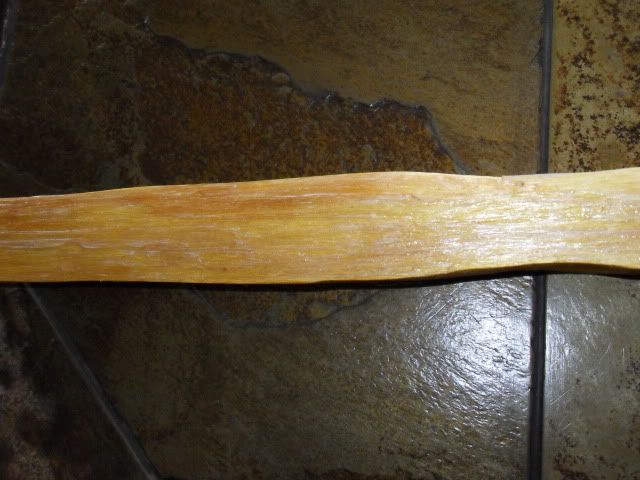 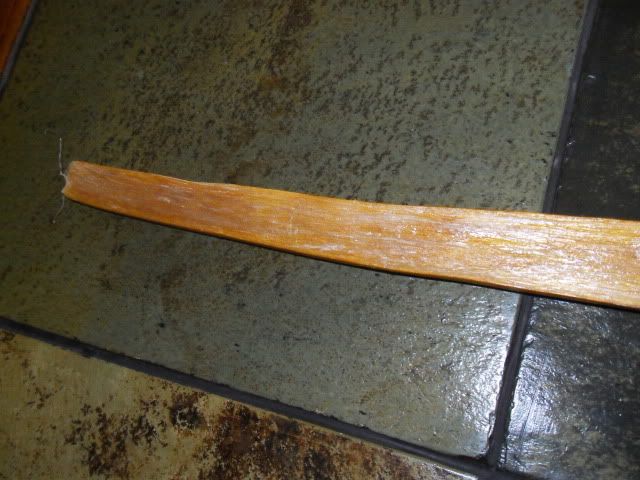 |
|
|
|
Post by Decatur on Feb 9, 2010 20:57:23 GMT -5
It's coming along!
|
|
|
|
Post by scrub-buster on Feb 14, 2010 2:27:22 GMT -5
Thursday I put the second layer of sinew on. It went a little faster this time since I kind of new what I was doing. I used a cheap plastic table cloth from a birthday party this time. It made the clean up easier. I also layed out a bunch of bundles of different lengths of sinew. Here is what I started with 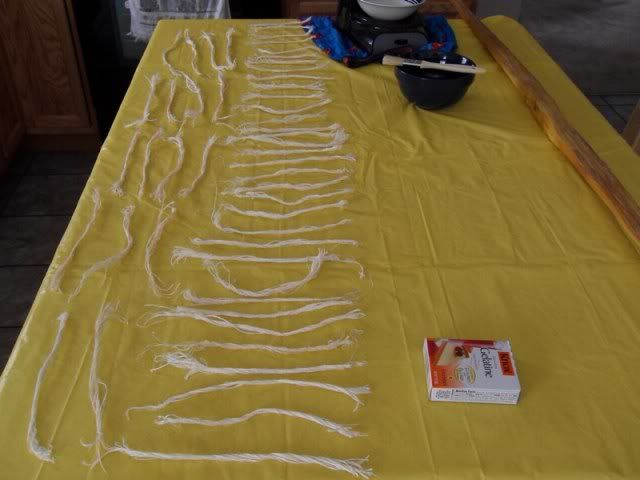 Here is what I had left when I was done. I used 42 bundles. The thickness of the sinew backing is between 1/8 and 1/4 of an inch. 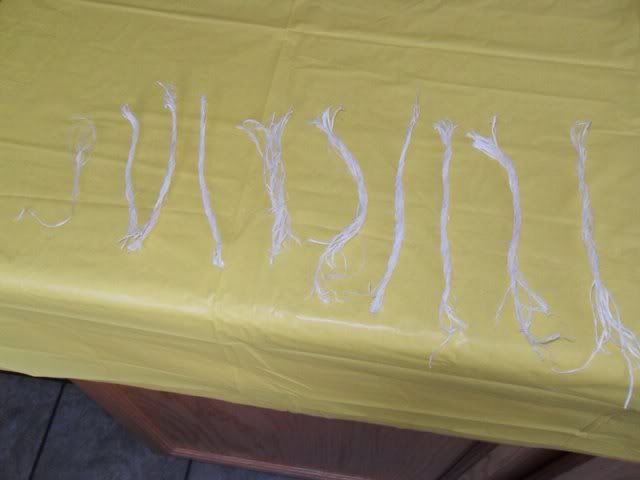 Here is the bow when I was finished. 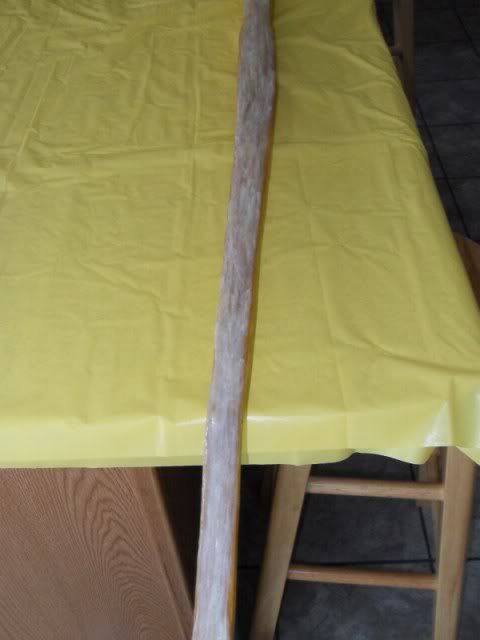 Once this dries, I will be ready to start tillering it. Hopefully it warms up because my workshop doesn't have heat. |
|
|
|
Post by scrub-buster on Feb 14, 2010 2:37:28 GMT -5
I should have started out the thread with this, but here is where the stave came from. I cut this tree in March of last year. I split it into staves, removed the bark and sapwood, and then let it sit for almost a year. It should be seasoned enough. 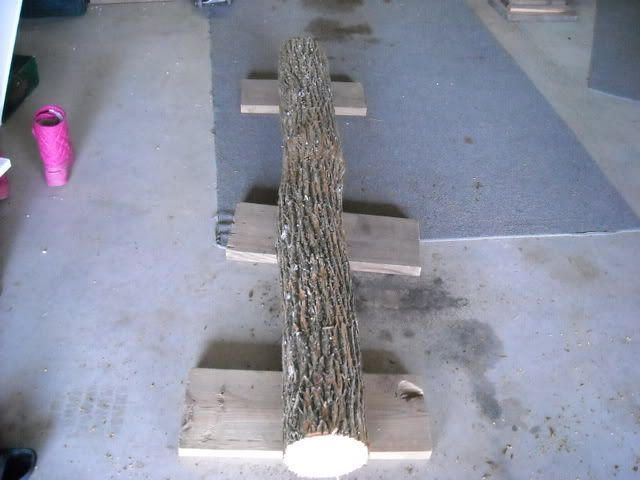 A few wedges, a hatchet, and a mini sledge is all you need to split a log. 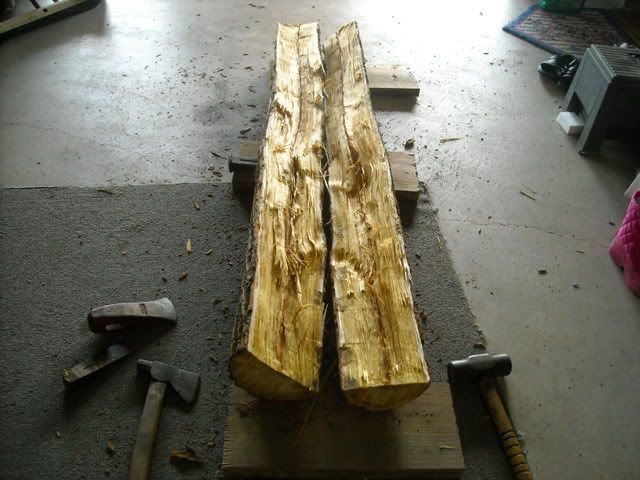 |
|
|
|
Post by Decatur on Feb 14, 2010 6:35:31 GMT -5
|
|
|
|
Post by turkeyscout on Feb 14, 2010 9:07:29 GMT -5
WOW! YOUR LONG BOW IS COMING ALONG GREAT, that has to be a" awesome feeling" being ten yards on the ground in a blind and get a good shot off with a long bow that you made from scratch, and go over and see your deer ,AWESOME,i'm very proud of you!!..scrub-buster and you have talent!!!!...........    ...................turkey scout |
|
|
|
Post by scrub-buster on Feb 14, 2010 23:56:00 GMT -5
Thanks. I tried hunting with a bow that I made last fall, but didn't have any luck. I didn't have much time to get good with it. I could shoot OK with a target, but not in the woods. After a couple of misses, I realized that I shouldn't be hunting with it. I put it up and went back to my Martin compound. It was a pretty cool feeling looking down at a stick, a string, and some wooden arrows though. This year, I should have plenty of time to practice and be a much better shot.
Today, I looked the bow over and found a couple of spots on the edges that needed a little more sinew. I just used a couple of short pieces and filled in the gaps. Now I have to let it dry for a while before doing anything else.
|
|
|
|
Post by Sasquatch on Feb 19, 2010 15:21:15 GMT -5
Wow, that is awesome. Now imagine how it's gonna feel when you see that first arrow drive home....
|
|
|
|
Post by scrub-buster on Feb 24, 2010 1:22:07 GMT -5
Let the tillering begin!!! This is my hillbilly bow scale. I have draw lengths marked below it. 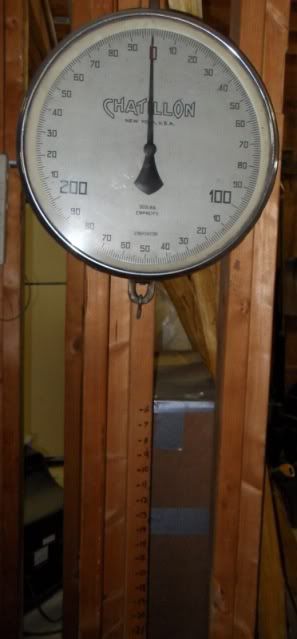 I pull the bow down until I hit the target weight on the scale. 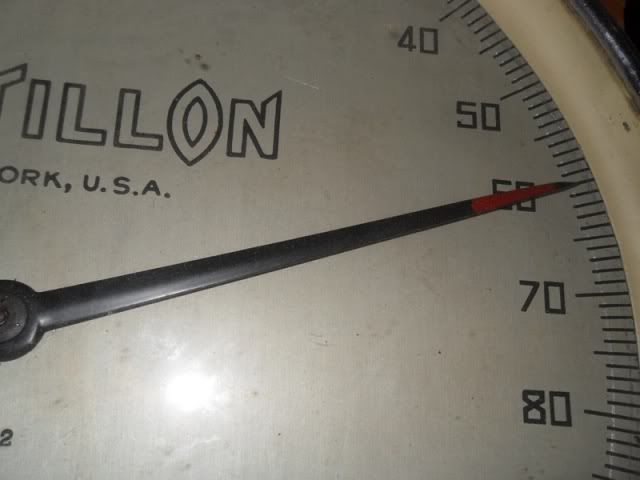 Then I check the draw length, which at this stage is 18". The picture shows 15" because it was hard to work the camera and push it down at the same time. 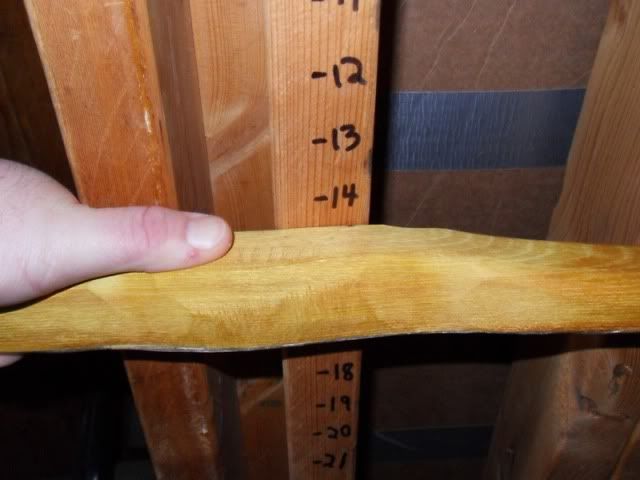 Now I now not to draw the bow past 18". I don't want to stress the bow past the target weight. I will recheck the weight/draw length after any wood removal during tillering. Here is the bow on my tillering tree with the long string on it. The string doesn't have any tension on it yet, the weight of the pully is pulling it down. 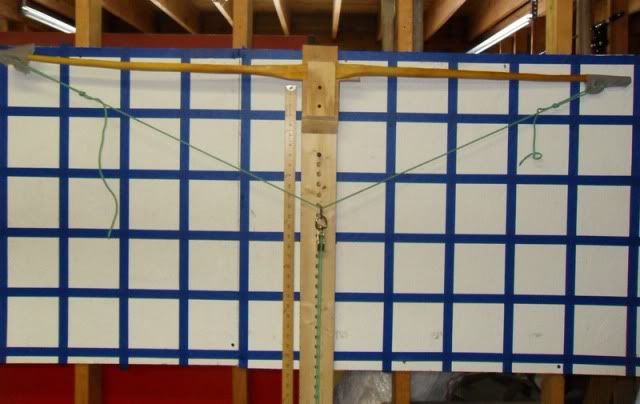 Here it is drawn to 18" and 60 lbs. It is not bending much. 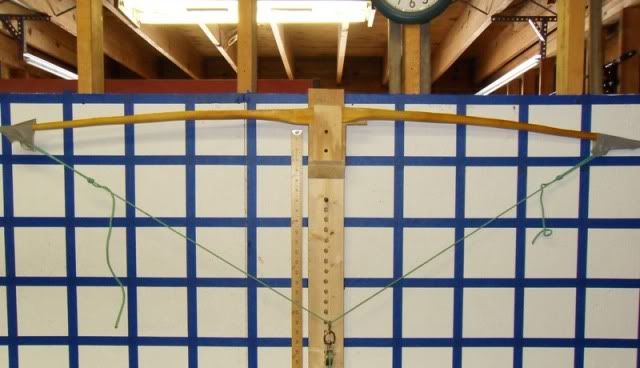 I use the belt sander during most of the tillering. It is a lot faster than scrapers or files. It is also a lot easier to mess a bow up since you can remove wood fast. I did a little sanding on the belly and it is bending a little more. 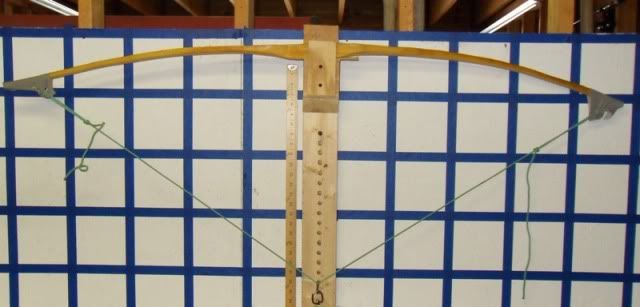 A little more wood removal. 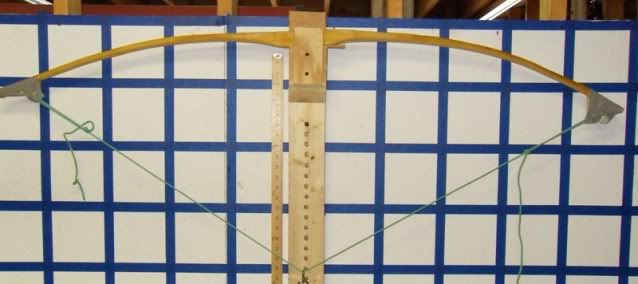 I had to quit for the day. The limbs are getting thinner. At mid limb, including the sinew, they are 1/2" thick. 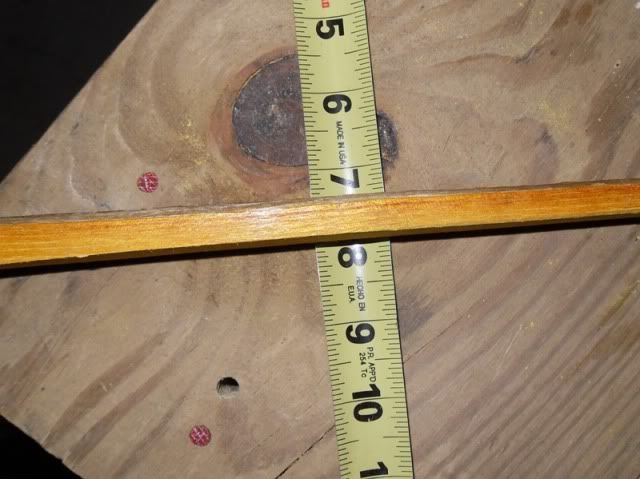 There is a spot on one of the fades that could cause some trouble. The more I sanded, the more I uncovered it. Since not much bending is done in the fade, I don't think it is too big of an issue. 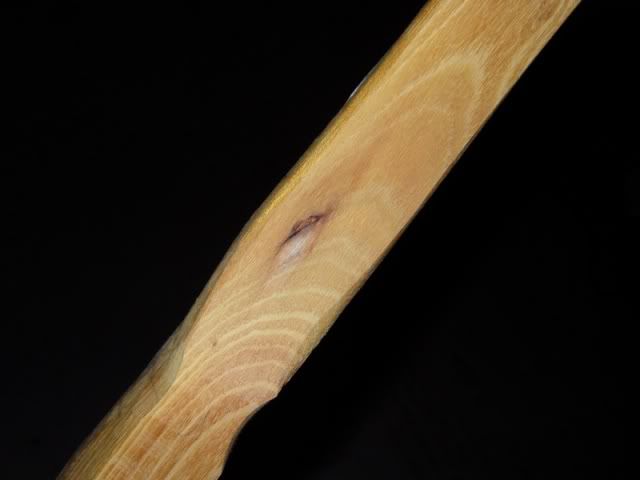 |
|
|
|
Post by scrub-buster on Feb 24, 2010 1:49:08 GMT -5
Today, I was able to do a little more tillering. But first, I roughed in the nocks. I measure a 1/2" down from the tip and make a line. 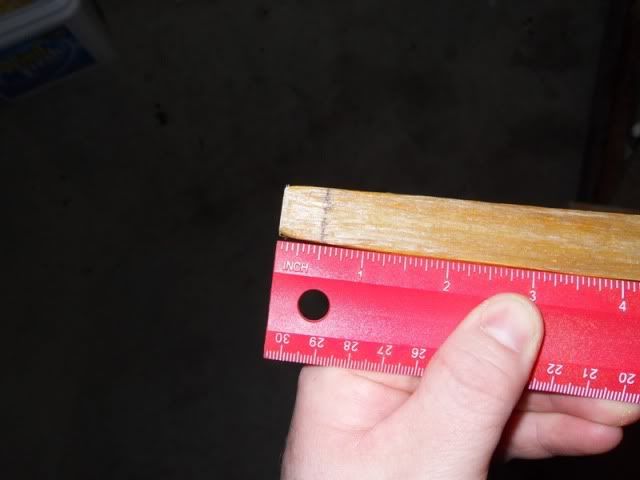 Then I mark a 45 degree angle on each side. 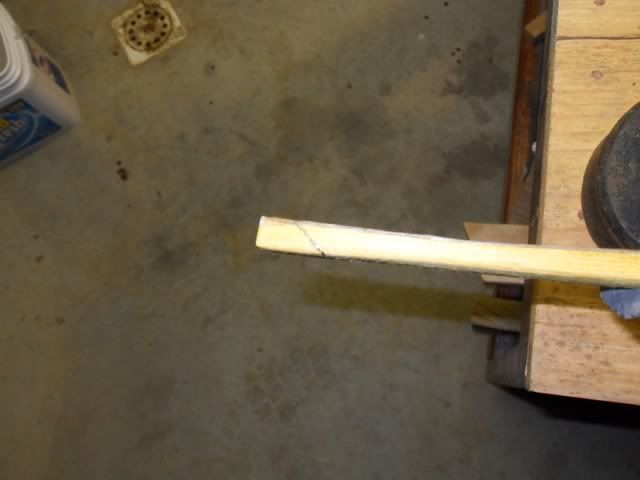 I use a hack saw to get the groove started online. 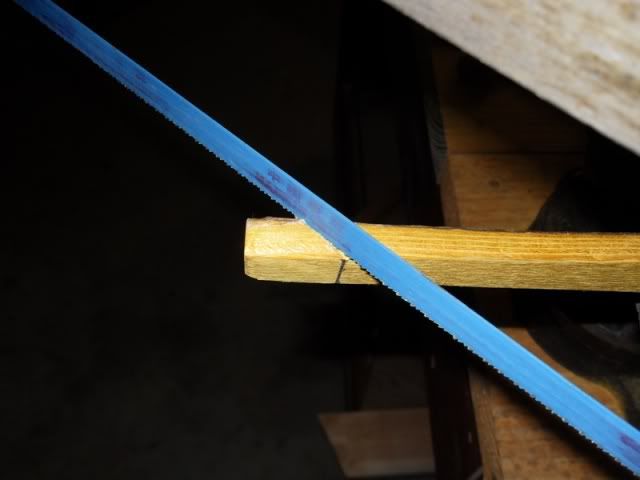 I then take a small square file and start filing the groove. 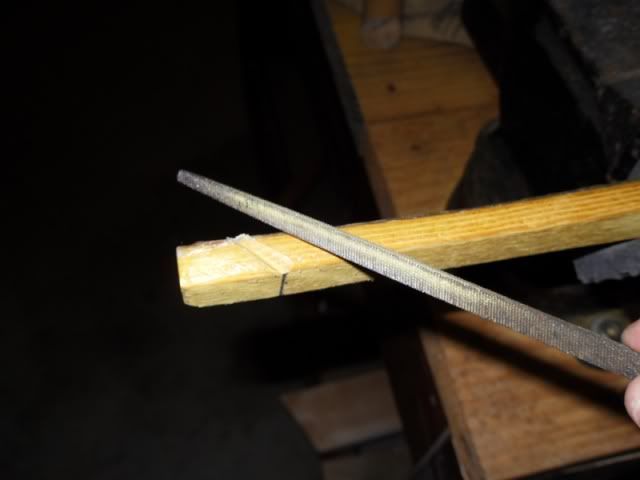 Next, I switch to the round chainsaw file. 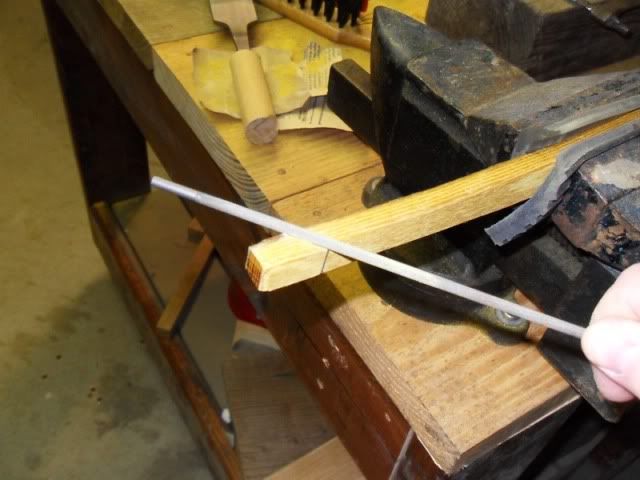 Usually, my grooves never line up on the belly of the bow. This one turned out pretty good on both ends. They are only roughed in, they will need more shaping later on. I discovered that when you file sinew, it smells like burning skin and bone. 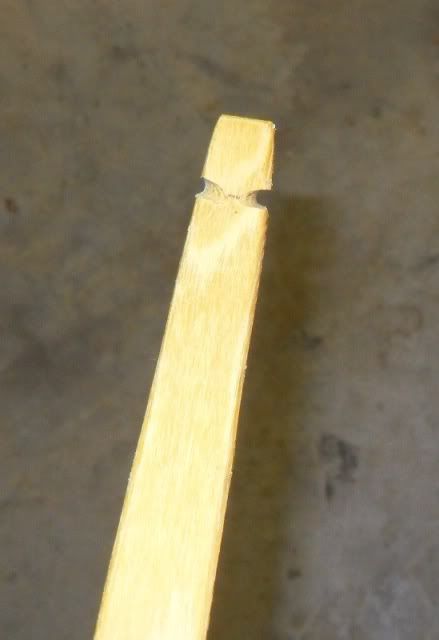 I rounded out the sides of the belly again. It had become almost flat from sanding. I used the farriors rasp and a flat file. It is hard to see from the picture, but the sides are now rounded off. 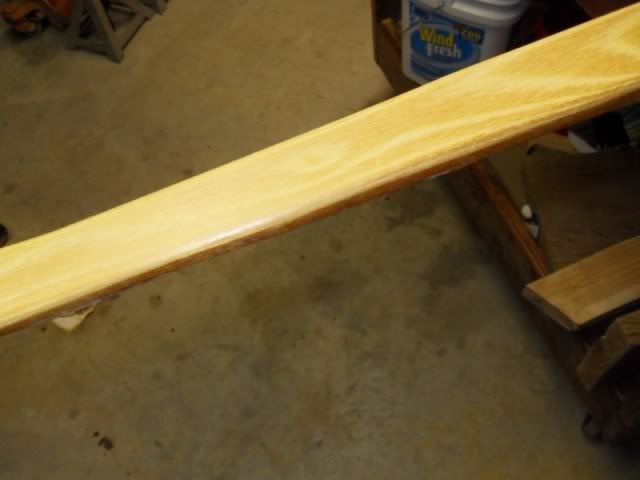 Now that I have nocks, I can use a better string. I like to use a long string with the pouches on the ends at first to make sure it is bending somewhat even. With the new string on it, it is bending a little different. The string lays flat on the belly when strung. Here it is with the strings on the nocks. The lower limb is shorter, so it will need to be stiffer. 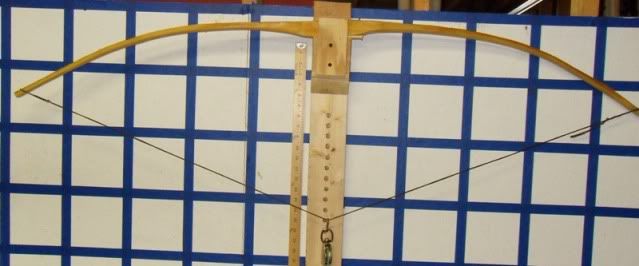 Now that it is bending some, I can use a tillering gizmo. It is a block of wood 6" long with a pencil threaded through a nut in the center. The lead sticks out just a little bit. 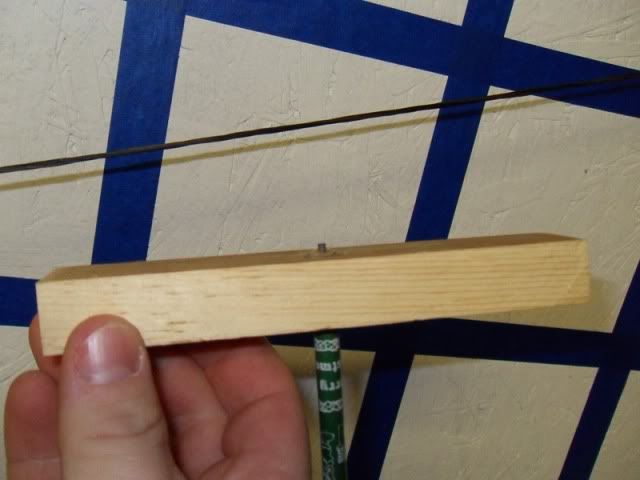 With the bow drawn, I run the block of wood along the belly. Any flat areas will be marked by the pencil. Any areas that are bending good will not be marked. Getting this picture was interesting. I had to draw the bow, hold the block, and take the picture. 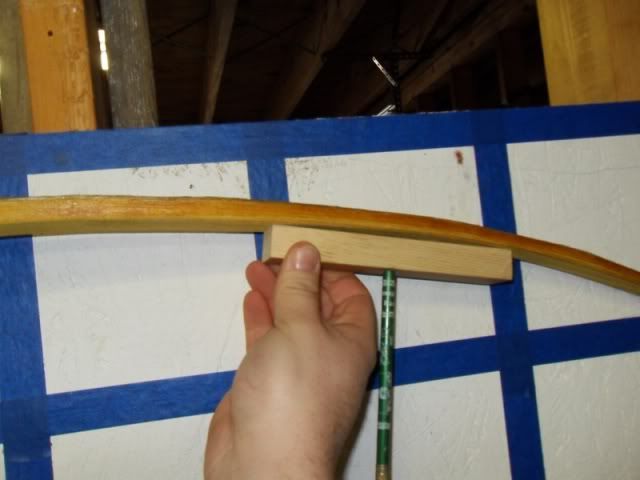 Now, I sand the areas that were marked and hopefully get the bow bending a little more even. 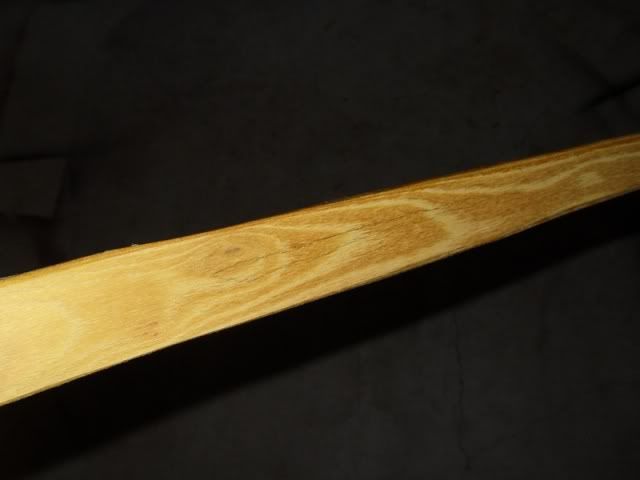 Here is how it was bending when I had to stop and go to work. 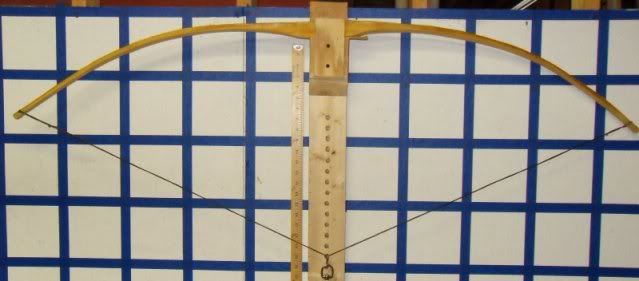 Each time I remove wood, it takes a little longer draw length to get to the weight. The trick is to get the limbs even and the weight and draw length to match up to what you want. A few mistakes and a 60 lb bow can turn into a 30 lb bow real fast. This happened to my first bow. I should be able to do some more tillering on Thursday and Friday. |
|
|
|
Post by Decatur on Feb 24, 2010 1:59:37 GMT -5
This is SOOOOOOO cool! I love it! Thank you very much for doing this!
|
|
|
|
Post by Woody Williams on Feb 24, 2010 8:37:21 GMT -5
WOW!
This is a LOT of work, but I can see wher it will be very satisfying.
Thanks for posting this.
Hope you kill a big one with it.
|
|