|
|
Post by scrub-buster on Jan 18, 2010 2:57:15 GMT -5
I have started to make an Osage Selfbow. The stave I picked out is 60.5" long. It has a slight reflex to it. I have been reading Dean Torges' Hunting the Osage Bow, so I will use his directions for laying out the bow. I had to shift the center line to one side to avoid a knot in one end. The lower limb will be about 1.5" shorter than the upper limb. I plan on using sinew to back the bow. Later today I am hoping to finish the layout and cut it out on the band saw. I was going to do that Sunday, but got distracted by the Brett Favre show and a big plate of BBQ deer. I will try to post more pictures as I go along. This might take a while to finish. My shop is still at our old house, so I have to go back and forth to work on it. Here is the stave. The growth rings are decent. They could be a little thicker.  Here is the knot that caused me to shift to one side. 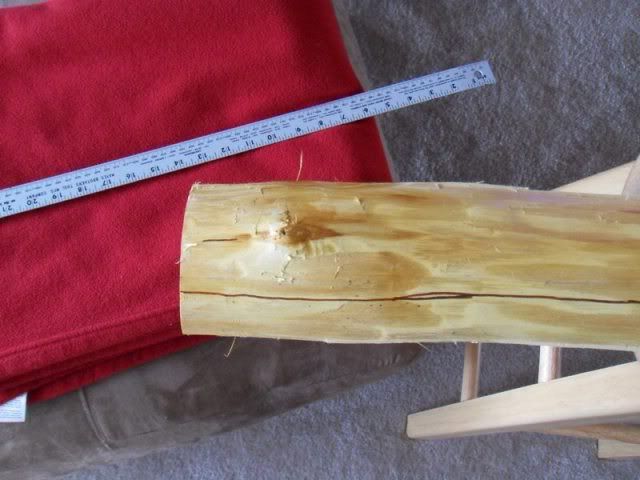 This is the handle and fades. 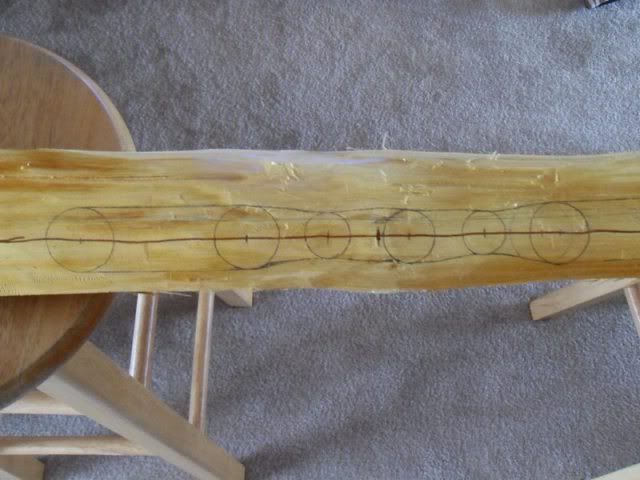 |
|
|
|
Post by Decatur on Jan 18, 2010 4:44:11 GMT -5
I can't wait to see the finished project. I hope you are going to do a step-by-step photo essay of the process on here?  |
|
|
|
Post by scrub-buster on Jan 18, 2010 6:16:18 GMT -5
I will try. This will be my 4th bow, so I am still learning as I go.
|
|
|
|
Post by scrub-buster on Jan 18, 2010 20:56:47 GMT -5
Today, I was able to cut it out on the band saw. I started by splitting the bottom point off of the stave. I tried to make it parallel to the top were the back of the bow will be. That will make it easier to cut on the saw and keep the sides of the bow square to the back. 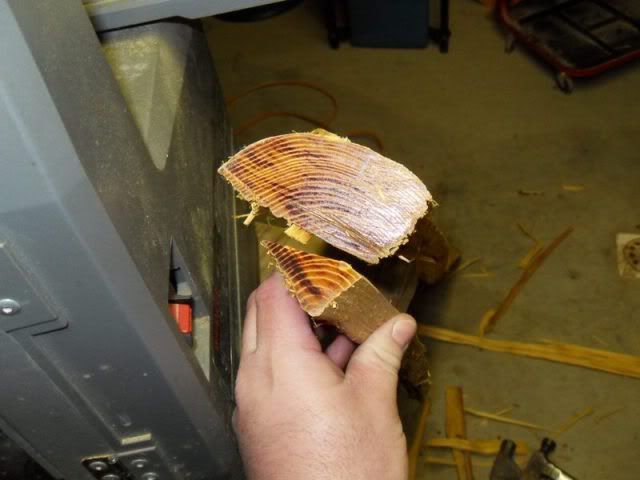 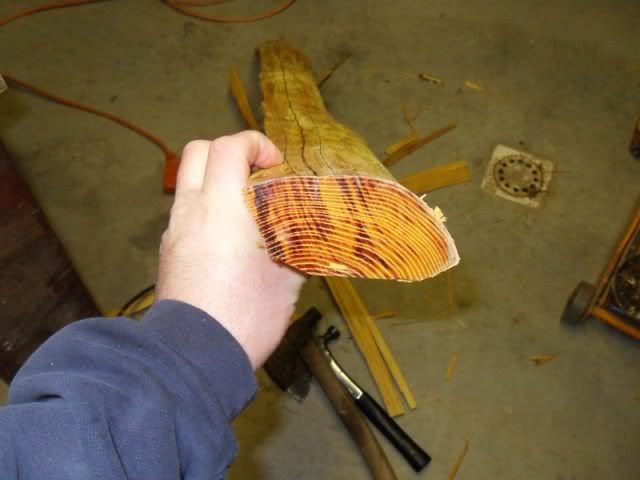 While splitting off the point. I found a thorn in the center of a knot. The tree must have grown around it when it was very young. It just fell out when I split it. 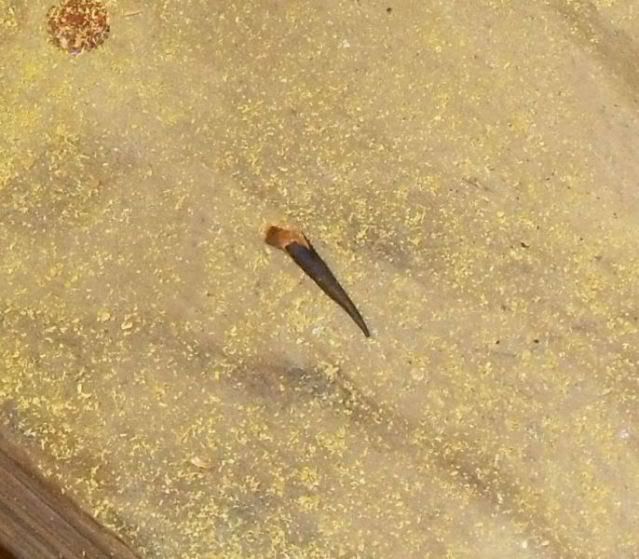 Removing this small amount of wood will be a big help when cutting it. 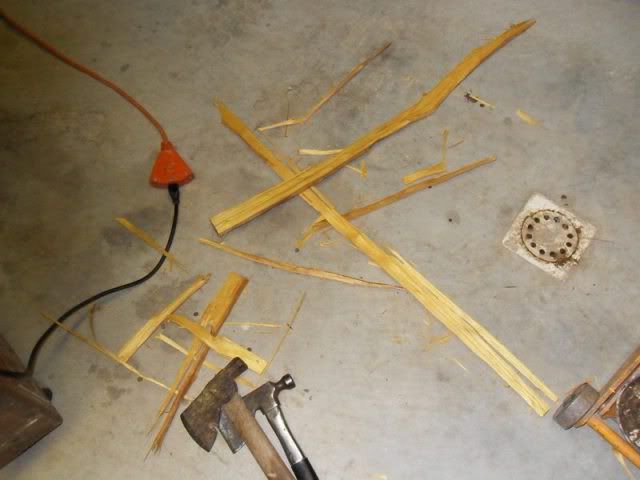 Now it is ready to be cut. 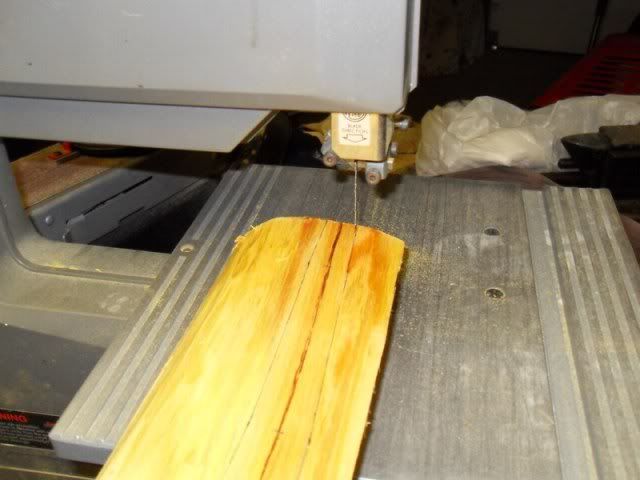 I cut down one side until I get to the handle. I then cut across the excess to remove the wood that is not the bow. It makes it lighter and easier to move while cutting the rest. 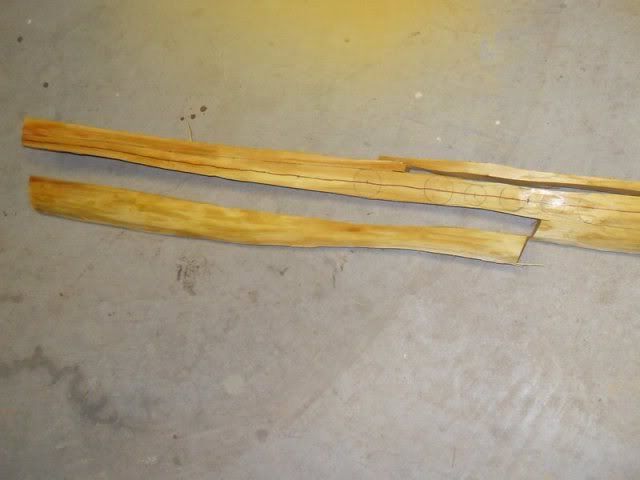 Here is how it ended up. I only rough it out. I try to leave excess so it can be filed and sanded down to the finished size. 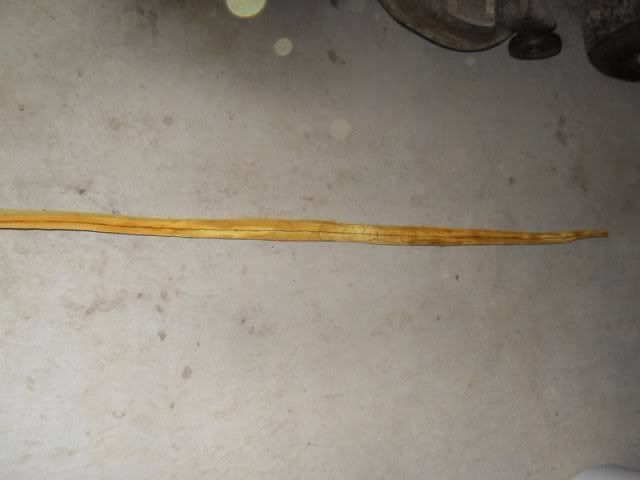 |
|
|
|
Post by scrub-buster on Jan 18, 2010 21:03:15 GMT -5
Here are a few more pictures of it roughed out. I left a lot of excess in the handle area. It will be easier to file the curves. 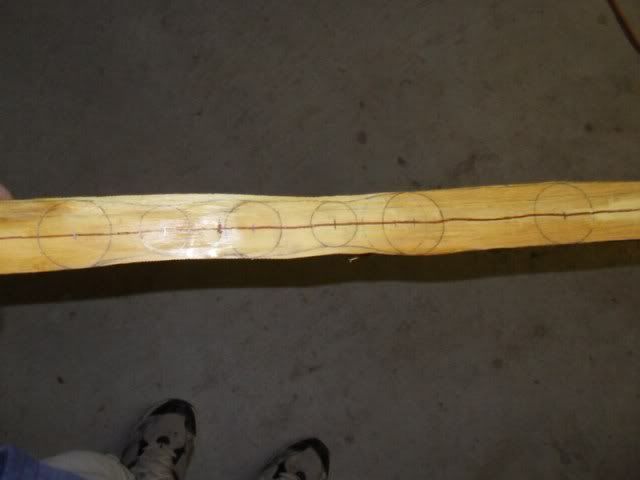 It is still the full thickness. I didn't have time to cut it down. I will leave the handle area thick and taper it down to the tips. 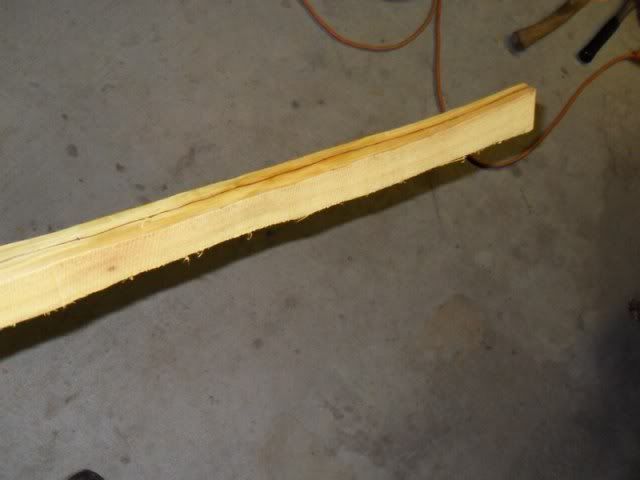 Here is some of the sinew that I will be using. I need to start stripping it down so it will be ready to use. 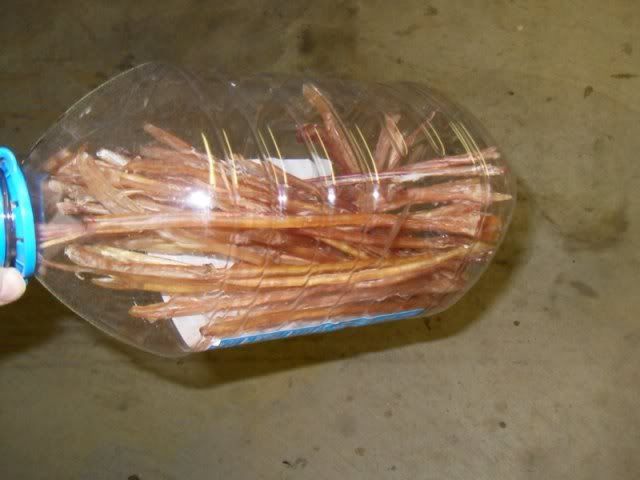 If this bow doesn't turn out good, I have plenty of wood to keep trying.  |
|
|
|
Post by Decatur on Jan 18, 2010 21:21:39 GMT -5
Cool! I'm loving this photo lesson. Thanks!
|
|
|
|
Post by ski on Jan 19, 2010 10:20:31 GMT -5
pretty cool finding that thorn in there! Agreed that the sapwood ratio is slightly high and the stave is a great candidate for a sinew-backed bow. Looking forward to seeing it come to life.
Cary
|
|
|
|
Post by scrub-buster on Jan 21, 2010 21:12:19 GMT -5
Now it is time to find what will become the back of the bow. The goal is to use the second dark ring down from top. It should work fine. Once I get the back down to where I need it, I will cut the side profile out and it will look more like a bow, just a lot rougher. Two dark rings down from the top will be the bows back. 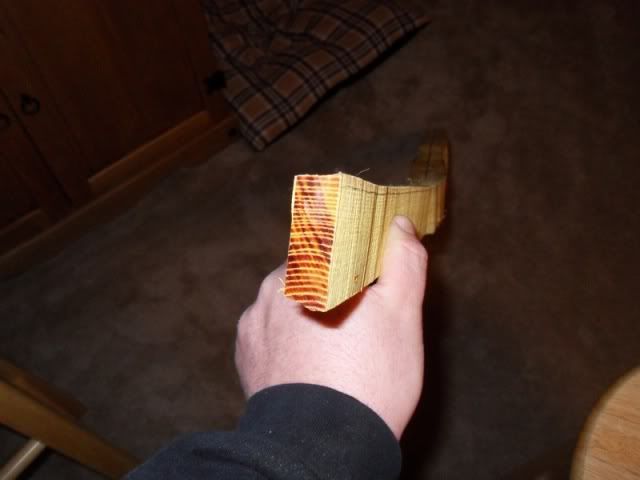 Here I have marked it down the side.  Now it is time to put it in the vise (padded jaws) and start scraping. 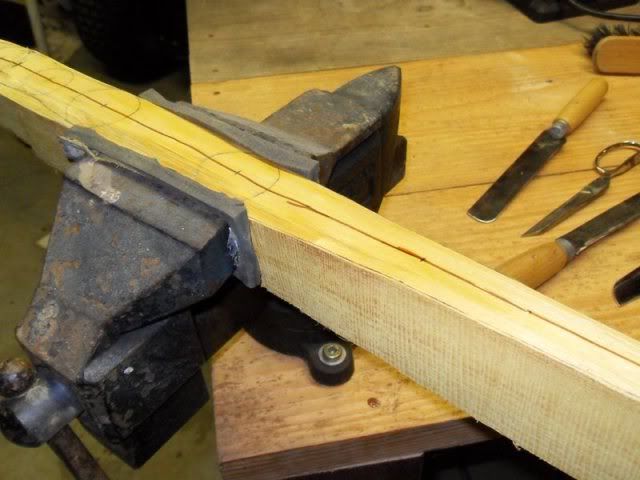 Here are some of the scraper that I use. I don't have any real expensive ones, I just make do with what I have. And yes, those are the knives from our wedding. I didn't plan on ever using them again so I put them to use. 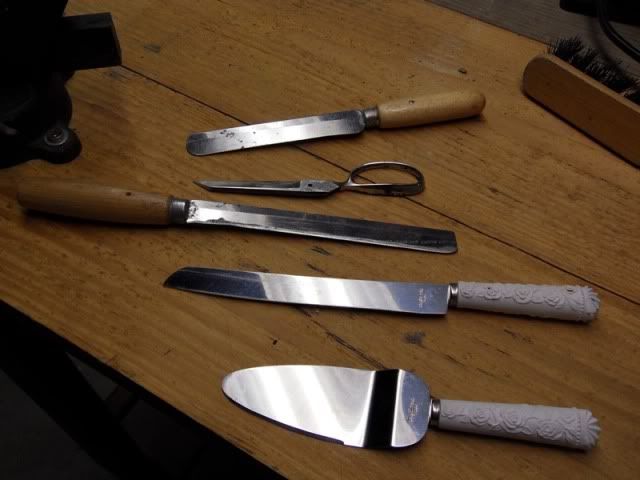 I start scraping until I get to the spring growth ring right above the summer growth ring that I will use for the back. I like to leave it on to protect the good ring. I will remove it later once I have the bow a little more complete and ready for sinew. |
|
|
|
Post by scrub-buster on Jan 21, 2010 21:32:39 GMT -5
Here you can see the difference between the spring and summer growth rings. 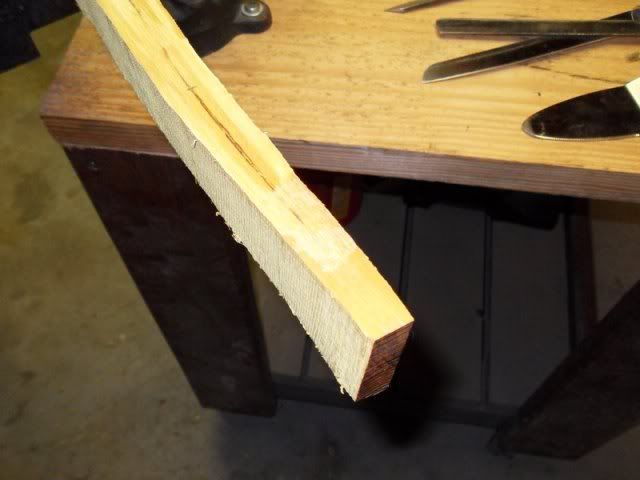 The spring growth is lighter and crunchy, like little tiny honeycombs. It is brittle and not very good to use as the bows back. The summer growth is dark, dense, and is what you want for the back. The goal is to have one single summer ring for the entire length of the bows back. If I cut through it, I will need to go down to the next good ring. That is why I haven't finished cutting the bow out yet. I want to make sure that I have enough wood to make a hunting weight bow. Before I get to far, I want to remove the excess around the handle area. I used a round file and shaped the left side to where the lines were. 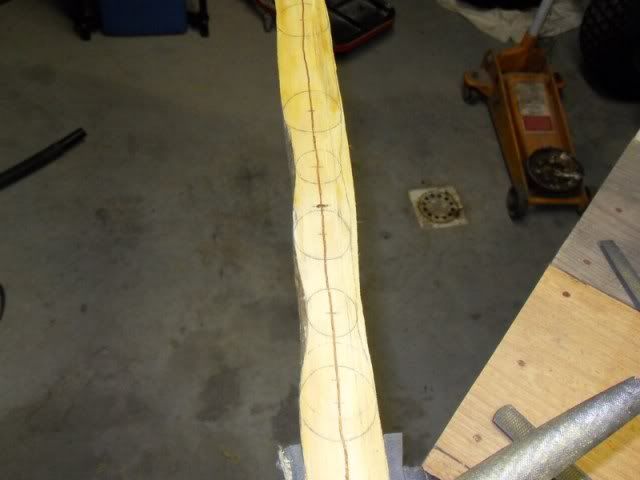 I then mark the handle and fade lines on the side of the bow. I will be scraping them off of the back and I might need to reference them later on. 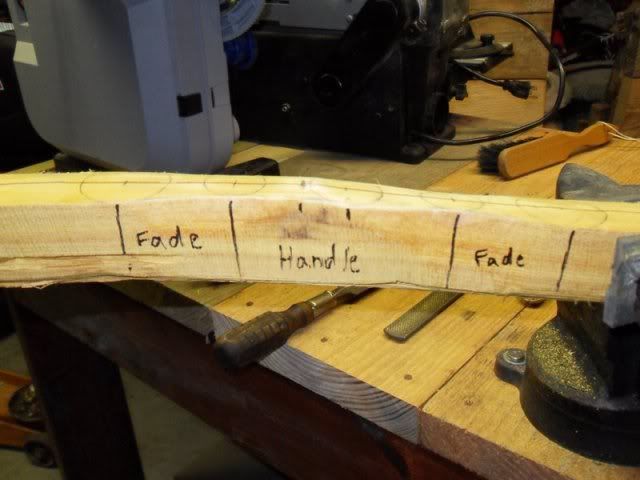 Here I have filed other side. From the top, it is starting to look more like a bow. 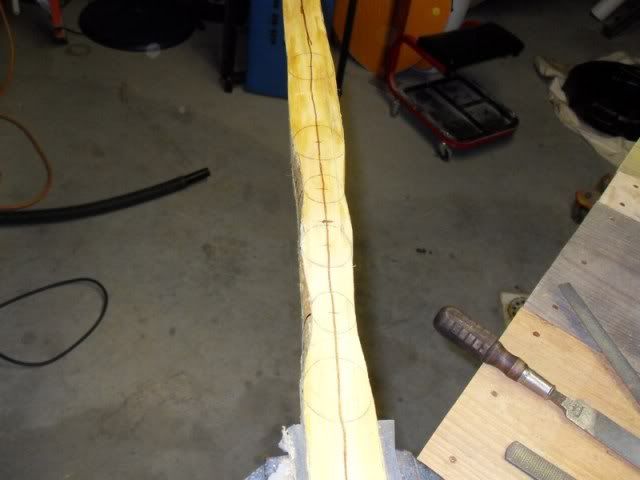 I had to quit for the day. A phone call telling me that supper was ready had me heading for home. I did grab a handfull of deer sinew to take with me. With a full belly and the table cleared I got to work. A short time later me wife walked in and said "now your shredding deer tendons on our kitchen table"? I smiled and nodded yes. She sighed and said "I love you" and walked away. Sometimes city girls just do not understand. Here is some of the sinew that I have ready. It takes a lot of time to process it. It took me 1 1/2 hours to do three pieces. This is my first time using sinew, so I am learning as I go. 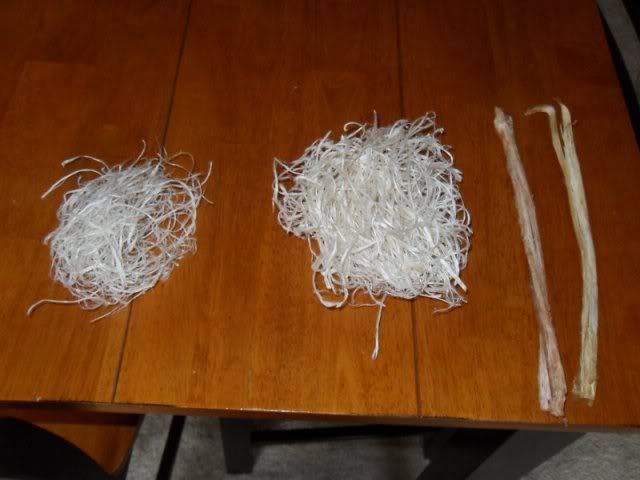 I will not be able to post any updates until Tuesday evening. Hopefully I will get a lot done in that time. |
|
|
|
Post by Decatur on Jan 21, 2010 21:33:48 GMT -5
It's moving along!
|
|
|
|
Post by ski on Jan 22, 2010 10:40:39 GMT -5
great pics. keep your eyes open for a dull drawknife - they work great for working the back to one ring. Good choice on the ring for the back  |
|
|
|
Post by scrub-buster on Jan 22, 2010 20:23:25 GMT -5
I have 4 different draw knives. I mostly use them for removing bark and sapwood. I like to go slow and use smaller scrapers for chasing rings. I haven't mastered the fine draw knife skill yet.
|
|
|
|
Post by scrub-buster on Jan 26, 2010 19:52:35 GMT -5
Well, I didn't get as much time to work on it as I had hoped. I had a sick little girl at home. I did get the rest of the sinew processed. It took around 7 hours to do it all. Today I finished chasing a ring. I decided to go ahead and take the back down to the final ring since I am backing it. Here is the back completely done except for a little island of spring growth that I removed after I took the picture. 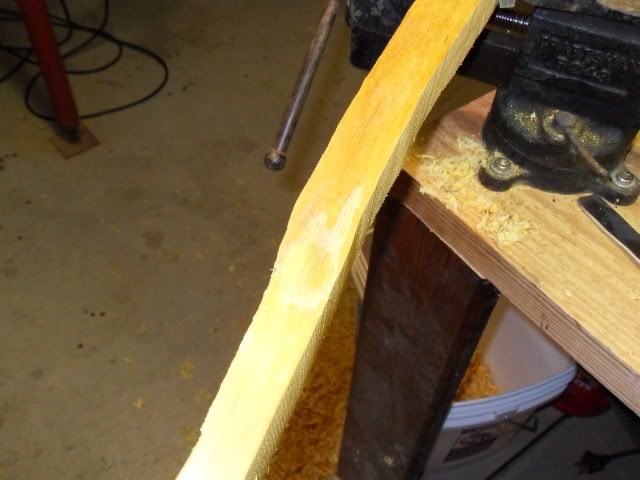 I then layed out the depth on the sides. I tapered it from 1" at the fades down to 1/2" at the tips. I always try to leave plenty of wood when cutting out the depth.  Here it is after I cut it out. It now looks like a bow, just thick and boxy. The one side has a lot of reflex and the other side doesn't have any. This might be a problem. I will have to get some advice on how to fix this. 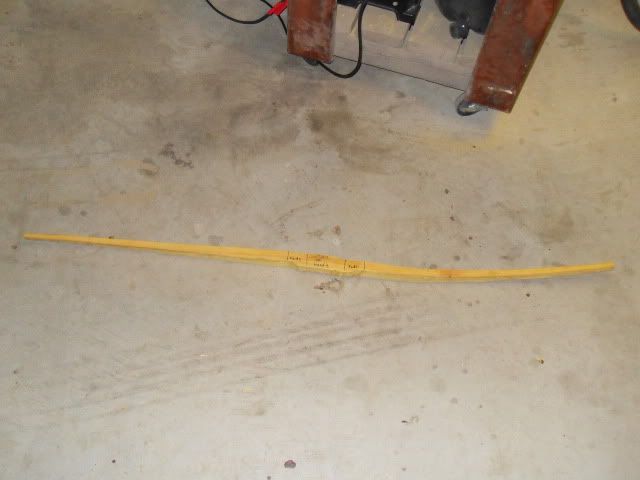 The grain on the belly looks great. When it is done, it should have a nice feathered look to it. 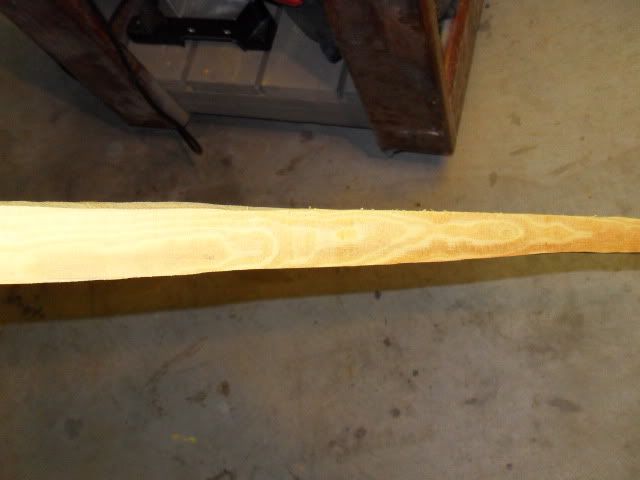 Here is another view of the difference in limbs. My little helper is looking it over. 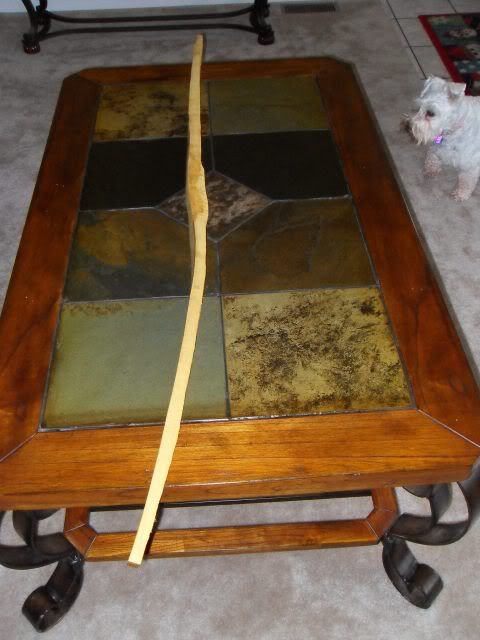 It will be a shame to cover up the back of this bow. It has some great color. The limbs are a dark orange color and the handle area is a light yellow. 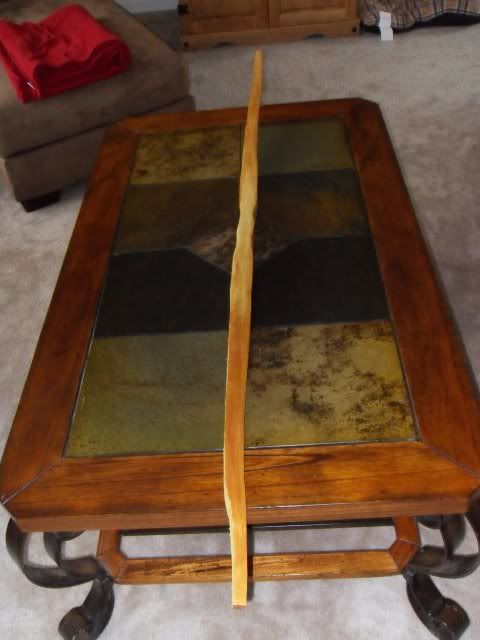 Thursday I will start to straighten it with some heat, and maybe start thinning out the limbs if everything goes well. Thanks for following along |
|
|
|
Post by Decatur on Jan 26, 2010 20:53:30 GMT -5
I was eagerly awaiting an update! ;d
|
|
|
|
Post by scrub-buster on Jan 27, 2010 21:29:43 GMT -5
I was able to spend about 30 minutes working on it today. I work nights and spent most of the day trying to sleep. Here I have marked the area that I want to straighten. I put vegetable oil on the area that I will be heating. I love this stage of bow making. The wood heating up and the oil makes a nice smell. 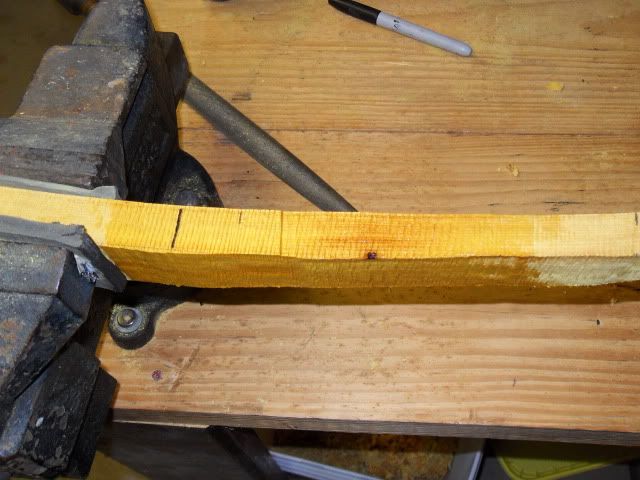 I use a heat gun made for removing paint to heat it up. I concentrated the heat over the area that I want to bend the most. 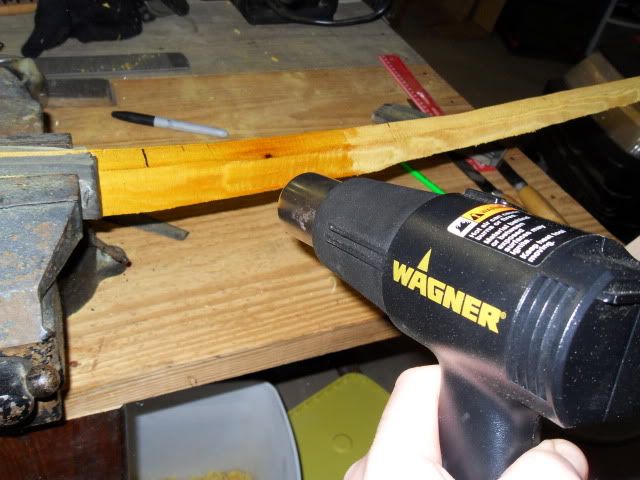 Once it got hot enough, I bent it back and clamped a scrap of wood behind it to hold in place. 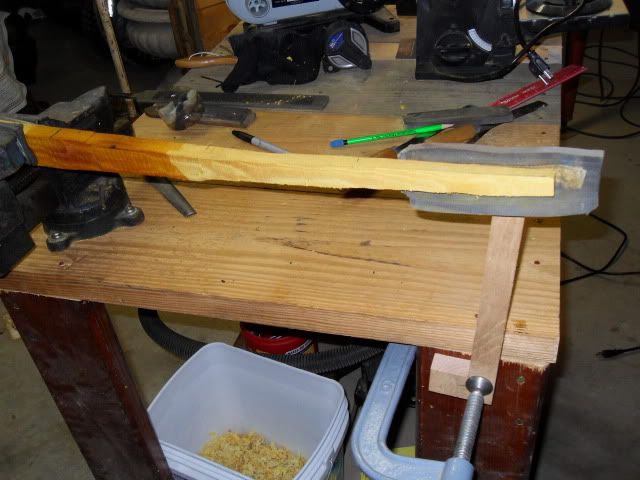 This is what it looked like before. 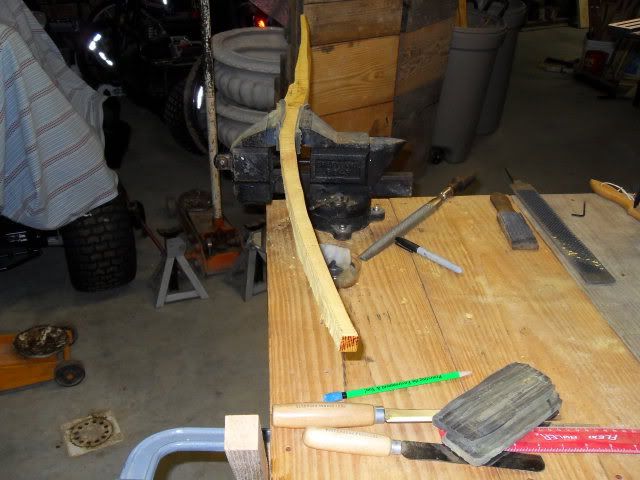 This is how it looked when I was done. 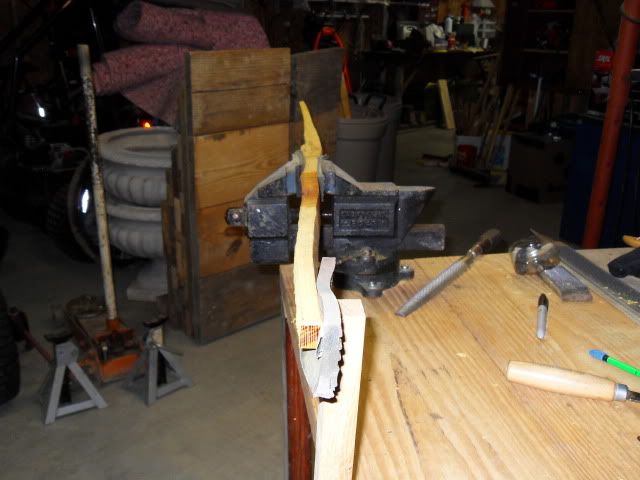 I will leave it over night to set. It will relax a little after I remove it. I will probably need to do some more straightening. Here I have marked an area near the limb tips that will need some attention.  Yesterday, I picked up a farriors rasp. It removes a lot of wood in a hurry. I tried it out for a little bit and it made yellow shavings flly.  I will post another update Saturday evening. |
|
|
|
Post by scrub-buster on Jan 31, 2010 2:04:54 GMT -5
One of the properties of osage is that it can be heated and bent fairly easy. I did a lot of that over the last couple of days. If I make a big adjustment, I let it sit over night. If it is just a small one, I let it sit for about an hour. While I was waiting for some of these bends to cool, I started chasing a ring on another bow. It is basically the same as this, only about 6"shorter and a little wider. Here it is after I made the 3rd adjustment on the limbs from front to back. 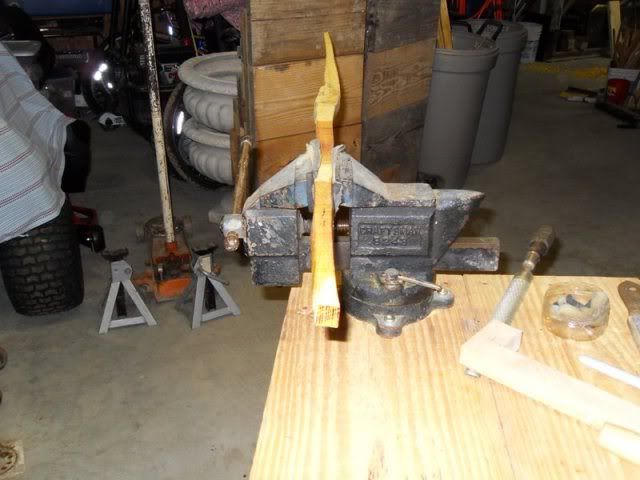 Now, I flip it over and check for the string alignment. You want the string to be close to the center of the handle. Right now, it is not even close. 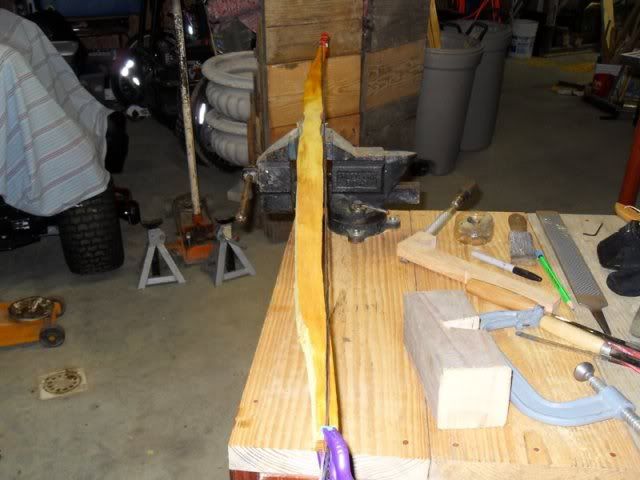 I made one adjustment on one end. 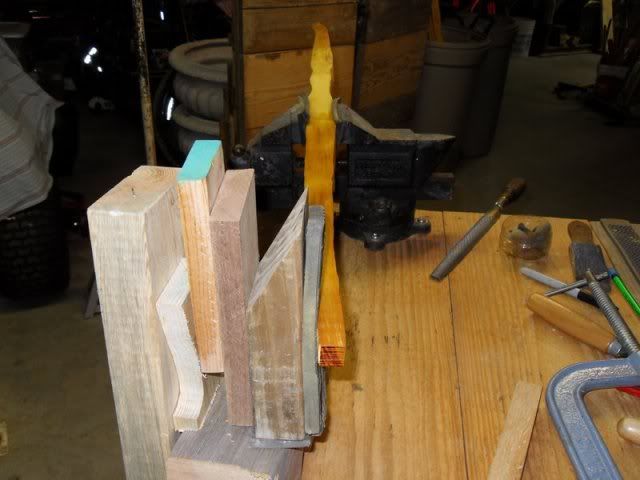 Here is the result. 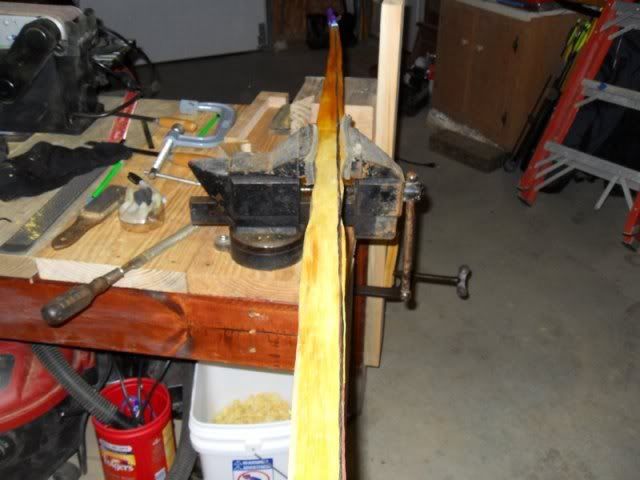 Another adjustment on the other end. 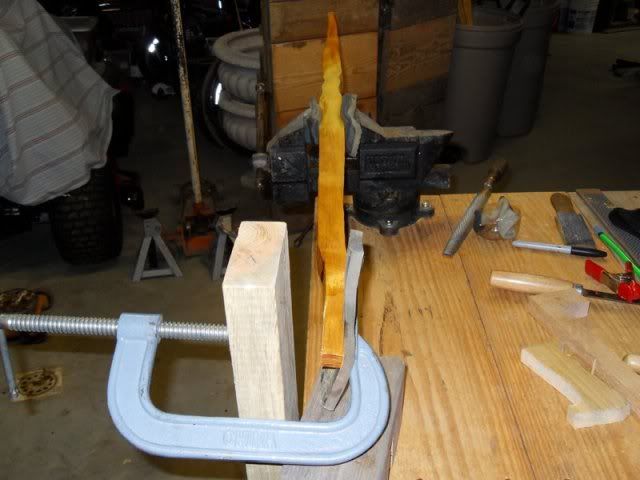 Now it is really close. 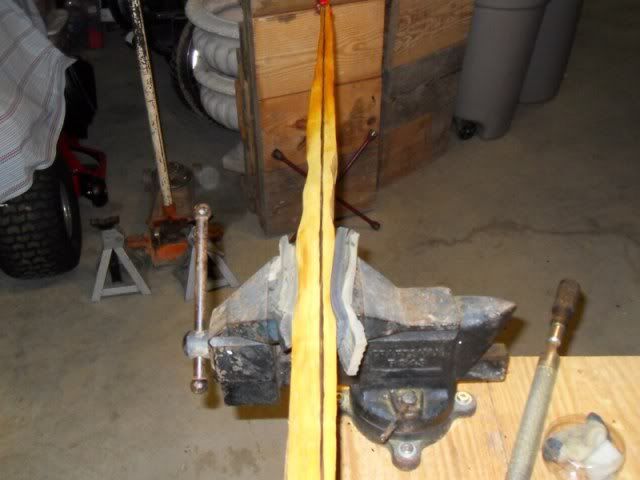 I left it at that. Once I get the limbs thinned down a little, I will fine tune it. Now it is time to use the belt sander. I use a coarse belt to do the rough sanding. It is easy to take off too much wood, so I try to take it slow. 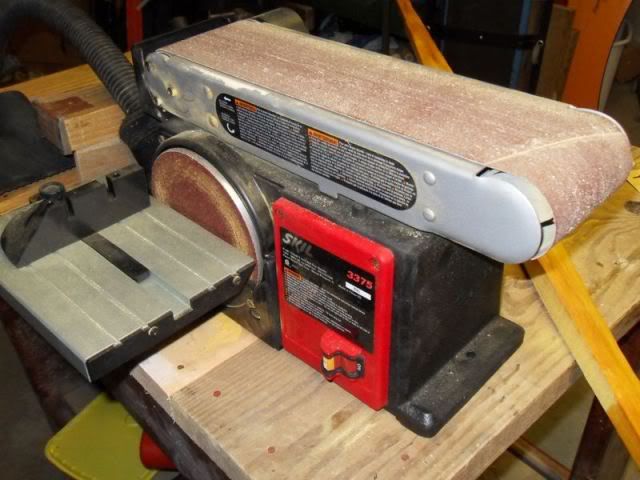 About 30 minutes later, I have a table of yellow powder. My redneck dust collection device helped quite a bit. 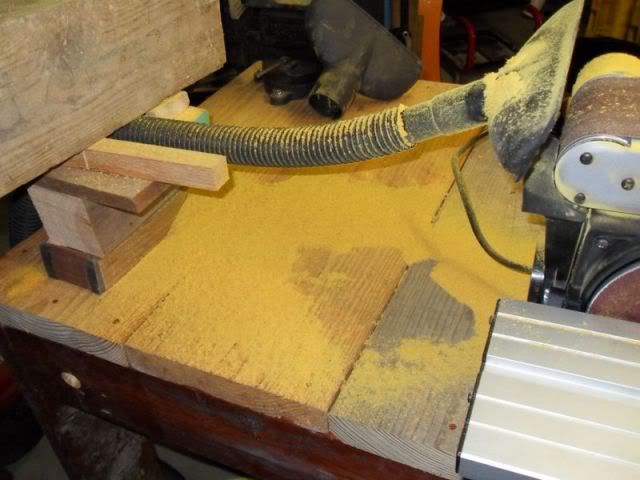 I smoothed out the sides and the belly, removing the rough saw marks. I started to taper the limbs down to the tips. Right now, they are about twice as thick as they will end up. Once I get a little bit of bend out of them, I will back them with the sinew. Here you can see that it is looking more and more like a bow. 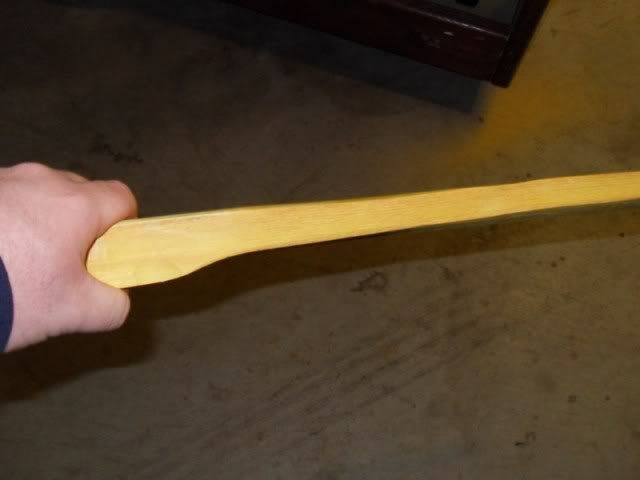 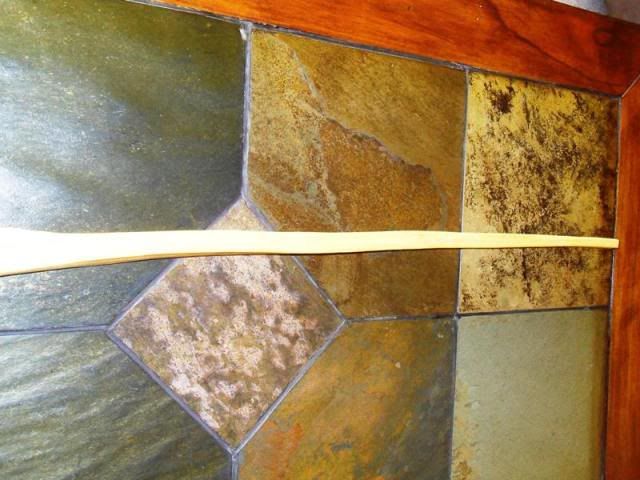 I have been doing a lot of reading about applying the sinew backing. I am planning on doing it next weekend. |
|
|
|
Post by Decatur on Jan 31, 2010 7:45:12 GMT -5
Looking good! This has to be my favorite thread on here! Thanks for taking the time to document your project.
|
|
|
|
Post by scrub-buster on Jan 31, 2010 20:28:32 GMT -5
Its fun for me also. This is my first build-a-long. I am working a 3 day weekend, so I will not be able to get any updates until Thursday evening. If you ever get down in my area, I can hook you up with a stave. There are some great sites about traditional/primitive archery that can be a wonderful resource for learning to build a bow.
|
|
|
|
Post by Decatur on Jan 31, 2010 20:41:09 GMT -5
I have a stave that my parents bought me off of Ebay 2-3 years ago for Christmas that I've never started due to time and other hobbies, but this is getting me interested! I've had it son long, I don't even remember what kind of wood it is. (sad I know)
|
|
|
|
Post by scrub-buster on Feb 1, 2010 2:46:20 GMT -5
Do you have any pictures? I could ask some of the experts on another site and maybe find out.
|
|