|
|
Post by scrub-buster on Apr 24, 2010 23:22:02 GMT -5
The snake skin is dry and ready to be cut out. I take a razor knife and cut just inside of the staples. 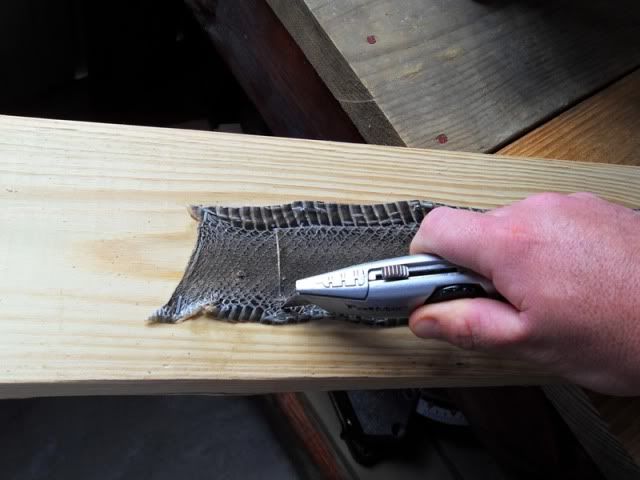 Then you have a nice piece of skin ready to be put on a bow. 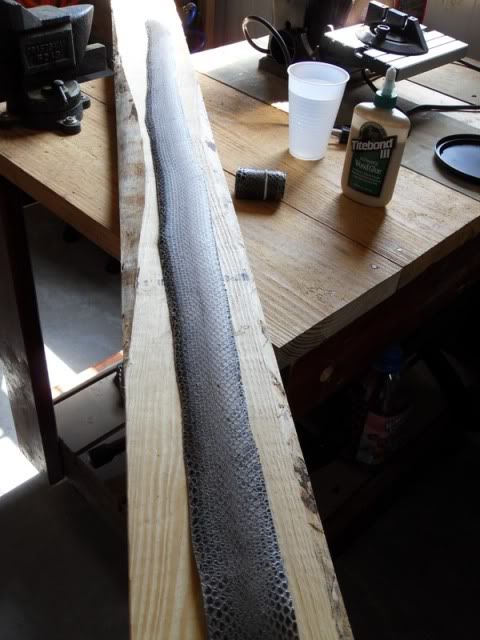 If I am not using a skin right away, I roll it up and store it in a small plastic tub. Here is a skin from last year that matches the one that I just cut out. It will take two skins to do this bow. 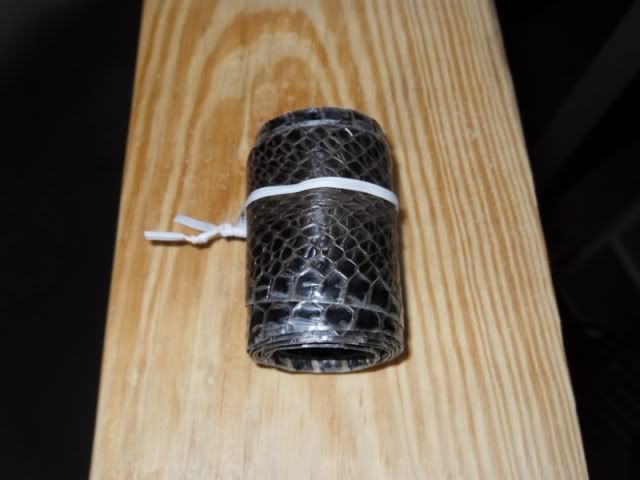 Next, I soak the skin in water for about 5 minutes. Then I take it out and gently wipe the water off of it with a rag. Then I prepare the back. I use TightBond III to glue the skins down. I thin it out with a little water and then paint the back and sides of the bow with it. 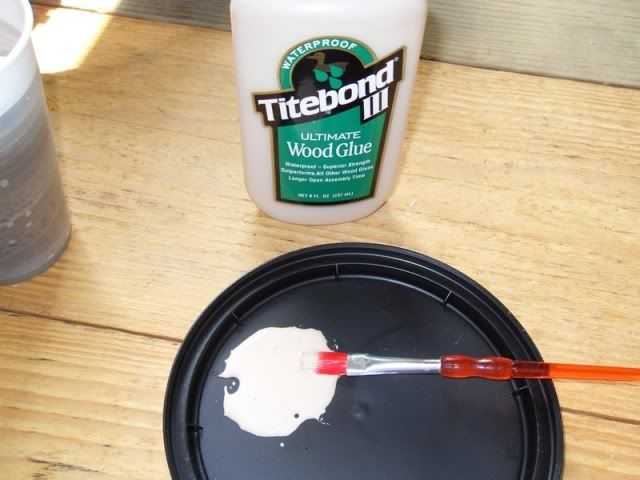 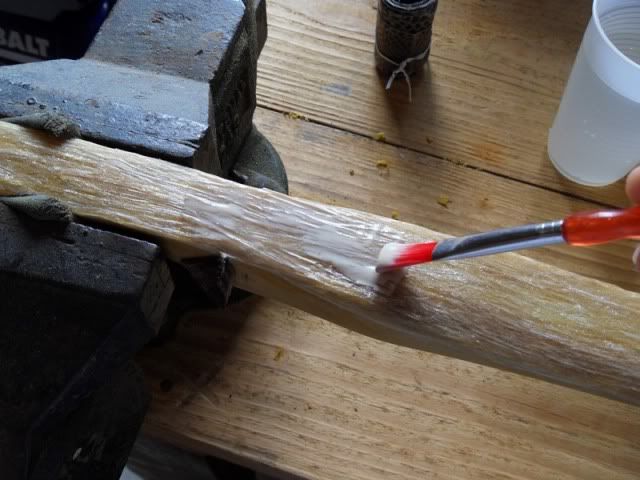 I wasn't able to get any pictures of the skin being put down, I was by myself and the glue was drying fast. I started at the handle and layed the skin down. I tried to line up the center row of scales down the center of the bow. Once the skin is down, you can move it around a little before the glue dries. You also have to get any air bubbles out from underneath it. That was difficult with this one because of the sinew. 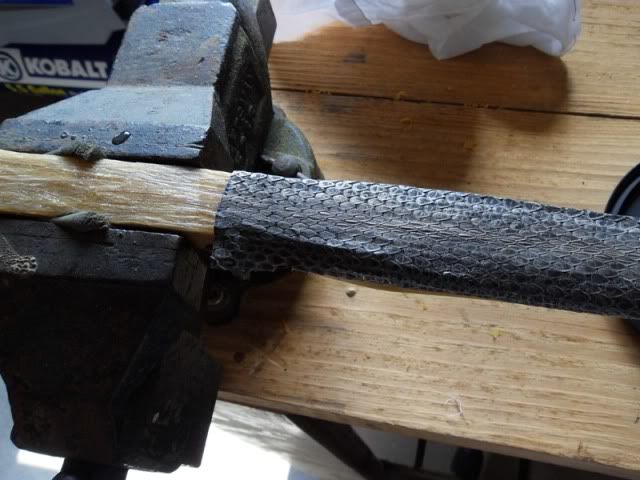 Since I took the sinew part way down the sides of the bow, I wanted to cover it up with the skins. I have only put it on the back before, so this was a little more difficult. 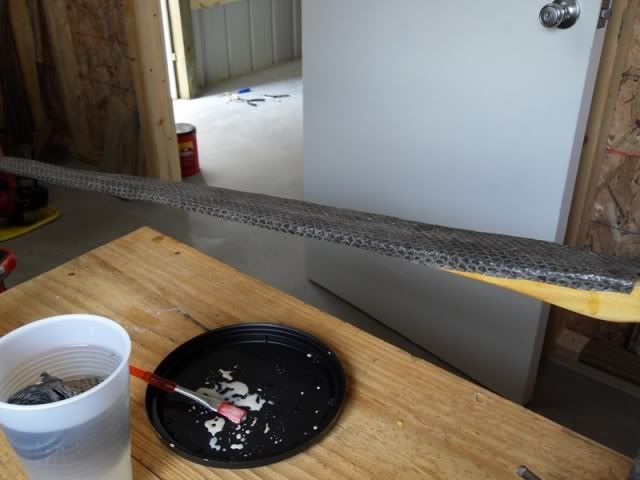 Here is what it looked like when I was done. 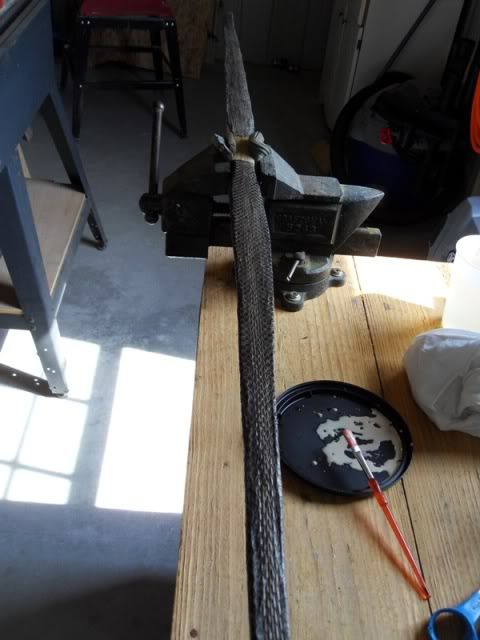 The next day, the glue was dry enough to trim the excess off of the belly side. I use a sandpaper block and lightly sand the edges. After a few passes, the extra skin comes off and you are left with a nice edge. 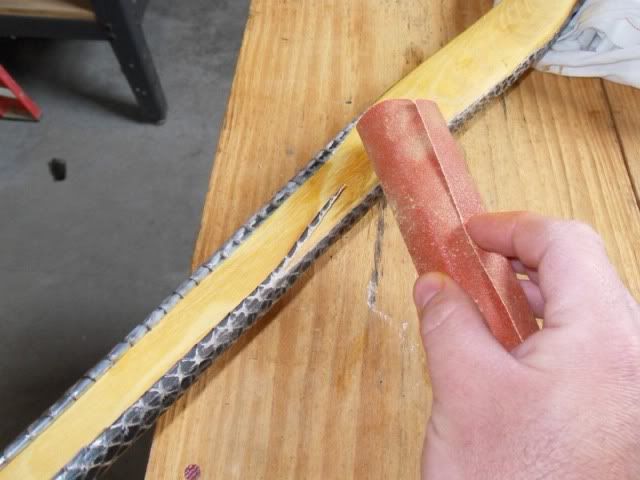 I had some trouble trimming the skin around the sides of the fades and around the tips. I just tried to make everything even. Once I had the skin trimmed, I started peeling off the scales. Each individual scale needs to be removed to leave a smooth texture. I use the blue painters tape. It is sticky enough to get most of the scales off, but doesn't tear the skin. 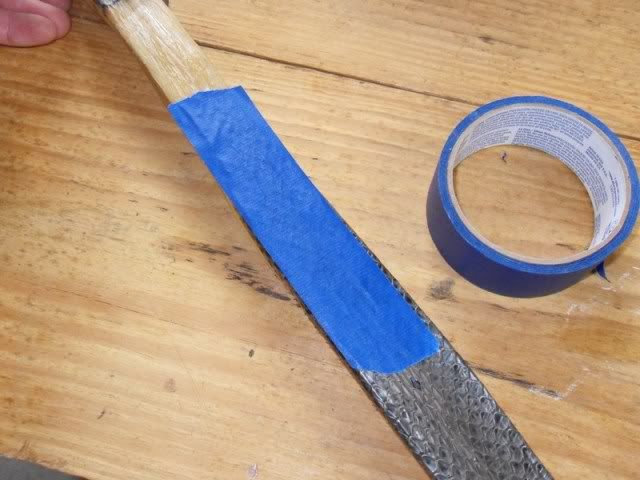 Once the scales are off, there is a nice black shiny skin left. 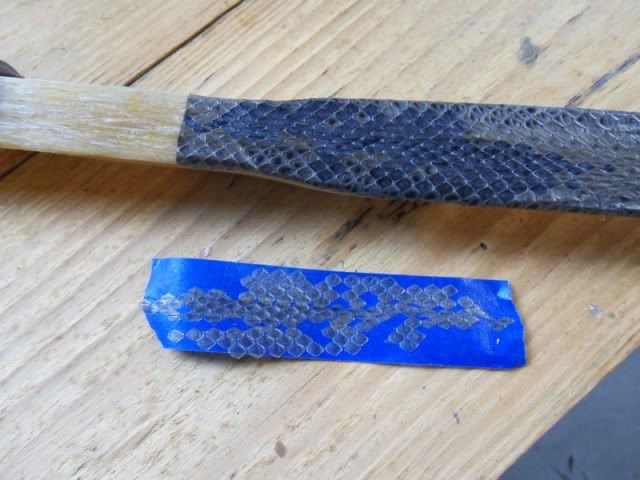 That is as far as I got on the bow on my two days off. I still have a lot of scales to remove. The ones that don't come off with the tape have to be picked off one at a time. It is almost done. All that is left is some more sanding, a tru-oil finish, and a leather handle. |
|
|
|
Post by scrub-buster on Apr 26, 2010 17:29:42 GMT -5
Not much of an update. Still picking scales off.
|
|
|
|
Post by Decatur on Apr 26, 2010 17:56:46 GMT -5
Looking good!
|
|
|
|
Post by scrub-buster on Apr 29, 2010 22:54:50 GMT -5
I finished getting all of the scales off. The scales from this years snake didn't want to come off to easy. After spending a lot of time picking each scale off one at a time, I discovered that I could use an air nozzle and "gently" blast them off. 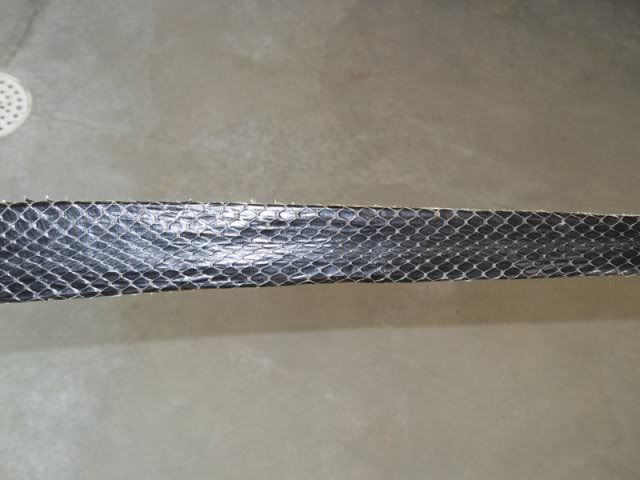 I then used some rounded files to make the arrow pass narrower. This will make it a little closer to center shot. 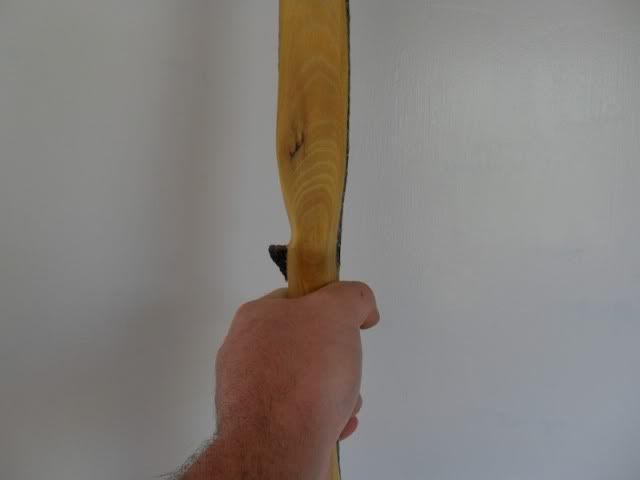 After that, I sanded all of wood smooth again. There was some glue and file marks on it. I plan on putting the first coat of tru-oil on it Friday afternoon, if I can wake up early enough. |
|
|
|
Post by Decatur on Apr 30, 2010 9:24:57 GMT -5
That is going to be one nice looking bow!
|
|
|
|
Post by scrub-buster on Apr 30, 2010 18:37:39 GMT -5
Today I took a slightly damp rag and wiped the bow down to remove the dust. I am using Tru-oil to finish the bow. It is made for gun stocks, but works great on bows. 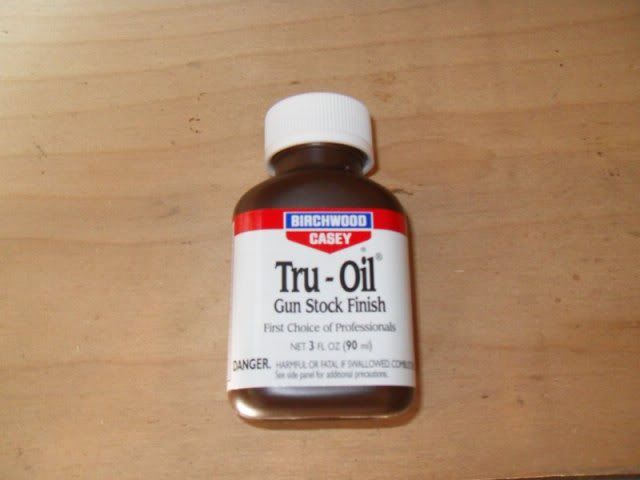 I pour out a very small amount into a cup and then use my finger to wipe a thin layer onto the entire bow. 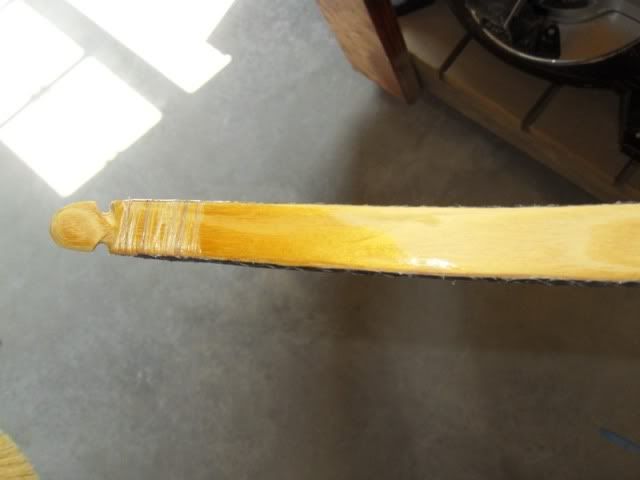 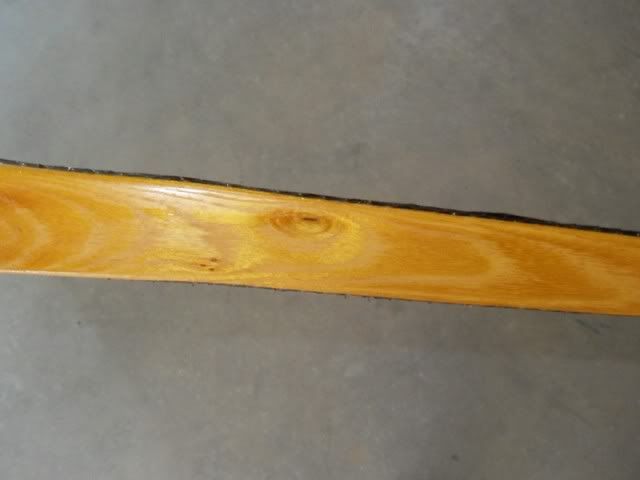 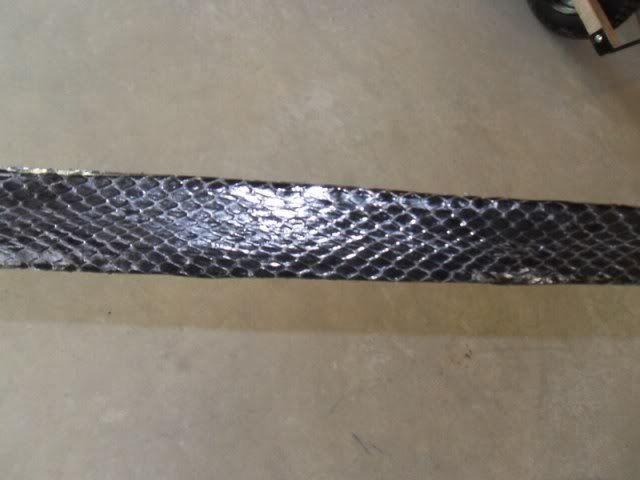 I will probably put 4 or 5 coats on it, sanding in between with 0000 steel wool. A great thing about making primitive style bows is that a lot of the raw materials that you can use are what most people throw away; deer legs from the hoof up to the knee, turkey wings for the feathers, snakes, and trees that a lot of people want cut down and removed. I have put the word out to a few friends and family about what I could use and they are more than happy to help out. Just tonight, I get to work and there is a bag with my name on it that has 2 turkey wings and a copper head in it. A few minutes later, I get an email from a buddy that says he is bringing me 10 turkey wings and 3 snakes tomorrow. I will try to get a picture of the copperhead skin and post it tonight. |
|
|
|
Post by scrub-buster on May 1, 2010 5:15:18 GMT -5
Well, the copperhead turned out to be a corn snake. The guy that brought it in for me tried to skin it and he cut it into 3 pieces so it was pretty much useless. There is some good news, I discovered a ton of rock in a creek bed that looks like it could be flintknapping material. Now I just have to learn what to do with it. Here is some of it. I left some really big pieces there.  |
|
|
|
Post by Decatur on May 1, 2010 9:29:20 GMT -5
When are you going to start on your wigwam? ;d
|
|
|
|
Post by hountzmj on May 2, 2010 18:25:18 GMT -5
This is getting cooler and cooler. Making your own flint arrowheads too? You are the MAN.
|
|
|
|
Post by scrub-buster on May 4, 2010 8:24:44 GMT -5
Not yet. Just trying to get some material so I can learn. I have picked up some bamboo to try to make some arrows too. That might be a good winter project.
|
|
|
|
Post by trapperdave on May 4, 2010 11:12:20 GMT -5
I'm hopin to pick up somwe river cane this summer to use for primitive arrows and learn to knap myself.
Hard to believe so much fun can be had for next to nothin, eh.
|
|
|
|
Post by scrub-buster on May 4, 2010 18:17:48 GMT -5
I'm hopin to pick up somwe river cane this summer to use for primitive arrows and learn to knap myself. Hard to believe so much fun can be had for next to nothin, eh. It is a lot of fun, just not near enough time for it. I have been looking for some river cane, but haven't found any yet. Are you going to Cloverdale? I have been told that there should be some knapping going on there. |
|
|
|
Post by scrub-buster on May 4, 2010 18:21:50 GMT -5
I put 2 more coats of tru-oil on it over the weekend, sanding in between with the steel wool. It is starting to get a good shine to it. 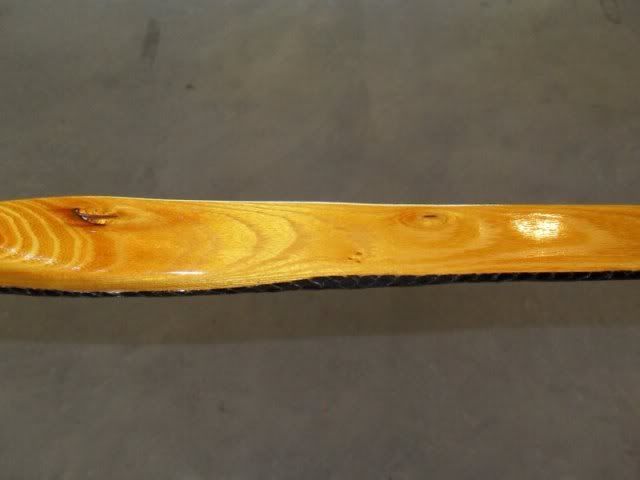 |
|
|
|
Post by trapperdave on May 4, 2010 23:19:53 GMT -5
not cloverdale, but I will be up at Farmland for the big shoot.
I should have an osage self bow coming from John Scifres by deer season. I let him cut some osage on the family farm last spring in exchange for one made from one of the staves. Hope to build one of my own someday when time isnt so scarce.
|
|
|
|
Post by scrub-buster on May 5, 2010 1:23:59 GMT -5
If John made it, I'm sure it will be an incredible bow. I have seen some of his work on other sites. I plan on being at Farmland with my son and a friend. Don't expect me to hit anything with this bow, I have never used a trad bow at a 3-D shoot.
I tried letting someone from Ohio cut osage in exchange for a bow last year. The bow that I received was a piece of junk. The arrow rest was right in the middle of the grip. You had to hold the bow at the lower fade to shoot it. It had a brace height of about an inch, and it was supposed to be 50lbs. It might be 30lbs on a good day. I didn't shoot one arrow out of it. I think I am going to use it to practice steam bending the tips into a recurve.
|
|
|
|
Post by trapperdave on May 5, 2010 6:34:17 GMT -5
Ive seen and held a few of Johns bows. He had a couple that were steamed into recurves and one had grass carp skins on it (too cool). Ill be at Farmland friday and part day saturday, wearing a Pirates of Archery shirt. Give a shout if we cross paths.
|
|
|
|
Post by scrub-buster on May 5, 2010 7:22:33 GMT -5
As of now, our plans are to be there on Sunday. If my friend has to cancel, I will be going on Saturday.
|
|
|
|
Post by scrub-buster on May 8, 2010 21:37:47 GMT -5
I put the 4th layer of Tru-oil on today. I also found a nice piece of leather to use for the handle. The wife's old leather coat. 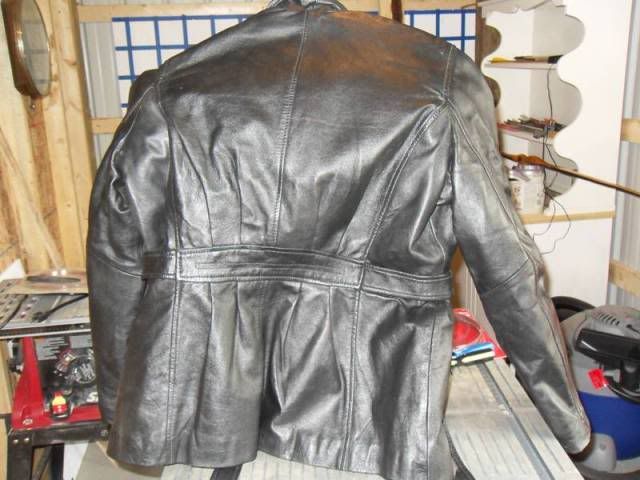 I picked up a deep fryer at a yard sale yesterday. It has a thermostat on it. I think it will work to boil water in so I can use it to steam bend some bow tips. For $2, it was worth a shot. |
|
|
|
Post by scrub-buster on May 13, 2010 18:55:13 GMT -5
I put the leather handle on it today. I cut a small square out of the back of the jacket. I folded the top and bottom over about half an inch and glued it down with superglue. 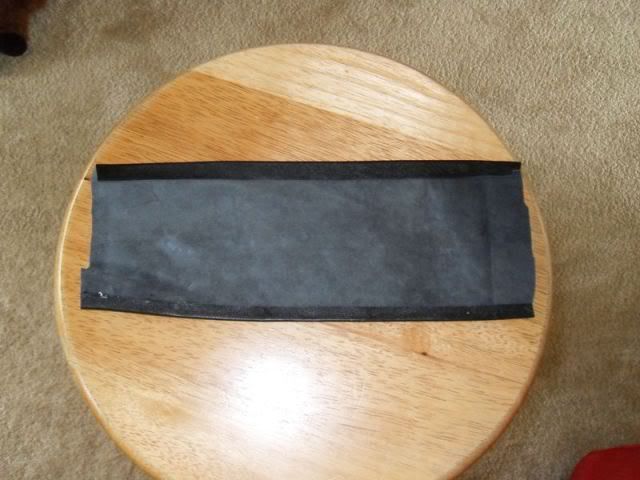 Next, I started at the grip and glued it to the bow. I kept stretching it and glueing it around the sides. When I got to the back, I cut it to fit and folded and glued the ends. I used two curved leather needles and some black nylon cord to sew it up. 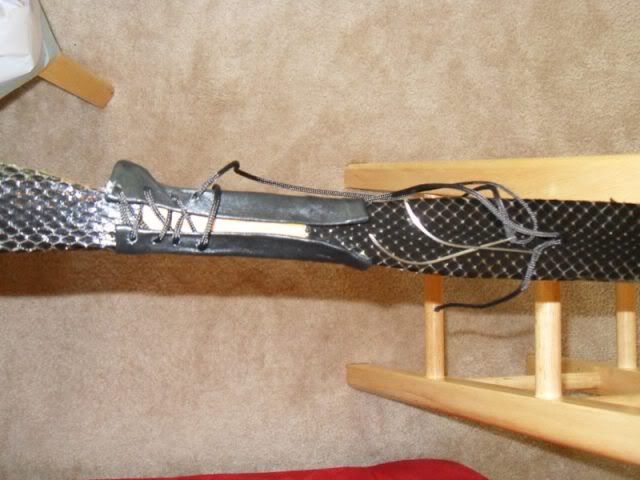 When I got to the bottom, I tightened the cord and tied it into a small knot then tucked the ends back under the handle. It turned out pretty good. 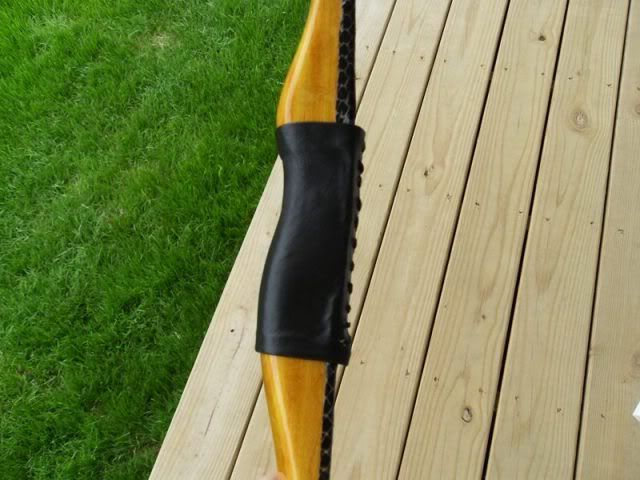 I also added a piece of leather over the rest and on the side of the bow where the arrow will hit. It will make it quieter. 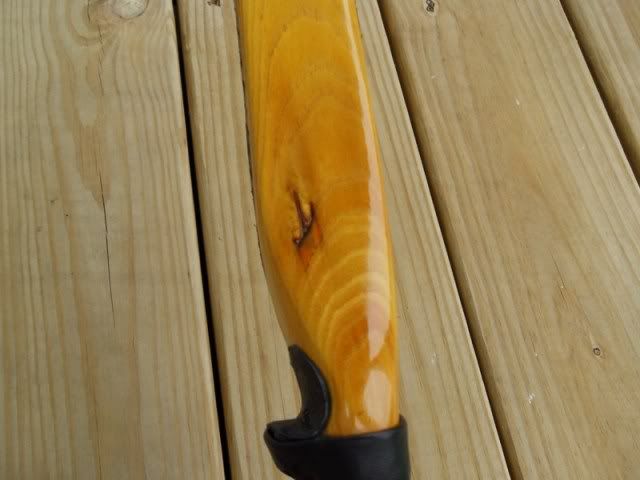 |
|
|
|
Post by scrub-buster on May 13, 2010 19:10:13 GMT -5
THE BOW IS FINISHED!!! I think it turned out great. The draw weight is a little lighter than I was aiming for, but it should do the job. This build-a-long was a lot of fun. Sorry this took so long to finish. Thanks to everyone who followed along. Maybe someone else could start one. I would enjoy seeing some arrows being made. Here are some pictures of the finished product. 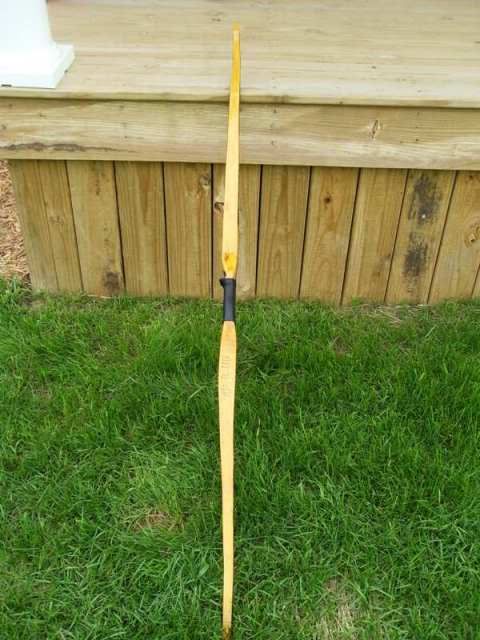 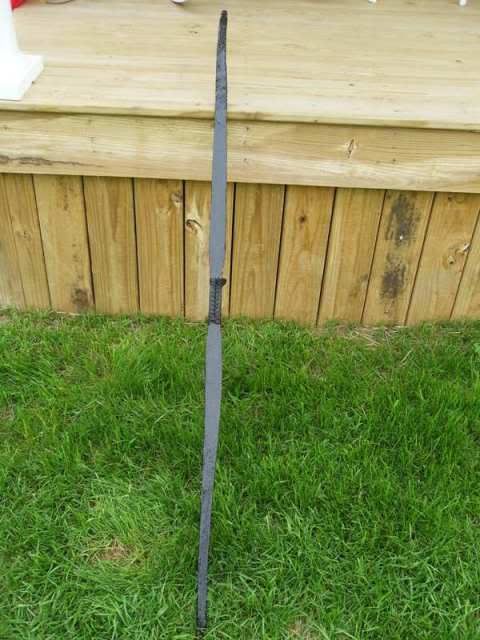 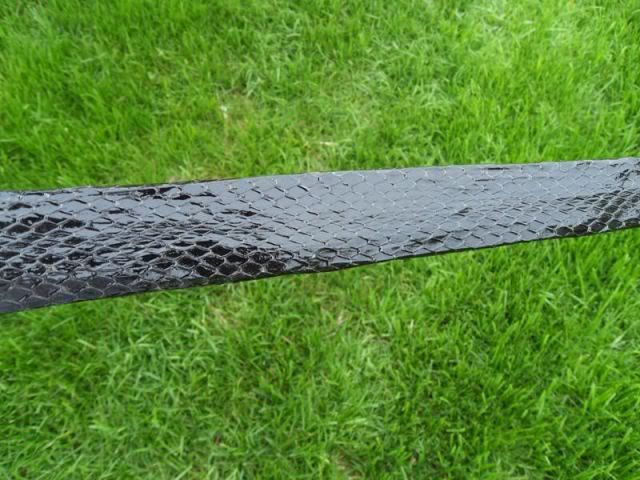 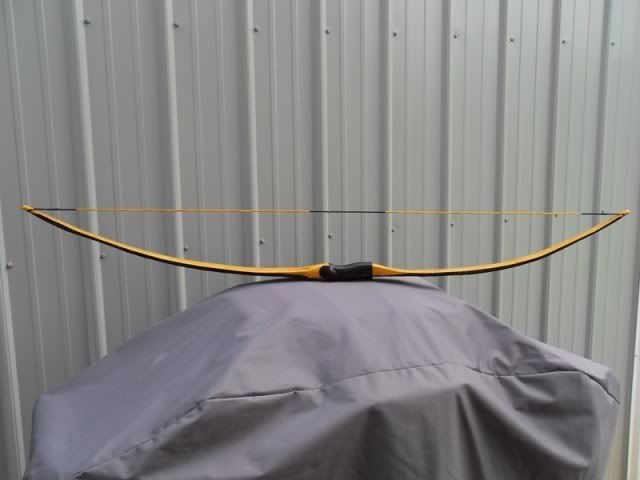 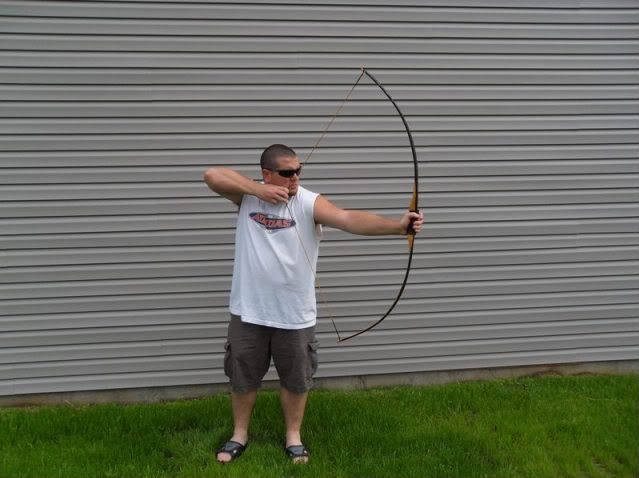 This is my 4th bow. I call my bow making adventures "Osage Outlaw Bows". A lot of bowyers name the bows that they make. I haven't named one before, but I decided to name this bow. The Hunting Indiana Bow 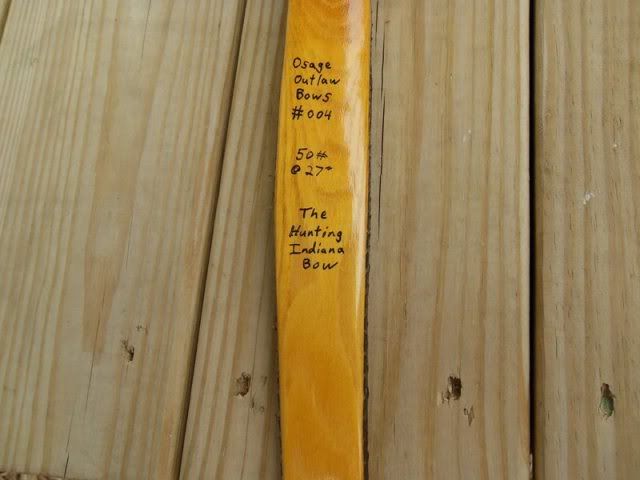 |
|


