|
|
Post by scrub-buster on Mar 28, 2016 19:26:29 GMT -5
I didn't get much done today. I was kind of wore out and just couldn't seem to get moving very well. I got the bed platform screwed down. I left one section loose so I can access the storage area from the inside. If I end up using it a lot I'll make the access hatch bigger. I still need to cut a board for the top of the front section. 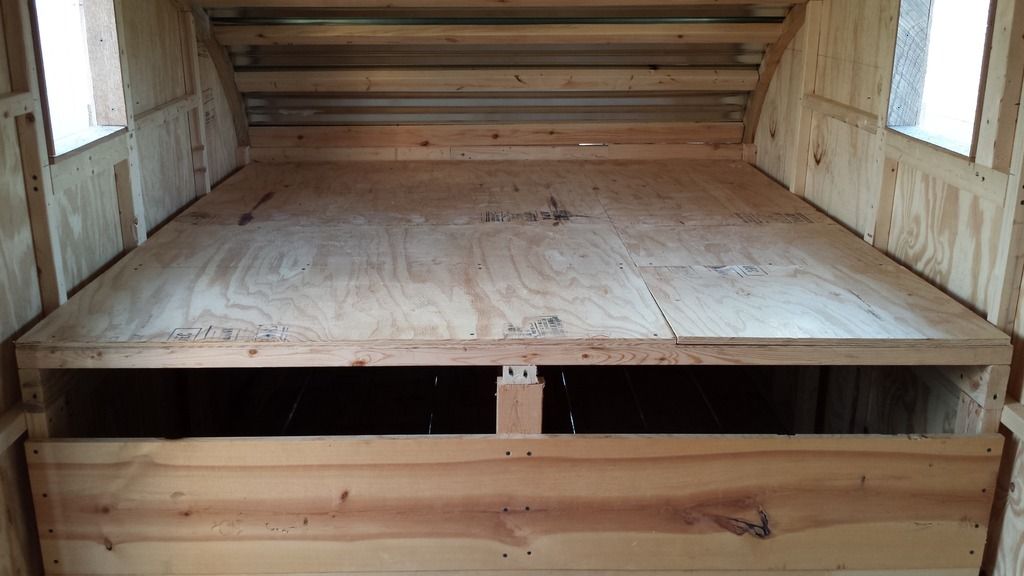 I put the cross boards on the back door and added the rusted hasp. I still need a way to secure the doors to the inside frame to keep them shut tightly. I picked up a big old wrench from a junk store today. I have an idea on how to use it for the door latch. 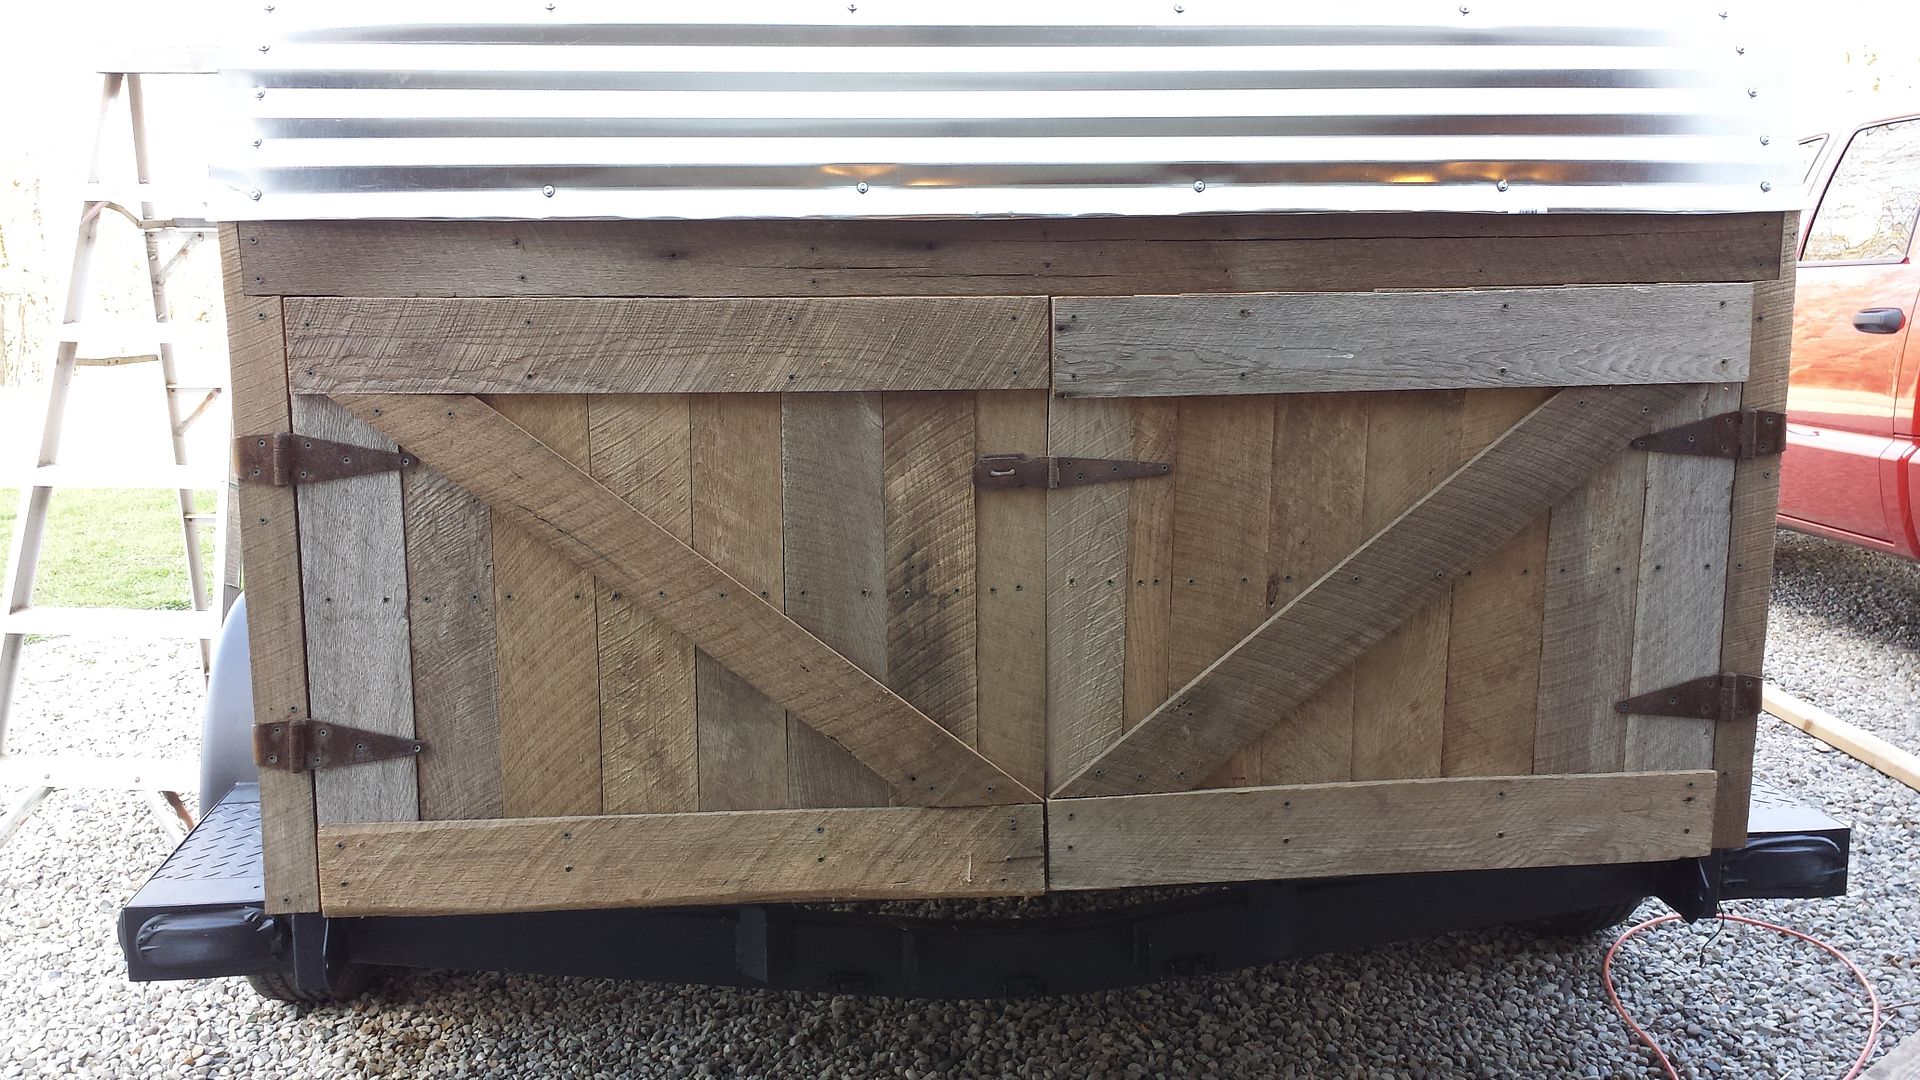 I made the window shutters but couldn't figure out a way to make the hinges work the way I wanted them to. I gave up and just screwed them to the camper. I put also put the hasp on the front door. My to-do list is getting shorter. It's mostly little things left to get it ready for the road. I have to work the next 2 days so I'll be able to rest up and be ready to hit it hard on Thursday. 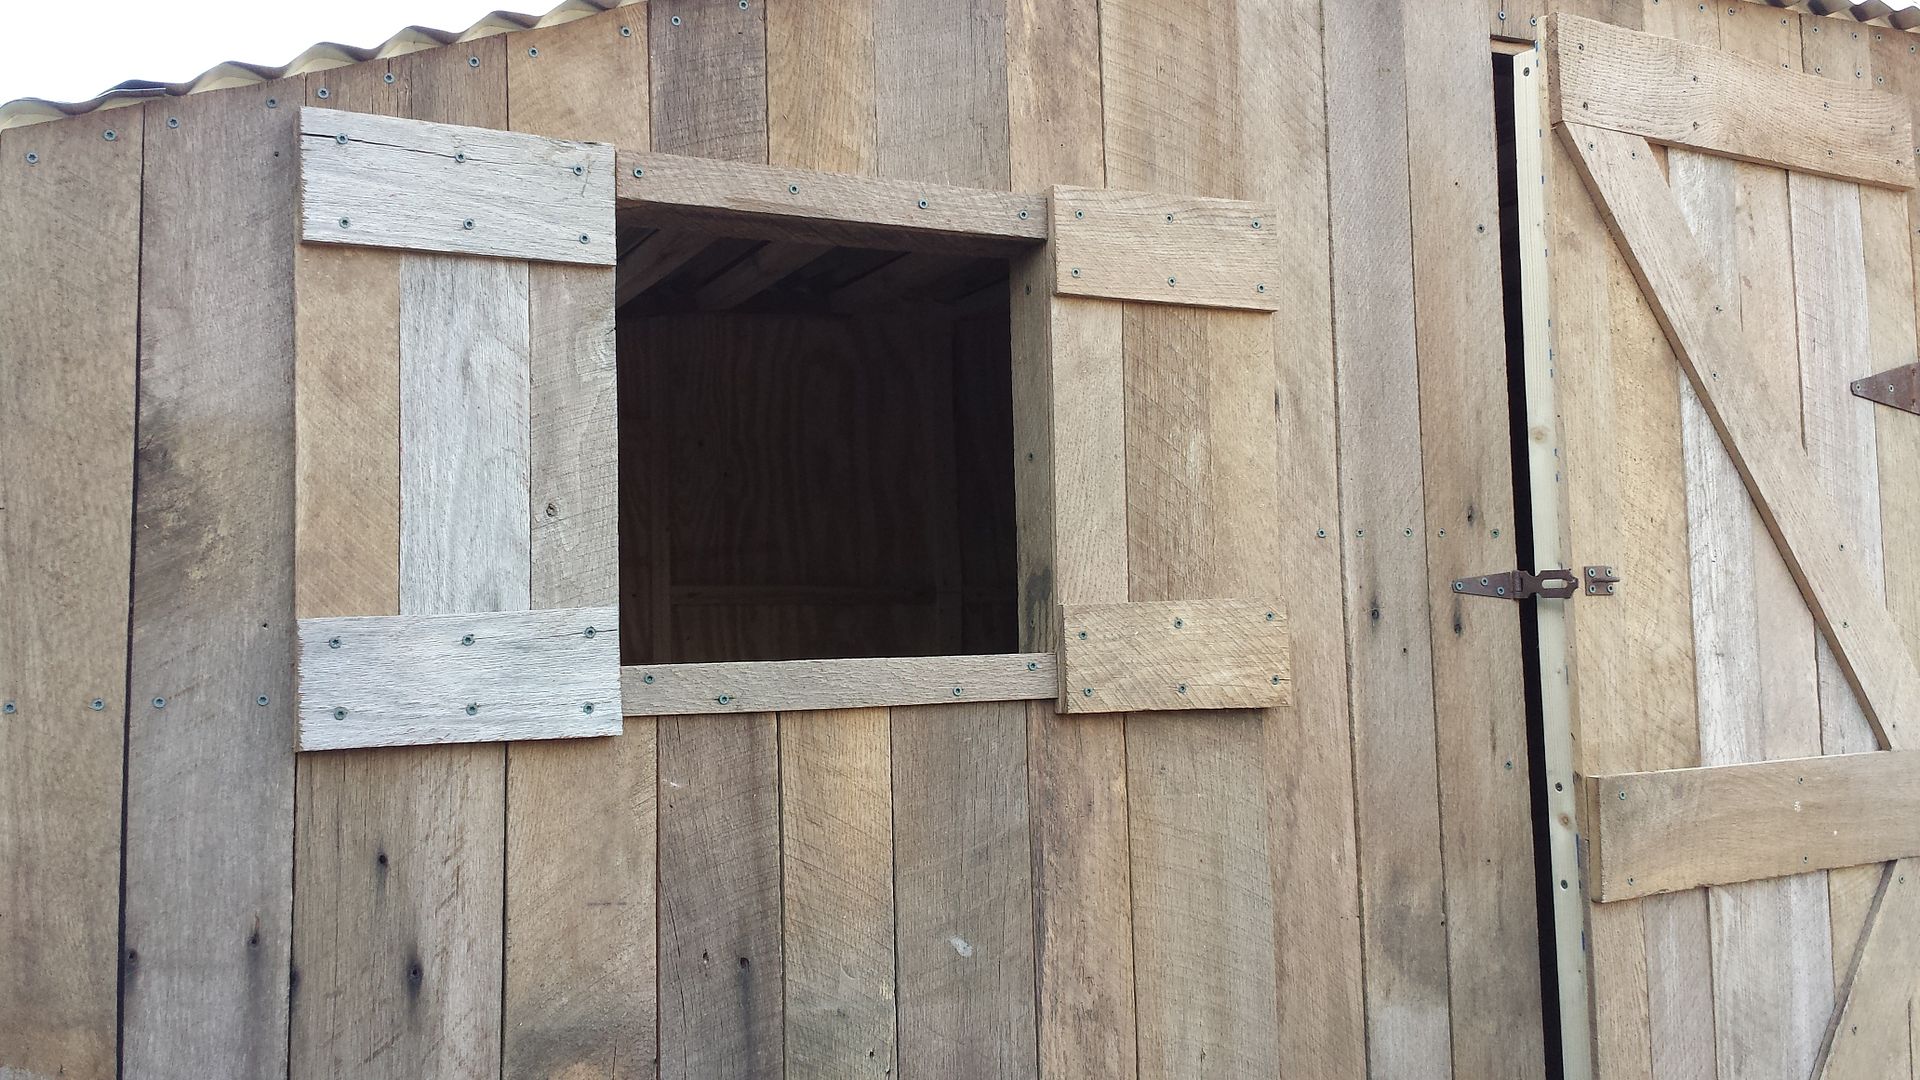 |
|
|
|
Post by scrub-buster on Mar 30, 2016 21:33:29 GMT -5
I left work a few hours early today so I could get the camper sealed up before the storms and rain roll through tonight and tomorrow. I caulked all around the edges of the roof, windows, and doors. I used 5 tubes of caulking. I picked up a gallon of mis-tinted wood sealer at Lowes for $9 a while back. It had a very light tan color to it. I tested it out on a scrap of siding and liked how it looked. I used a spray gun to put a coat on the barn siding. I was happy with the results. In the picture I've sprayed the left half of the camper. It was getting dark when I finished so I couldn't get a good picture of it done. 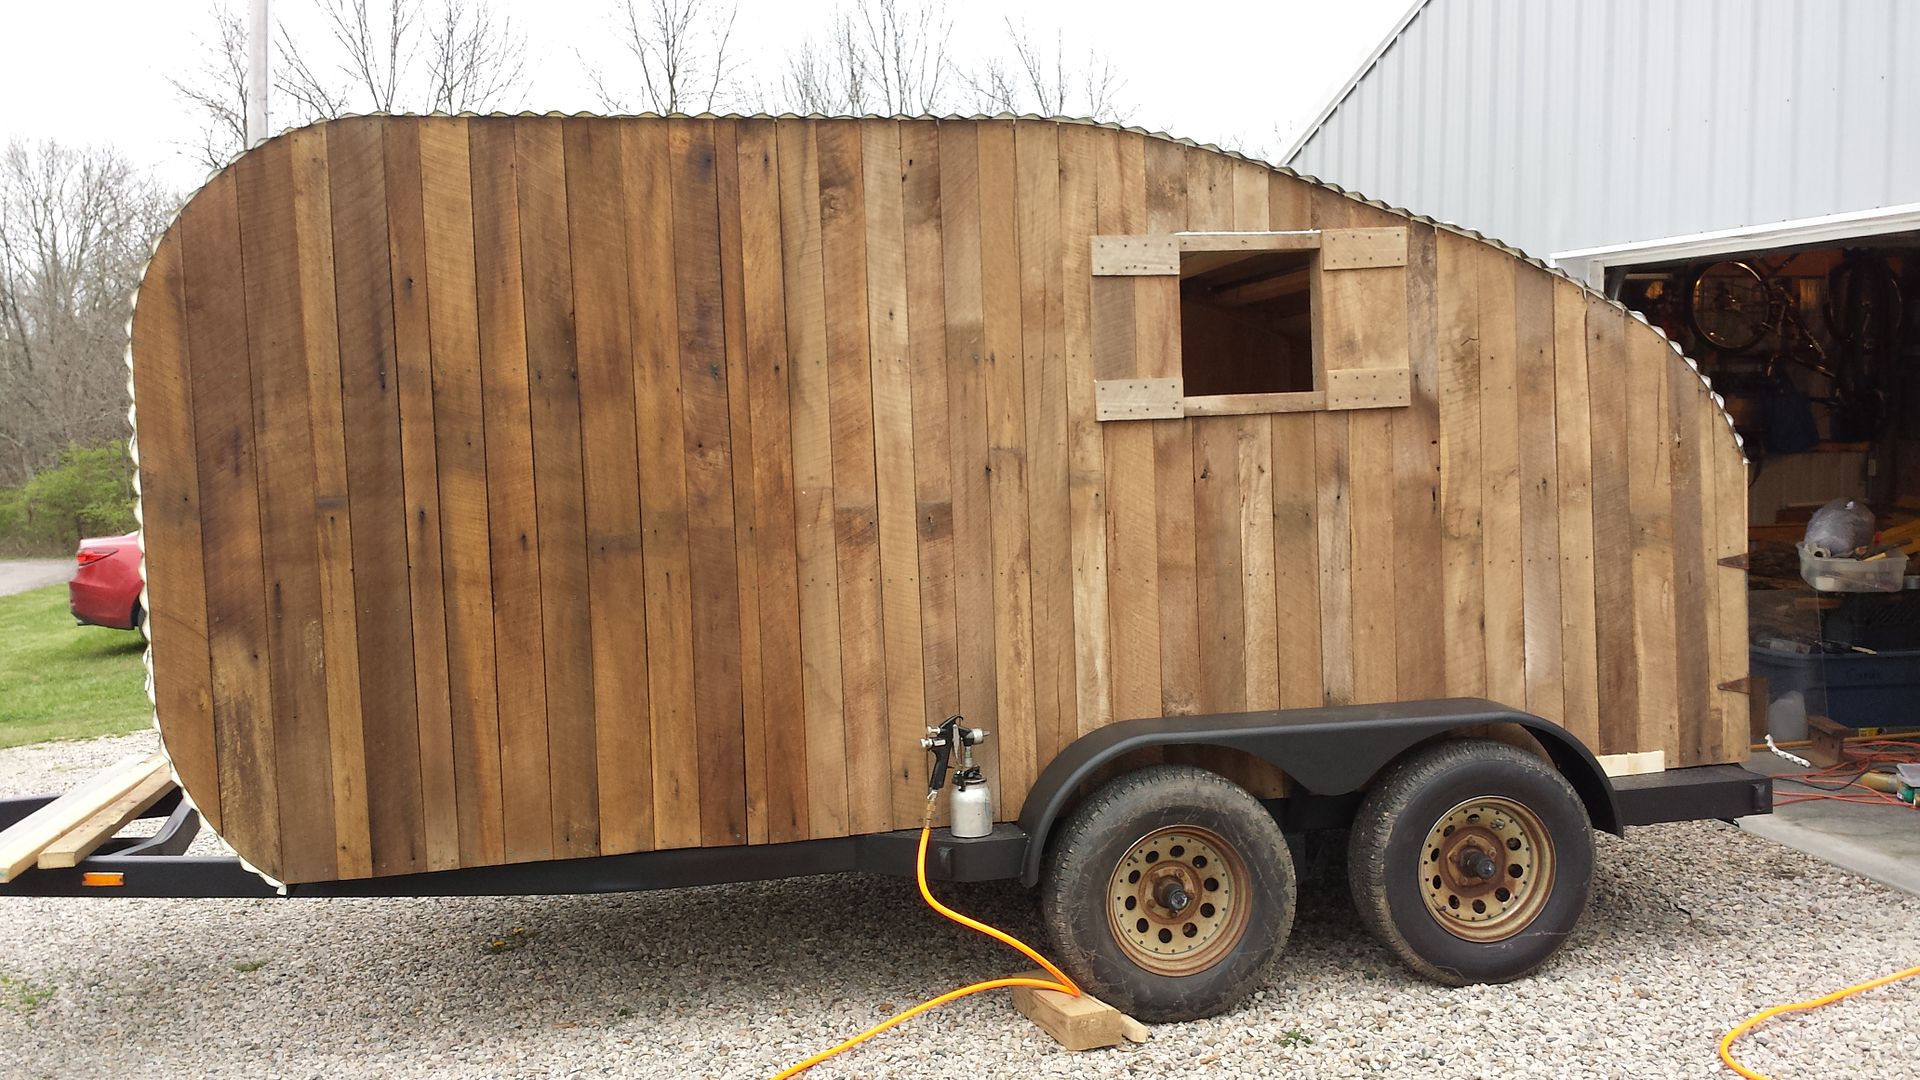 |
|
|
|
Post by dadfsr on Mar 31, 2016 5:27:30 GMT -5
Why not hinge the top board of the bed on the inside? I'm betting you won't have the holding box completely full to the top with staves and this would allow you to maybe access one or two favored staves that you might leave on the top of the pile from the inside without having to open the whole back....might allow a quick consult at night or during inclement weather while still staying inside-just a thought  sent you a PM too.... |
|
|
|
Post by scrub-buster on Mar 31, 2016 5:50:12 GMT -5
I had planned on having the front 2' section of the bed platform on hinges so I could access the storage area. One of the pieces of plywood was warped a little and wouldn't lay flat so I screwed it down. I still have a 2' x 2' board that will be loose that I can remove to get to the storage area.
|
|
|
|
Post by dadfsr on Mar 31, 2016 7:39:11 GMT -5
I had planned on having the front 2' section of the bed platform on hinges so I could access the storage area. One of the pieces of plywood was warped a little and wouldn't lay flat so I screwed it down. I still have a 2' x 2' board that will be loose that I can remove to get to the storage area. I was more looking at the top board that you said you still had to cut-may be easier to slide them straight out rather than "up through"??....plus you wouldn't have to re-make your bed  |
|
|
|
Post by Sasquatch on Mar 31, 2016 16:15:54 GMT -5
Looks like a cool project!
|
|
|
|
Post by scrub-buster on Mar 31, 2016 21:09:48 GMT -5
I got a little bit work done on it today between thunderstorms. I finished the screen and glass in one window. It got dark before I remembered to get a picture of it. I wanted a way to securely fasten the back doors to the middle support 2x4 while traveling. I anchored a piece of all thread in it and used an old wrench to lock the doors down. I used a lock washer and lock nut to tighten up the wrench. I might double nut it during for the road just to make sure it stays tight. 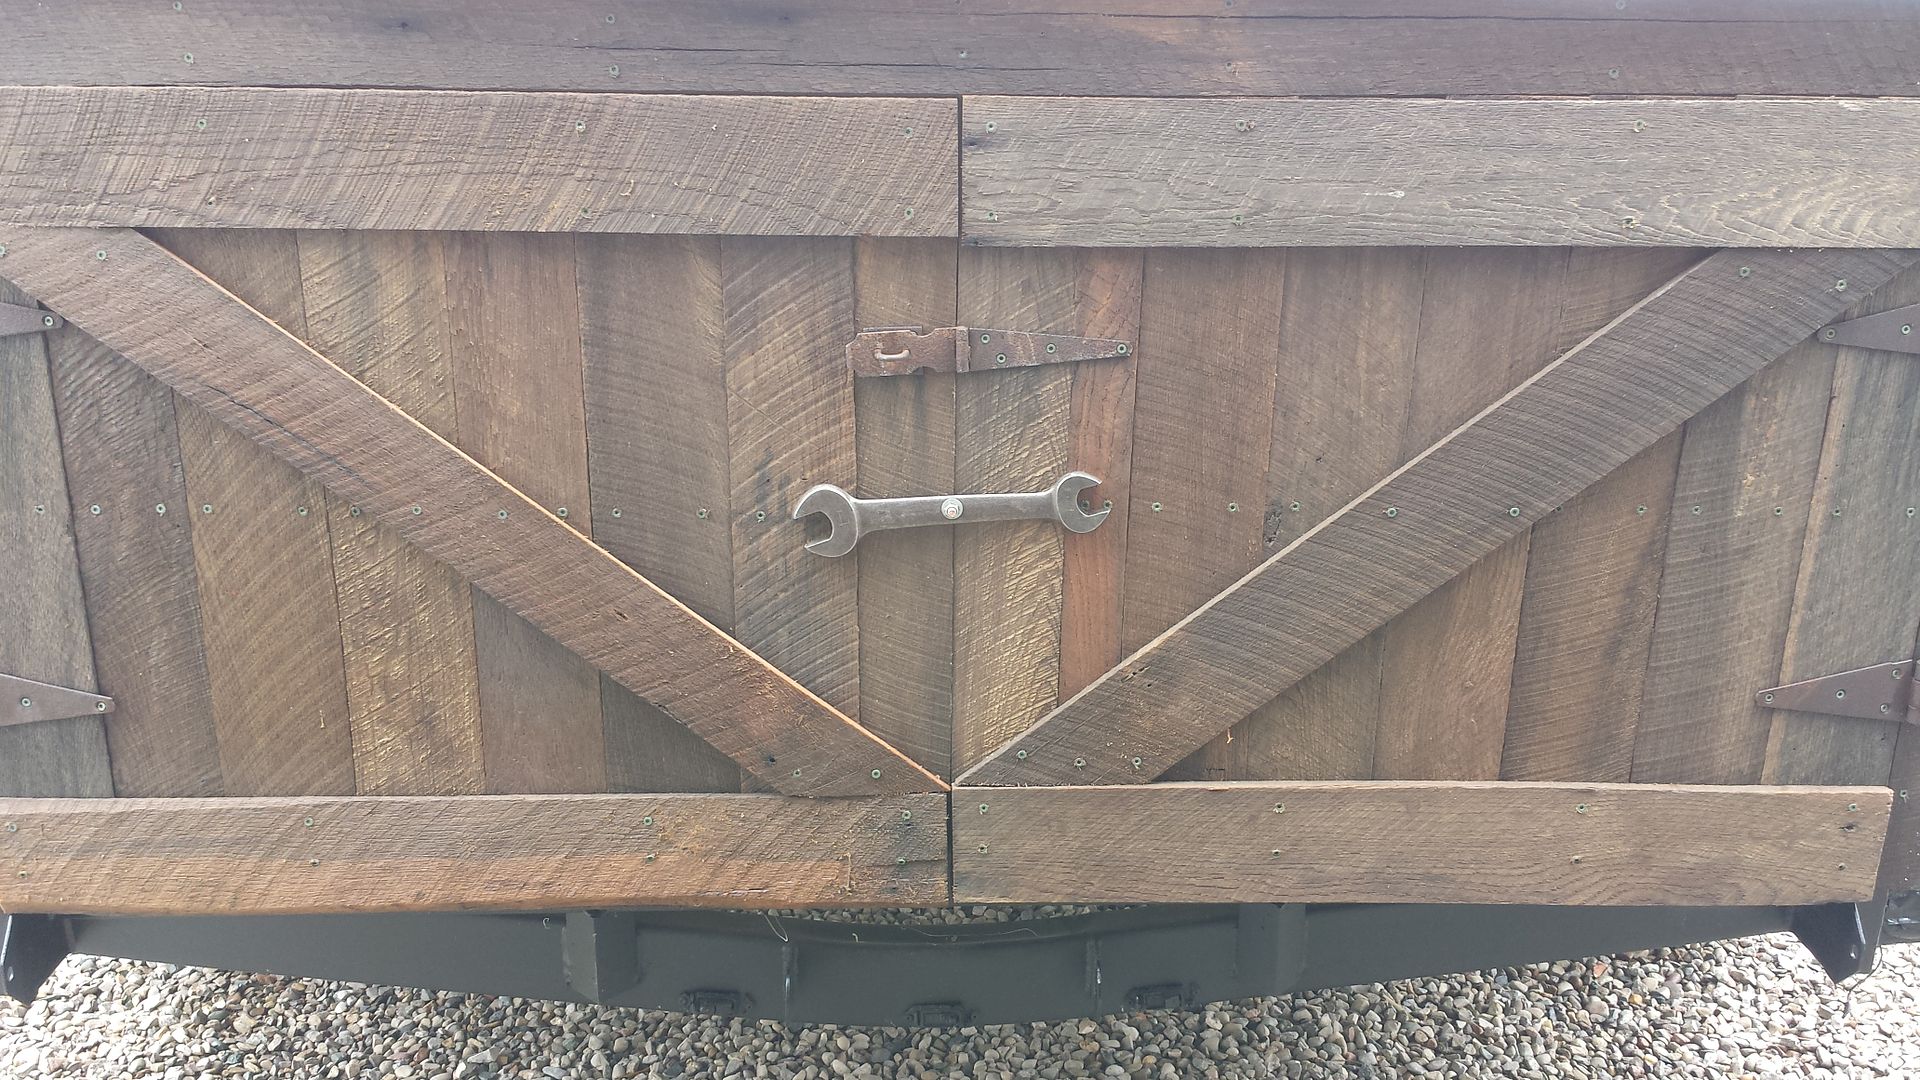 |
|
|
|
Post by johnc911 on Apr 1, 2016 4:19:47 GMT -5
Just saw this thread. This is pretty amazing, Well done !!
|
|
|
|
Post by dbd870 on Apr 1, 2016 6:24:32 GMT -5
I like the wrench - nice touch!
|
|
|
|
Post by scrub-buster on Apr 1, 2016 15:24:15 GMT -5
I finished the windows for the most part. I've got both screens in and plexiglass cut to fit. I'm still working out a way to secure the glass in place but make it easy to remove. I put the last board on the front bed frame. It's all done now. I also made a door handle out of an old weathered mule deer antler. I just took apart the actuator hitch. It was a rusted worn out mess inside. The master cylinder was full of rusty sludge. I swapped over all the parts and got everything put back the way its supposed to be. I wasn't able to reuse the gasket on the master cylinder so I took it back off. I'll order a new one and get it installed. 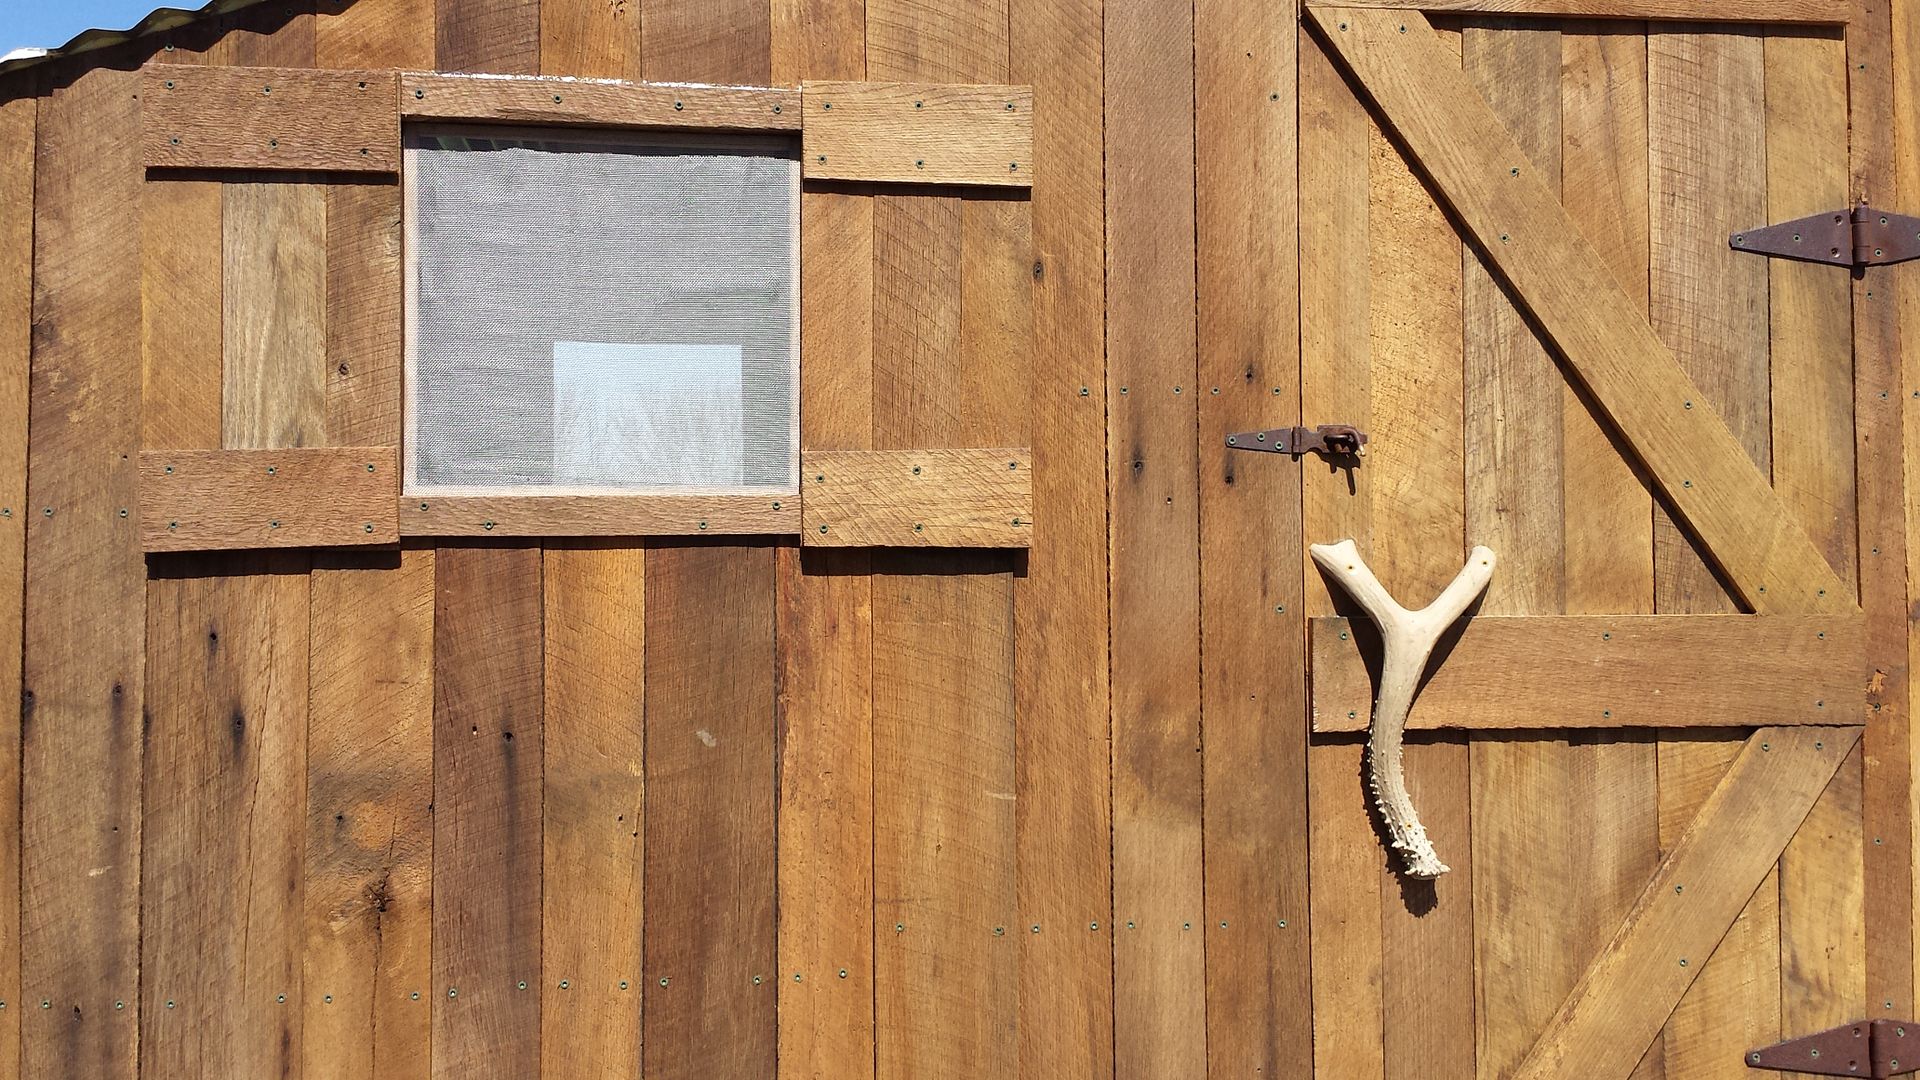 |
|
|
|
Post by scrub-buster on Apr 5, 2016 20:33:27 GMT -5
I got the new gasket in the mail this morning and installed the master cylinder. I bled the brakes and then tested them out. One side works perfectly. The other side didn't do anything. I took the hub off and found the problem. No brakes! I'm going to order a new brake assembly for it. I was expecting both sides to be bad so I was happy it was just the one side. The bearings are in great condition. I was worried about what they would look like. The previous owners kept it well greased. 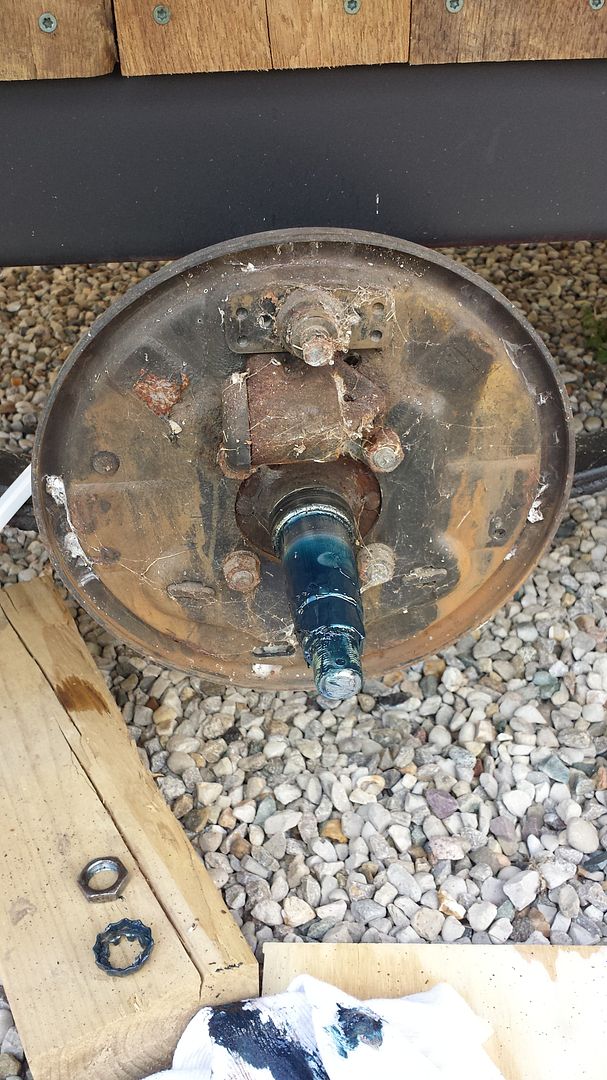 I put down 1/2" insulation on the floor. It has foil on both sides. It should keep any moisture out. I put 1/4" luan over the insulation. This will have to work as a floor until I put down the laminate flooring after my trip to the Tennessee Classic. Getting the deck boards covered up made a big difference inside. It feels more like a camper in there now. 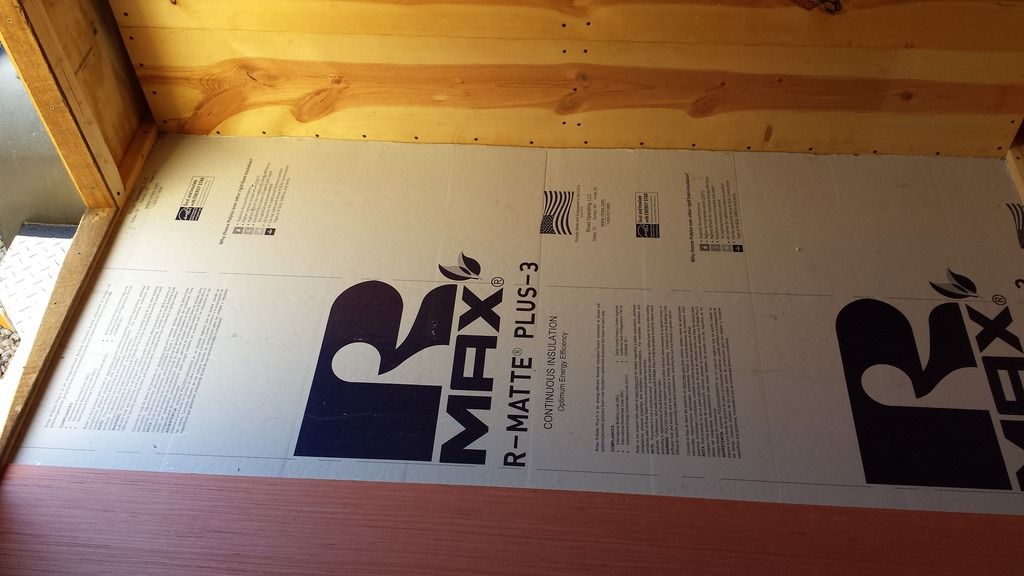 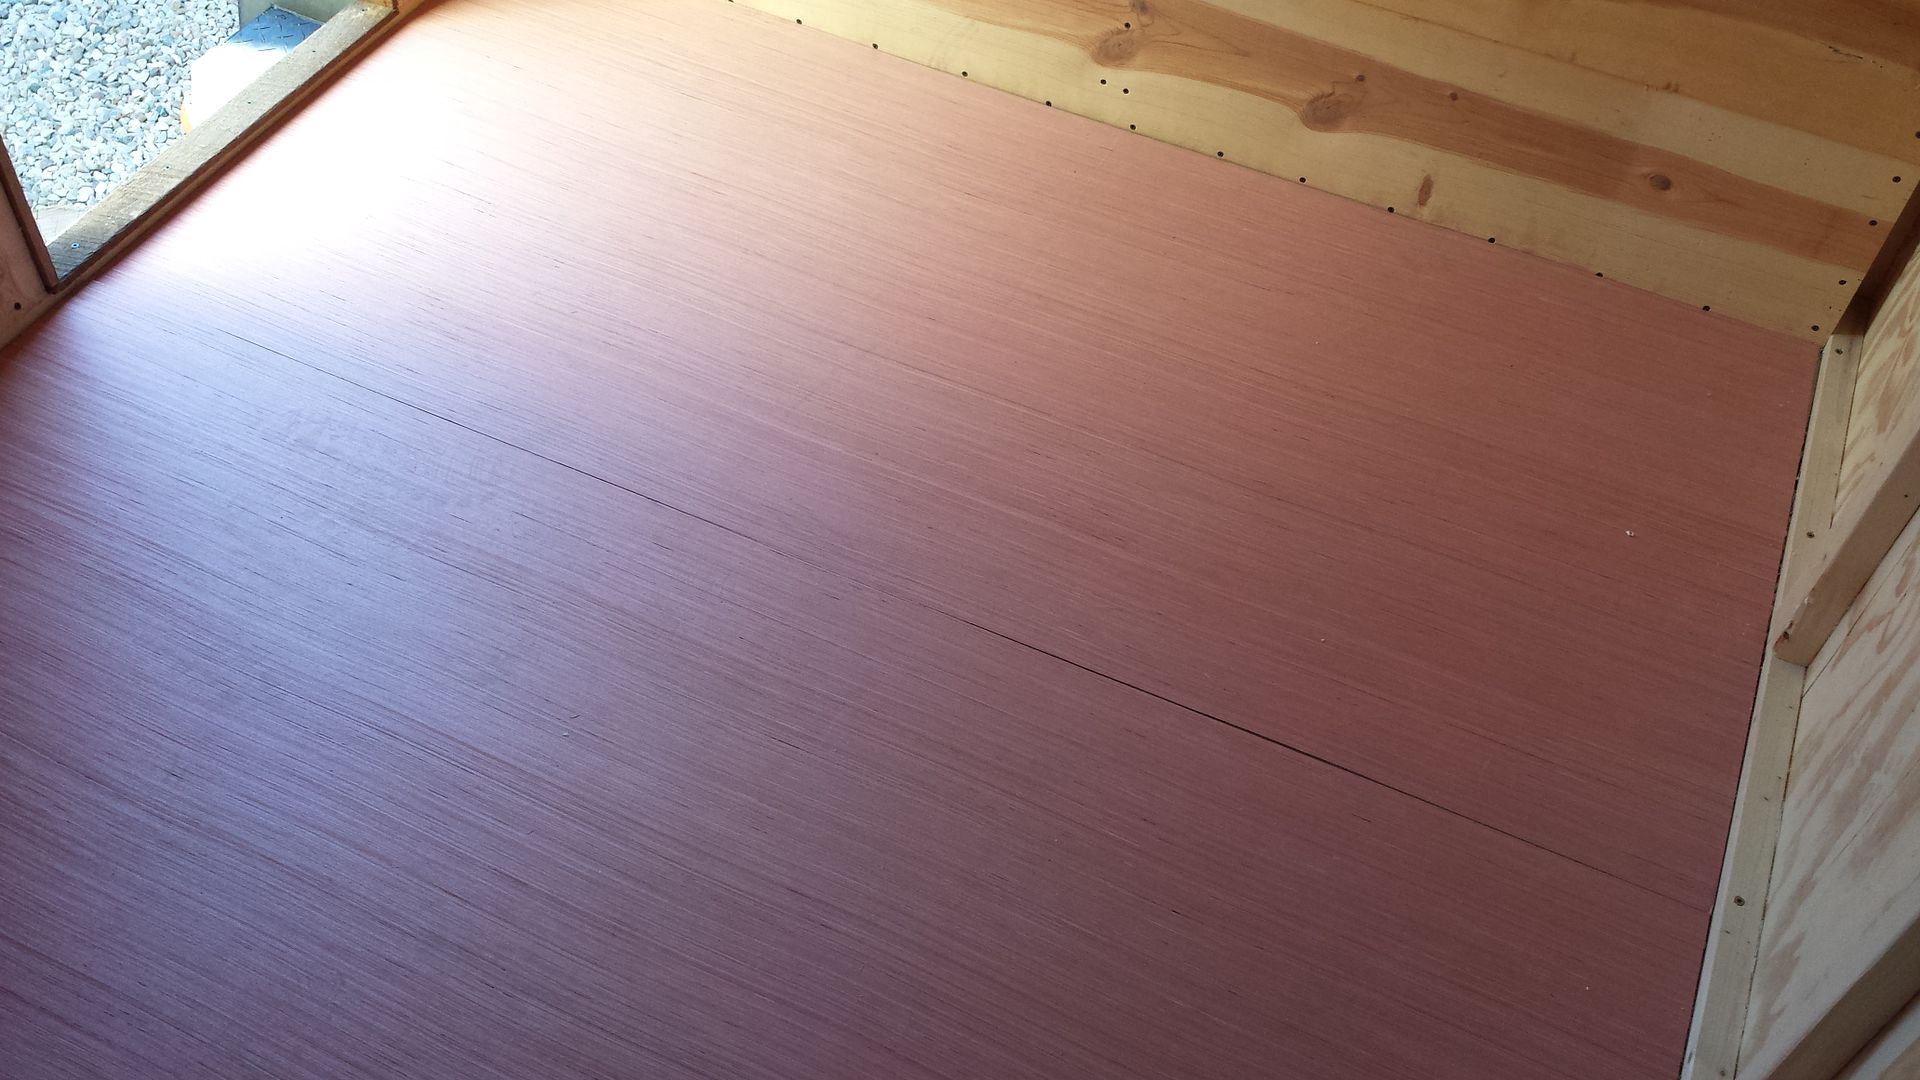 |
|
|
|
Post by saltydog on Apr 6, 2016 4:55:13 GMT -5
Looks good scrub !!! How are you going to heat it ? Wouldn't take much I would think, with the insulation you've used.
|
|
|
|
Post by scrub-buster on Apr 6, 2016 7:16:39 GMT -5
I'm going to insulate the walls and ceiling before I finish them up. I would like to get one of those small space heaters that look like a wood fire. Most of my camping is in warm weather so I won't need much heat.
|
|
|
|
Post by bullseye69 on Apr 6, 2016 13:37:11 GMT -5
Really looking good!!!
One of a kind.
|
|
|
|
Post by scrub-buster on Apr 6, 2016 20:36:20 GMT -5
Thanks Bullseye I finished up a lot of small jobs on the camper today. I caulked a lot of small spots that needed a second coat. I fixed the leak on the roof hopefully. I moved some boards on the inside of the back door frame to get a better seal. I put weather stripping around all the doors and windows. I finished a first attempt at holding the windows in place while traveling. Once the caulking dries I'll test it out. I used some scrap plywood and made a couple of temporary shelves in the front of the camper. Since the nose is rounded I didn't lose to much floor space. 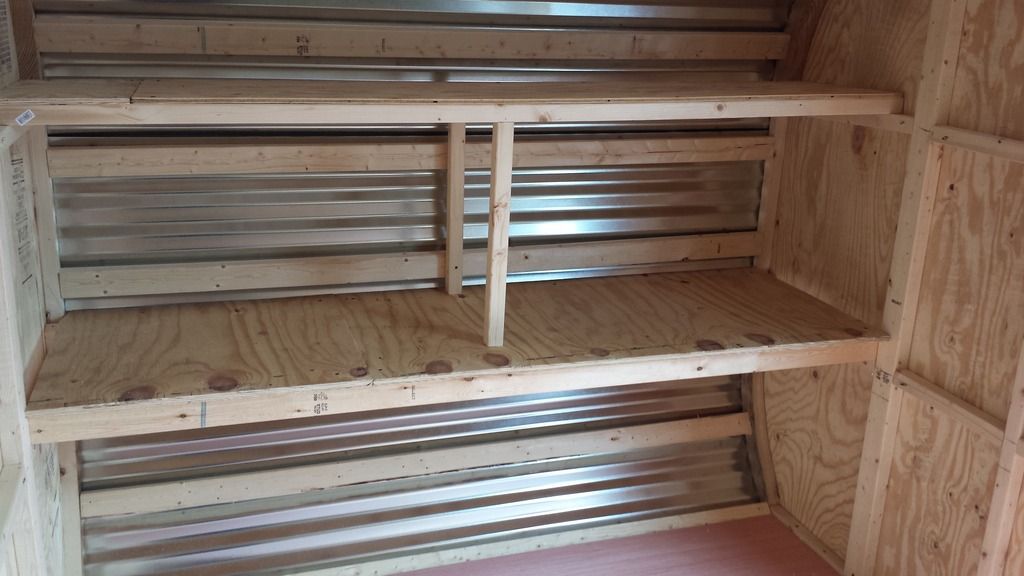 I pulled the other wheel hub off to inspect the brakes and bearings. They looked like they are in good shape. I found a deal on ebay for a set of brakes. It was going to cost me $55 to get one new brake backing assembly. I ended up getting a new set for $65. I'm going to replace both sides so I'll have completely all new brakes. 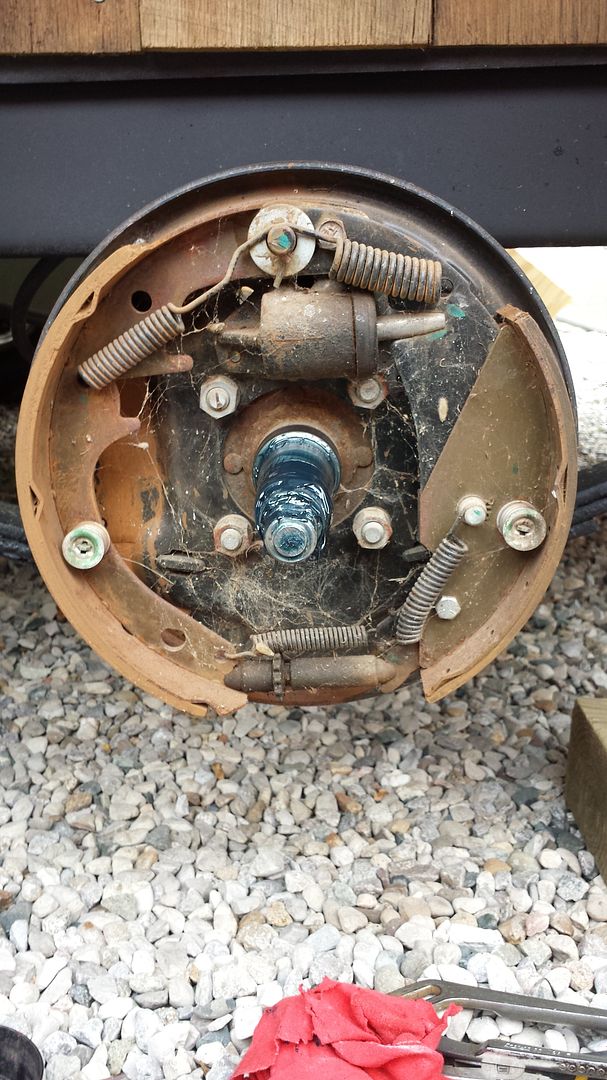 I've been using a wobbly chunk of wood for a step. I took an end cut from an osage log and cut it down to size for a more stable step. I might try to hollow out the bottom so its a little lighter. I had to find a way to use some osage on this project. It's basically ready to hit the road once I get the new brakes put on it. I'll probably find a few more things to do on it before its time to pack it up. 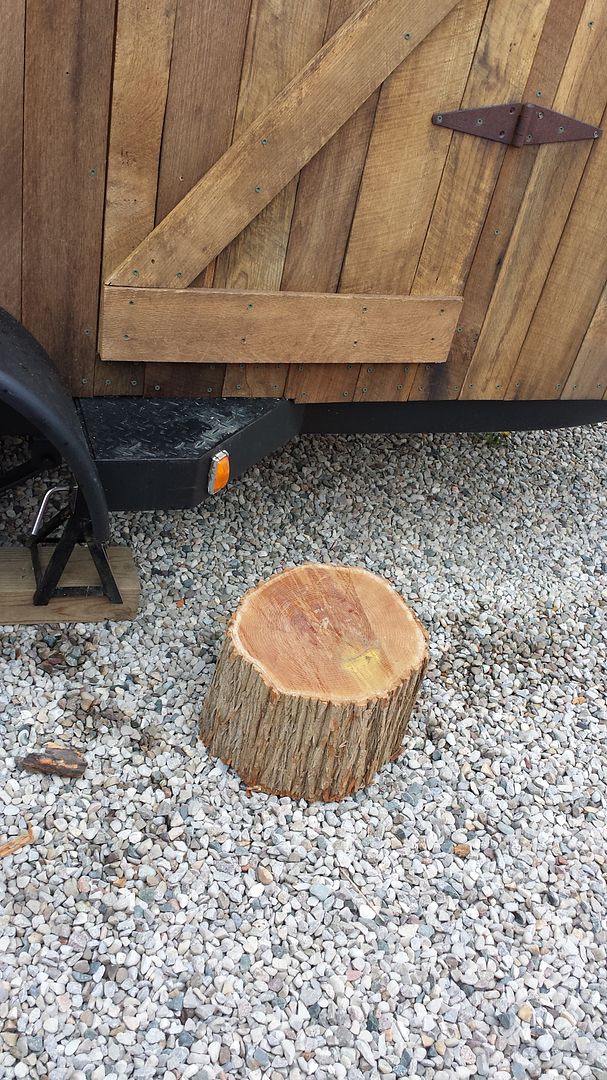 |
|
|
|
Post by esshup on Apr 6, 2016 23:35:20 GMT -5
Before you put it back together lube the brake adjuster threads. I don't know if anti-seize or regular brake lube would work better, but on my trailer I have to purposely back up and hit the brakes a number of times every week or two to keep them in adjustment.
|
|
|
|
Post by bullseye69 on Apr 7, 2016 20:19:41 GMT -5
Before you put it back together lube the brake adjuster threads. I don't know if anti-seize or regular brake lube would work better, but on my trailer I have to purposely back up and hit the brakes a number of times every week or two to keep them in adjustment. I have always used neverseize on them. Seems to work fine. |
|
|
|
Post by scrub-buster on Apr 9, 2016 20:46:22 GMT -5
I'll get some never seize and put it on. Thanks for the tip. Today was a big day with the camper progress. I added front ledge boards to the shelves this morning before we had to leave for a birthday party. The new brakes were delivered today. When I got home this afternoon I started putting them on. I replaced the side that was missing first. It went smooth. When I tried taking off the other side one of the bolts was seized up and I ended up rounding the head off. I didn't have a replacement bolt so I put everything back and left that brake on the trailer. It was working good anyway. I was going to replace it with the new one but I'll keep it as a spare instead. We bled the lines again and then decided to take it for a test drive. We went to the nearest town and got some gas. The trailer performed great. The brakes felt smooth and didn't get hot. When I stopped I didn't feel the trailer pushing the truck. It felt like the trailer wasn't even there. I only got it up to 50 mph because of the winding roads. I didn't see any problems with anything. I was very happy with how well the test drive went. It's finally road worthy! 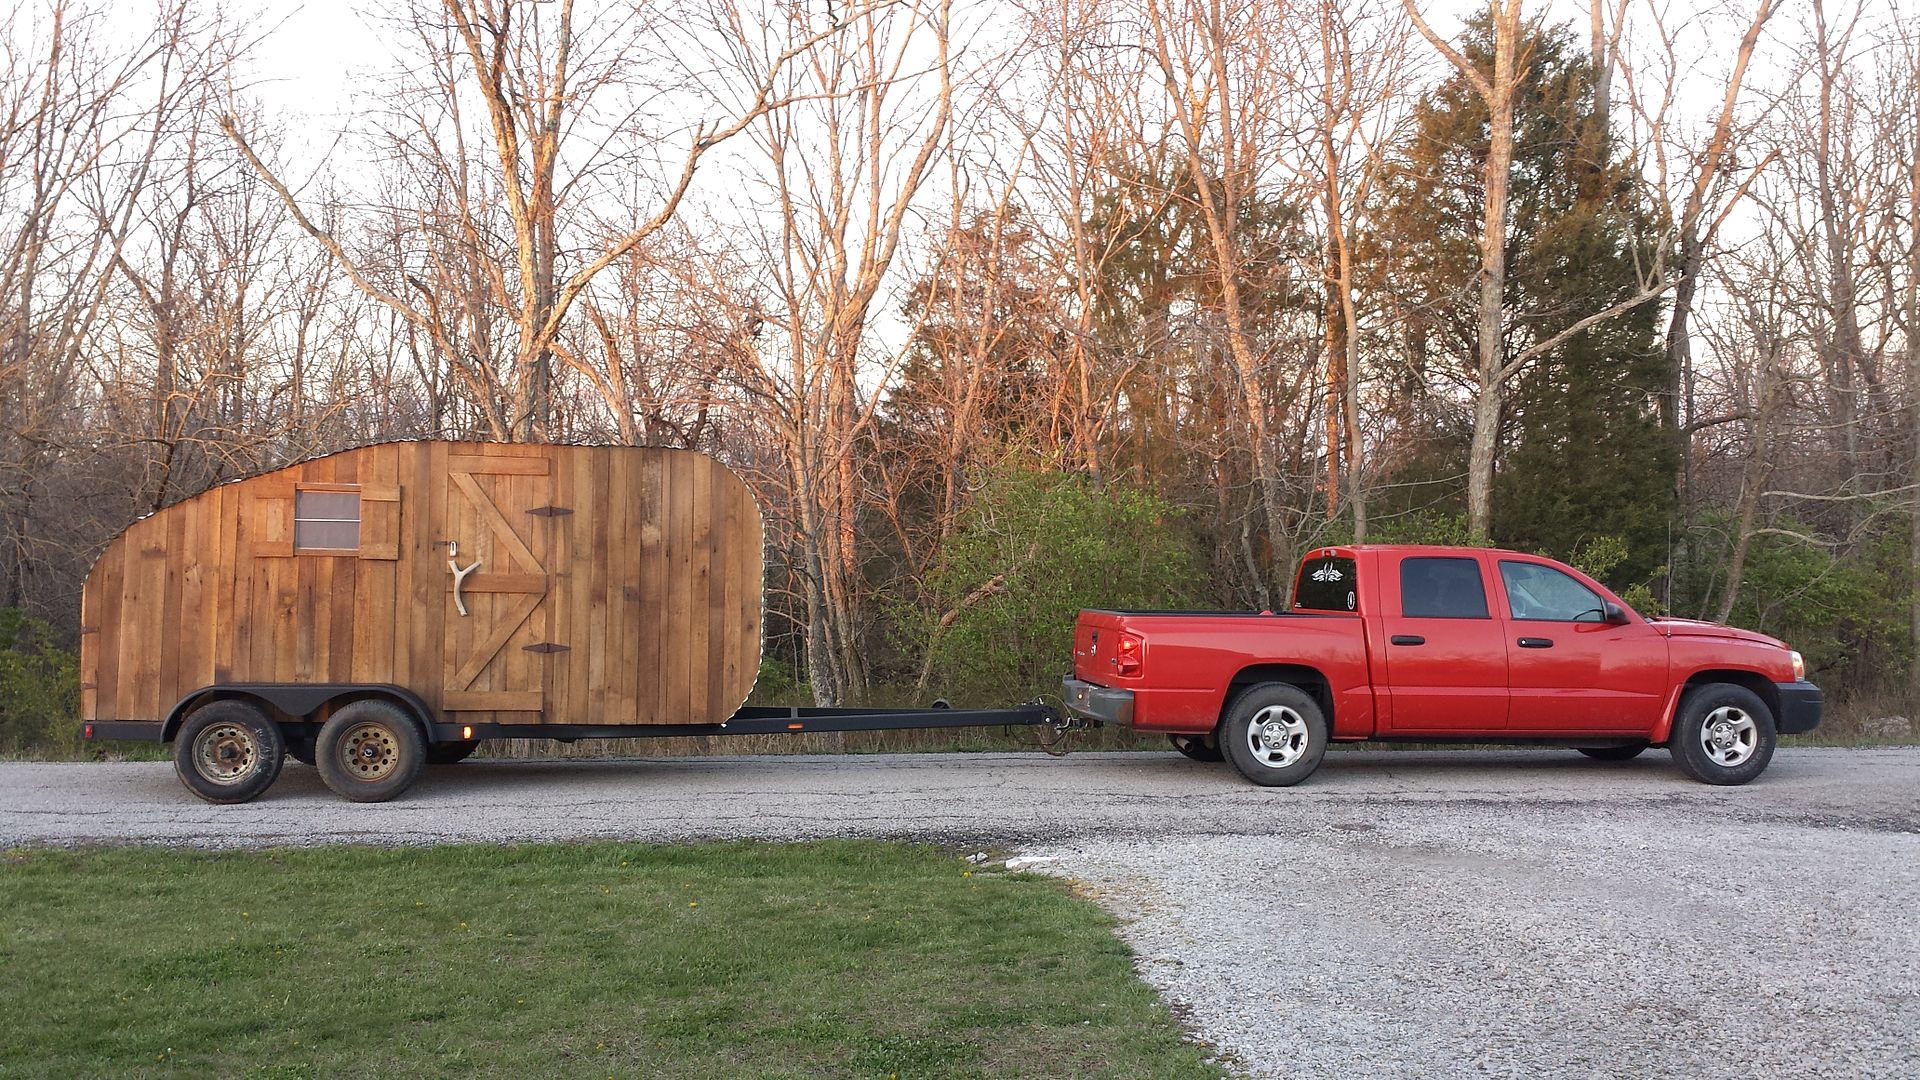 |
|
|
|
Post by whitetaildave24 on Apr 10, 2016 8:55:11 GMT -5
I've really enjoyed watching this build and it looks great. Hopefully serves you well for many years to come.
|
|
|
|
Post by scrub-buster on Apr 10, 2016 16:50:59 GMT -5
I've really enjoyed watching this build and it looks great. Hopefully serves you well for many years to come. Thanks. I hope it lasts a long time. I don't think I want to build another one any time soon. |
|